

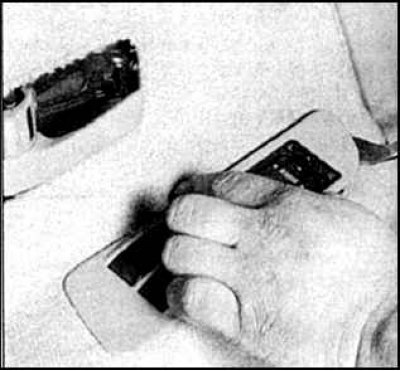
2. Remove the power window handle (for vehicles without electric drive). To do this, put the cord under the handle and remove the retaining ring by pulling the ends of the cord with force (pull in the direction of the arrows).
3. Remove the handle from the power window shaft.
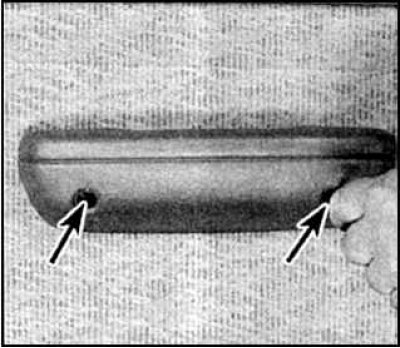
4. Remove plugs, remove 2 screws (indicated by arrows) and remove the armrest.
5. Loosen the screw on the inside handle.
6. Move the handle forward and remove it from the lining.
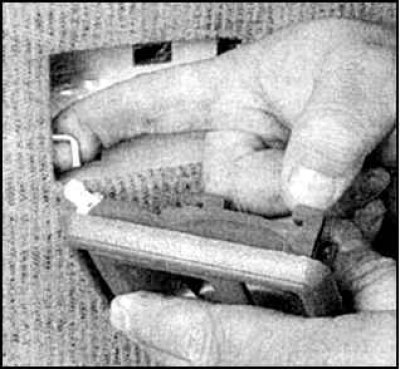
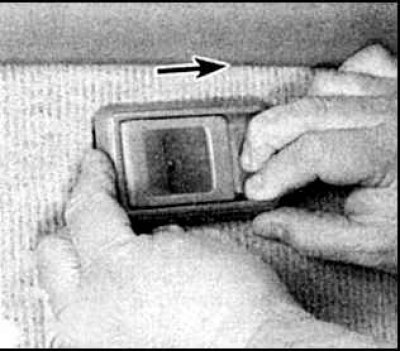
7. Detach the handle from the pull.
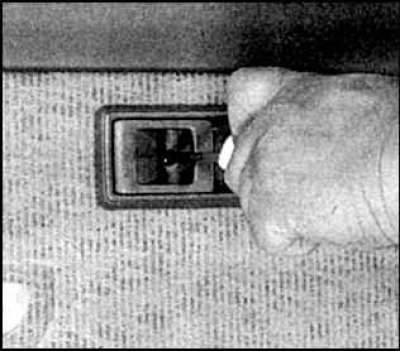
8. Remove the power window switch by carefully prying up the panel and disconnecting the connector.
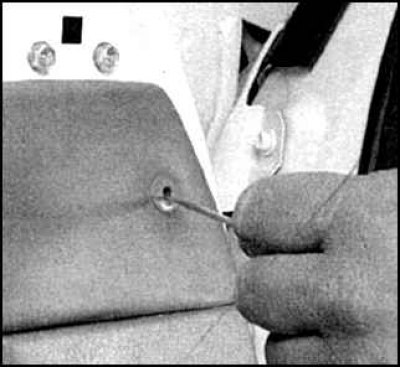
9. Loosen the screw under the mirror.
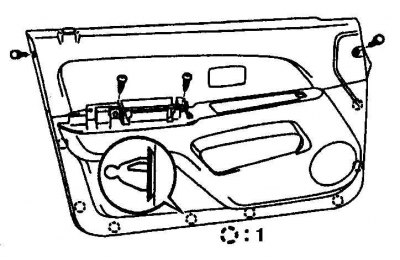
10. Loosen the screws on the top rear of the door trim (1-8 latches).
11. Remove the mirror cover (if provided) and carefully remove the 8 latches securing the door trim.

12. To release the latches, insert a tool between the frame and the cladding.
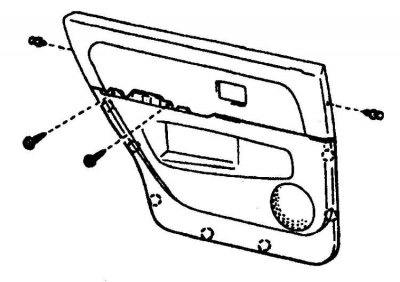
13. The rear door trim is attached with 2 latches on the front and rear ends of the door, 2 screws in the middle part and 7 latches on the edge of the trim.
14. Carefully remove the water shield to access the door mechanisms.
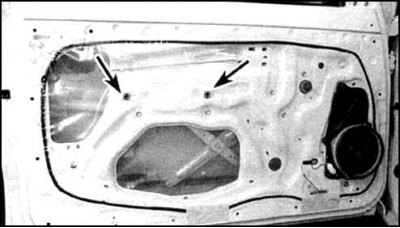
15. Remove the two sealing sleeves to remove the shield (indicated by arrows).
16. If the screen is damaged during removal, cover the tears with adhesive tape or replace. Track safety of consolidation on a contour of the screen.
17. Installation is carried out in the reverse order.
18. Make sure that all cladding screws are tightened and all latches are inserted.
19. If the screen does not stick to the door in some places along the contour, then lightly grease these places with silicone sealant.