
Attention! The work is done in pairs.
1. Disconnect the battery from the ground.
2. Open the compartment door and fasten securely.
 | 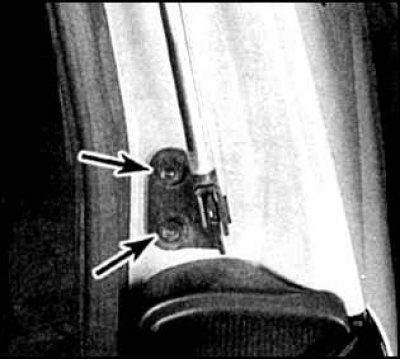 |
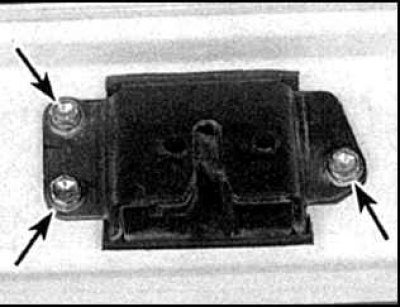
3. To remove the cargo door pillars, unscrew the upper (photo on the left) and bottom bolts (photo on the right).
4. To disconnect the door wire connectors, remove the seal.
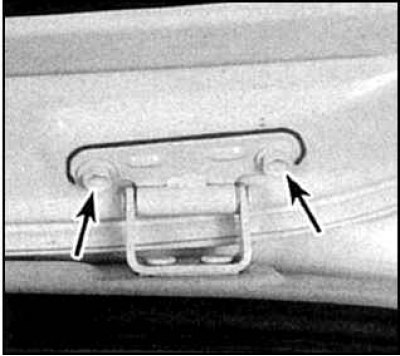
5. Outline the hinges on the door and unscrew the bolts (indicated by arrows).
6. Installation is carried out in the reverse order.
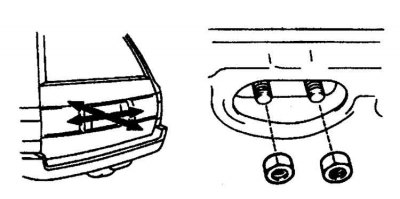
7. If it is necessary to replace the door lock, then remove the trim panel, service hole cover, glass trim, power window and guides (see subsection 10.17).
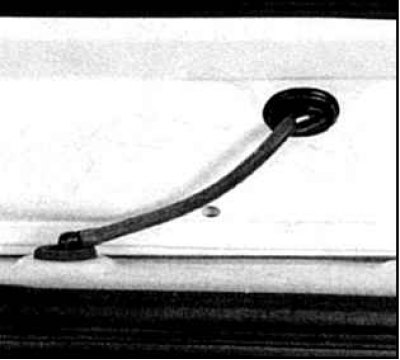
8. To remove the ejector, unscrew the 2 nuts.
9. Remove the ejector and draft remote door opening.
10. The license plate niche trim is secured with a nut and 5 latches.
11. Unscrew the nut and remove the trim by prying with a scraper.
12. Turn away nuts and remove the switch of the lock, disconnect a socket.
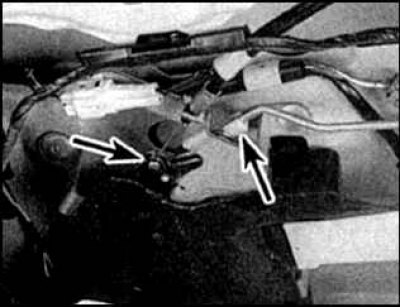
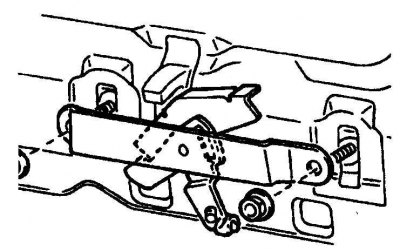
13. Then find the lock rod and disconnect the cable, then disconnect the rod.
14. Remove 3 bolts (indicated by arrows) and remove the lock.
15. Installation is carried out in the reverse order.
16. To adjust the door in the direction "back forward" loosen the nuts securing the hinges to the body.
17. Move the hinge in the desired direction with light strokes and tighten the nuts.
18. To adjust the door in directions "left-right" And "up down" loosen the bolts securing the hinges to the door, move the door in the desired direction and tighten the bolts.
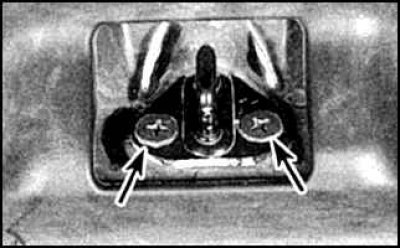
19. To adjust the lock latch, loosen the screws (indicated by arrows).
20. Slightly move the retainer until it is properly engaged with the retainer.
21. Tighten the screws.
22. Installation is carried out in the reverse order.