
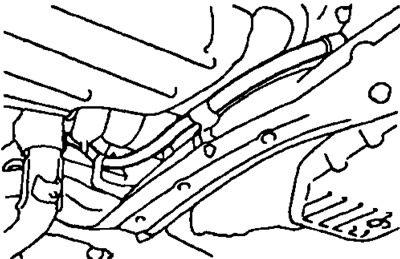
2WD models prior to 1996: 1 - air intake and air filter, 2 - battery, 3 - exhaust pipe, 4 - left drive shaft, 5 - beam of the central engine mount, 6 - protection of the beam, 7 - engine protection casing, 8 - cross beam, 9 - right drive shaft, 10 - cover, 11 - starter, 12 - dipstick, 13 - bracket (A240E, A241E)
Removing
Note: for automatic transmission A132L, remove and install in the same way, taking into account the features of the car model.
1. Disconnect the negative plug from the storage battery.
2. Remove the dipstick.
3. Disconnect the throttle valve drive cable.
4. For gasoline engines. Remove the sensor from the air intake.
5. Remove the battery.
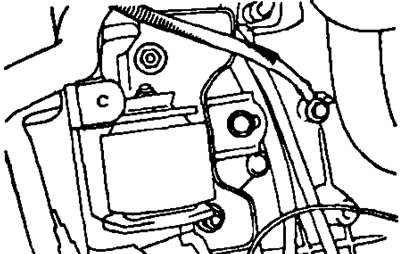
6. Turn away bolts and remove the block of the relay and safety locks.
7. Remove the modulator (if he is).
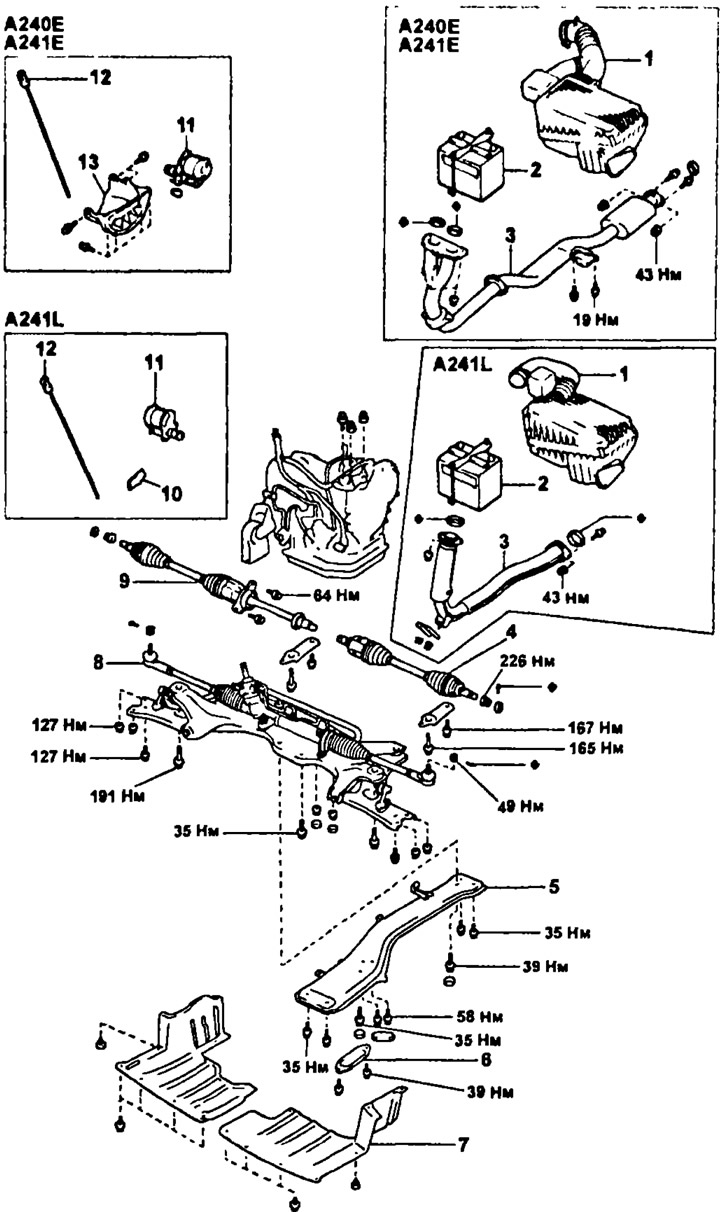
8. For gasoline engines. Disconnect the connector and remove the starter.
9. For diesel engines. Remove the air intake and air filter.
10. For gasoline engines.
- A) Remove the air intake and air filter.
- b) Disconnect the N#2 speed sensor connector.

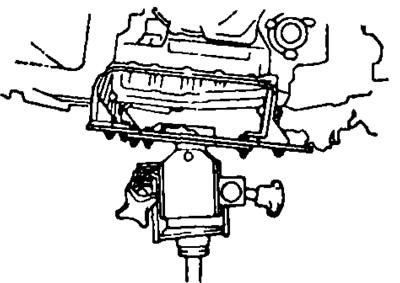
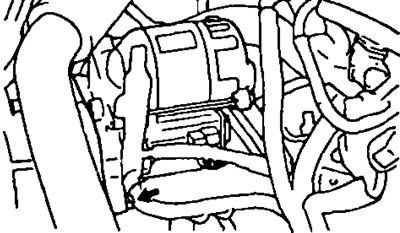
11. Hook the hoist onto the motor hooks.
12. Turn away the top bolts of fastening.
13. Remove the ground wire.
14. Remove clips of fastening of a cable of management of the throttle valve.
15. Remove the left and right drive shafts (see chapter "Drive shafts and cardan").
For diesel engines | 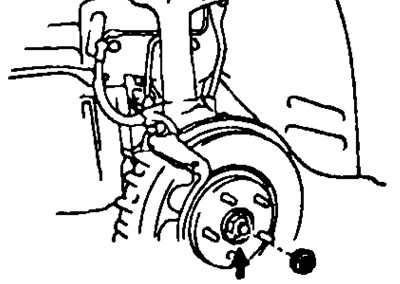
For petrol engines |
16. Disconnect the tie rod ends from the left and right steering knuckles (see chapter "Suspension").
17. Jack up the car.
18. Remove the motor protection cover.
19. Jack up the gearbox.
20. Remove a reception pipe.
- A) Turn away two bolts and a rack of a reception pipe.
For diesel engines | 
For petrol engines |
- b) Remove the two bolts and nuts securing the exhaust pipe.
For diesel engines | 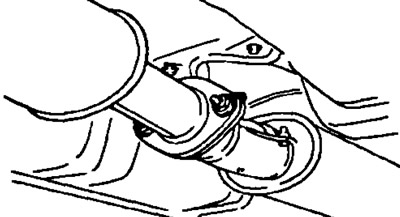
For petrol engines |
- V) Turn away nuts from a final collector and a reception pipe.
For diesel engines | 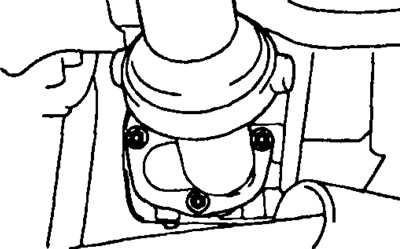
For petrol engines |
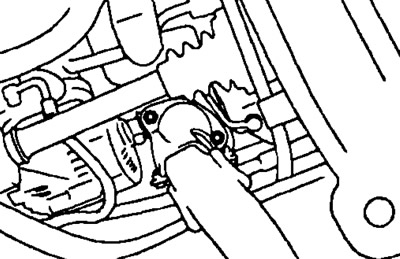
- G) Secure the exhaust pipe with a wire.
21. Disconnect the universal joint (see section "Steering").
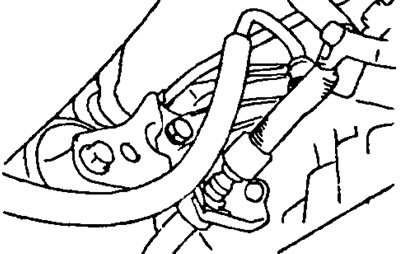
22. Disconnect the pressure supply tube and return hose.
- A) Disconnect the pressure supply pipe and return hose.
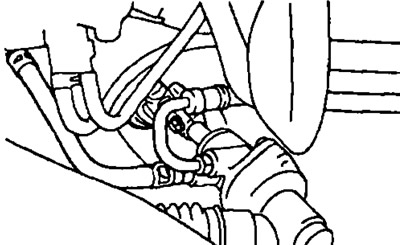
- b) Remove the power steering tube brackets.
23. Remove the suspension elements.
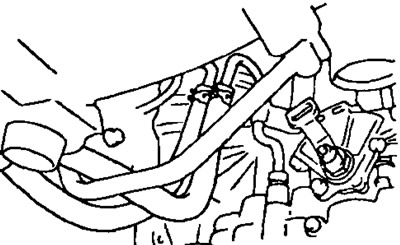
- A) Remove the control cable from the engine center support beam.
- b) Remove the nuts securing the air conditioner pipe.
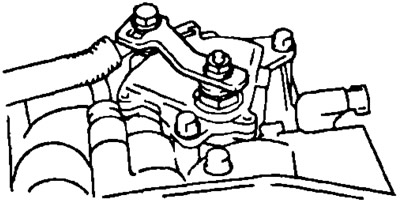
- V) Remove the four plugs.
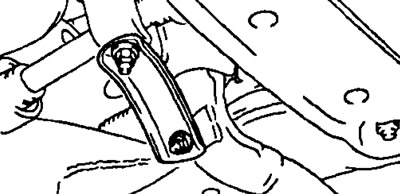
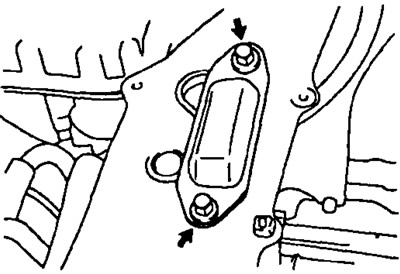
- G) Turn away seven bolts and remove a beam of the central support of fastening of the engine.
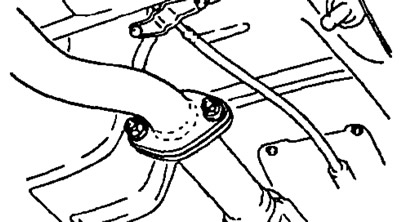
- d) Turn away eight bolts and two nuts, remove a cross beam.
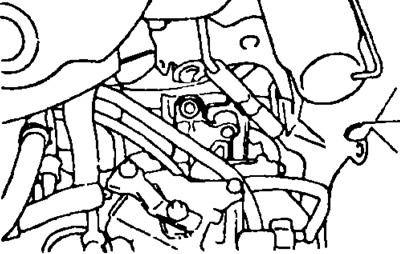
24. Disconnect the solenoid valve connector, engine start inhibit switch connector, and speed sensor #2 connector (gasoline engines).

For diesel engines | 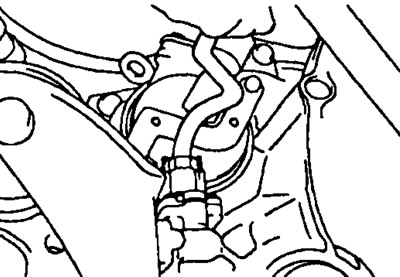
For petrol engines |
25. Remove the control rod.
- V) Loosen the nut on the start inhibit switch.
- b) Remove the retainer and shift control rod.
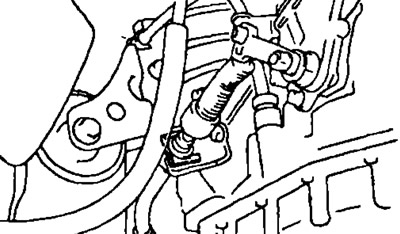
26. Disconnect the two oil cooler hoses.
27. (For petrol engines) Turn away seven bolts and disconnect an arm.
27. (For diesel engines) Remove the starter.
- A) Disconnect the connector.
- b) Remove the starter.
28. (For diesel engines) Remove the protective cover.
29. (For diesel engines) Loosen the bolts securing the automatic transmission to the engine.
30. (For diesel engines) Loosen the bolts securing the automatic transmission to the rear support.
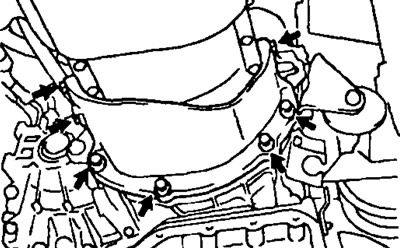
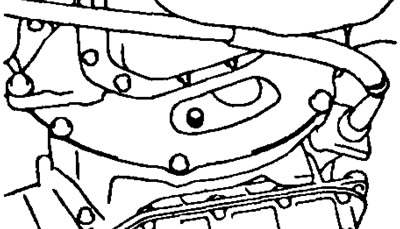
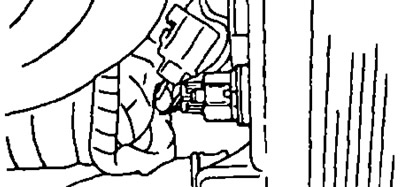
31. Remove automatic transmission.
- A) Remove the six bolts by rotating the torque converter drive plate.
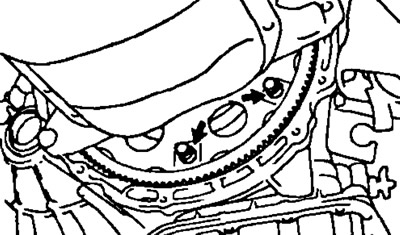
For diesel engines | 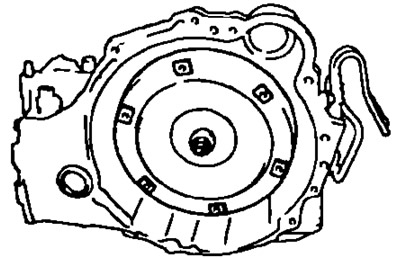
For petrol engines |
- b) Remove automatic transmission.
Installation
1. Install the torque converter in the automatic transmission case.
Note: if the torque converter has been flushed, fill it with new automatic transmission fluid.
2. Check the installation of the torque converter.
3. Align the gearbox for installation.
- A) Align the two dowel pins on the crankcase with the holes on the crankcase.
- b) Install one bolt first.
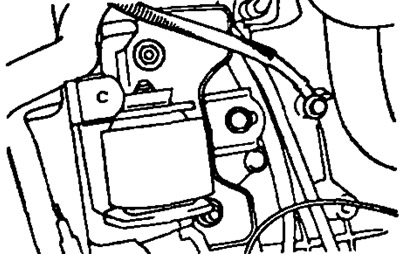
4 Install the bolts securing the automatic transmission to the engine.
5. Wrap bolts of fastening of a check point to a back support. Tightening torque 64 Nm.
6. Establish bolts of fastening of the hydrotransformer to a drive plate.
- A) Clean the bolt threads with gasoline.
- b) Apply thread sealant. Sealant THRFF ROND 1324.
- V) Tighten the bolts evenly. Tightening torque 27 Nm.
7. (For petrol engines) Install the bracket by tightening the seven bolts.
8. (For diesel engines) Install the protective cover.
9. Connect two automatic transmission fluid cooler tubes.
10. Connect the solenoid valve connector, engine start inhibit switch connector and No.1 speed sensor connector (for petrol engines).
11. Install suspension elements (see section "Suspension").
- A) Install the cross member with eight bolts and two nuts.
- b) Install the engine mount center support beam with the seven bolts.
- V) Install four plugs.
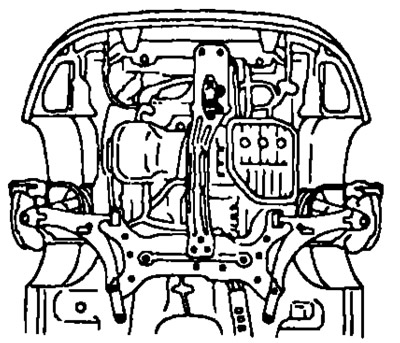
- G) Install the beam protection. Tightening torque 39 Nm.
12. Connect the pressure supply pipe and return hose (see section "Steering").
- A) Install the power steering tube brackets.
- b) Connect the pressure supply pipe and return hose.
13. Connect the universal joint (see section "Steering").
14. Install downpipe.
- A) Install the exhaust pipe with a new gasket on the exhaust manifold and tighten the nuts.
- b) Install the exhaust pipe with a new gasket on the exhaust pipe and tighten the two bolts with two nuts.
- V) Install the exhaust pipe stand.
15. Install the motor guard.
16. Connect the tie rod ends to the left and right steering knuckles (see chapter "Suspension"). Tightening torque 49 Nm.
17. Install the left and right drive shafts (see chapter "Drive shafts and cardan").
18. Secure the throttle valve control cable with clamps.
19. Install the control cable retainer.
20. (For diesel engines) Install starter.
- A) Install the starter, tighten the two nuts and bolt by hand, then tighten them. Tightening torque 39 Nm.
- b) Connect the starter connector.
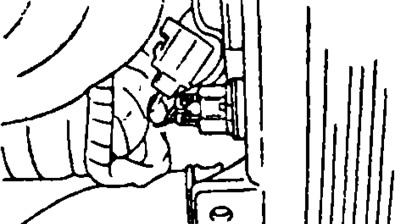
21. Install the ground wire.
22. Wrap the two nuts and bolts of the automatic transmission by hand, then tighten them. Torque:
- Bolt 64 Nm
- Nuts 72 Nm
23. Lower the engine.
24. (For petrol engines) Connect speed sensor connector #2.
25. Install the air intake and air filter.
26. (For petrol engines) Install starter.
- A) Install the starter and tighten the two nuts and bolt by hand, then tighten them. Tightening torque 39 Nm.
- b) Connect the starter connector.
27. (For petrol engines) Install the sensor on the air intake.
28. Install the battery and connect the wire to the negative terminal. 29. Install the relay and fuse box.
30. Connect the throttle valve control cable.
- A) Connect the drive cable and adjust it.
- b) Tighten the nut. Tightening torque 15 Nm.
31. Fill in the working fluid and check its level.
32. Fill and bleed the power steering system.
33. Check up leak of a working liquid from system of a steering.
34. Check the angles of the front wheels.
35. Do a road test.