
Attention! Pads are changed only as a set for one axle. When cleaning the pads, remove dust and dirt by wiping with a rag soaked in alcohol or a special liquid; blowing is prohibited.
1. Loosen wheel nuts, raise vehicle and place on stands. Remove wheels.
2. Use a syringe to remove about 2/3 of the liquid from the reservoir (to avoid transfusion when diluting pads). Clean the caliper and adjacent parts.
3. When removing the pads, be guided by the attached photographs. Remove each pad individually.
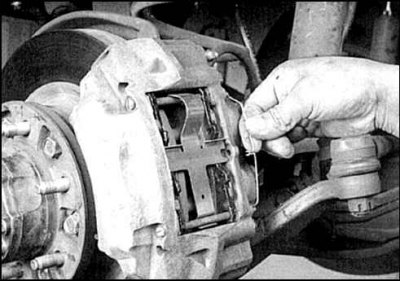
4. Clean the thorium parts.
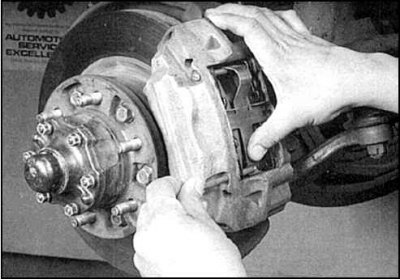
5. Remove the bottom pin of the pad.
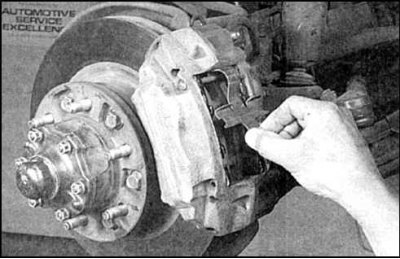
6. Remove the pad spring.
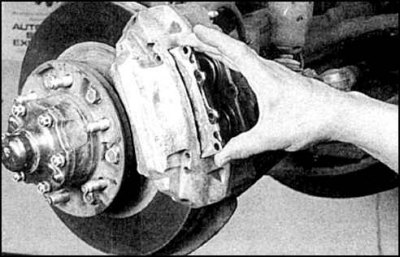
7. Remove the top pin and remove the outer pad.
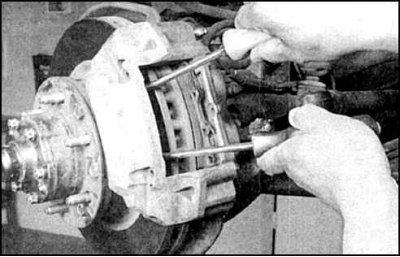
8. Sink the outer cylinder pistons.
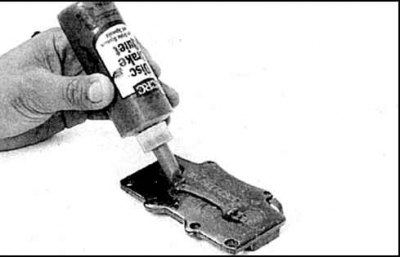
9. Lubricate the base of the block with an anti-noise compound.
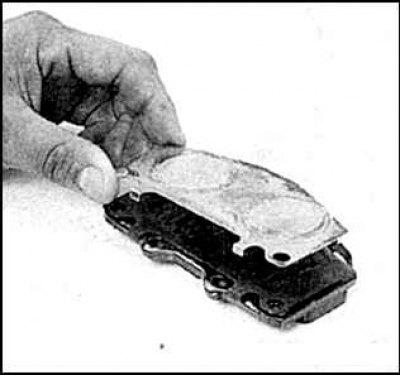
10. Install noise dampers.
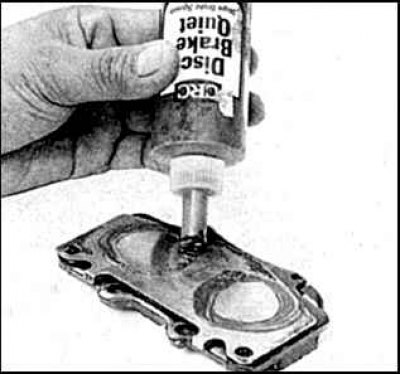
11. Lubricate the pads with anti-noise compound, install the shoe, repeat all the steps for the inner shoe and assemble the brake in reverse order.
12. When disassembling, check the condition of the cylinder covers, caliper and disc, check for signs of fluid leakage. Replace the caliper if damaged or leaking. If necessary, remove the disc and grind.
13. After assembly, fill the tank and press the brake pedal several times.