
Attention! Pads are changed only as a set for one axle. When cleaning the pads, remove dust and dirt by wiping with a rag soaked in alcohol or a special liquid; blowing is prohibited.
Replacement
1. Unscrew the stopper of the brake supply reservoir.
2. Loosen wheel nuts, raise vehicle and place on stands.
3. Remove wheels.
4. Carefully check the condition of the disk (see subsection 8.5).
5. If grinding or replacement is necessary, remove the disc and pads.
Attention! When performing work, monitor the level of liquid in the tank, if necessary, remove part of the liquid.
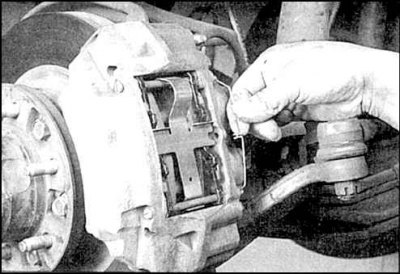
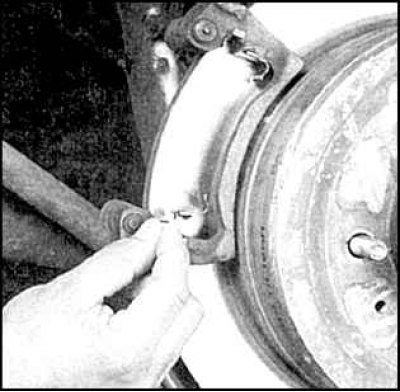
6. Remove the pin spring.
7. Remove the bottom pin of the pad.
8. Remove the anti-noise spring of the pads.
9. On cars up to 1991, remove the W-shaped anti-noise spring of the pads.
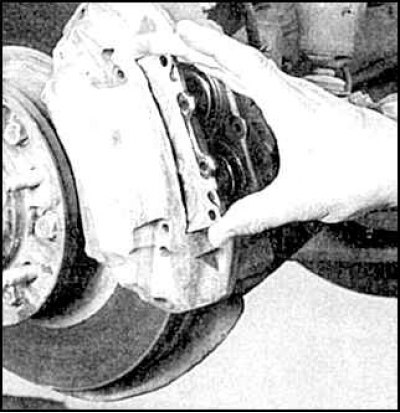
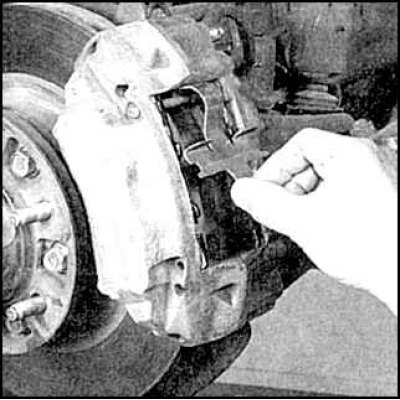
10. Remove the top pin of the shoe and remove the outer shoe.
11. Sink the outer cylinder pistons.
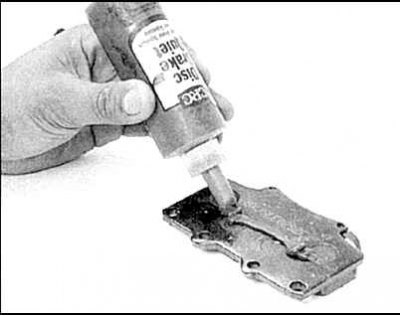
12. Lubricate the base of the pad with an anti-noise compound.
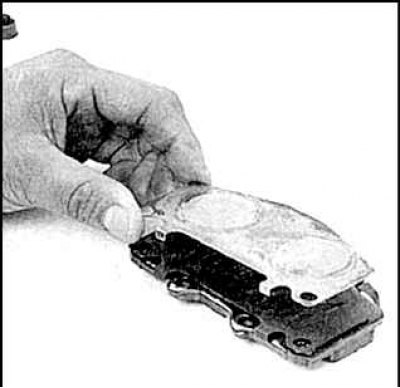
13. Lubricate the anti-noise pads.
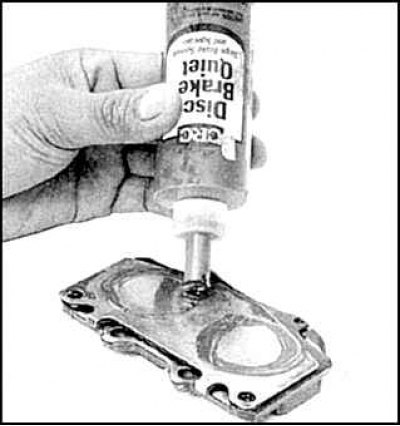
14. Lubricate the back of the pad and install the pad into the caliper.

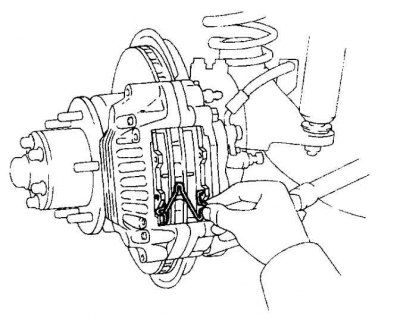
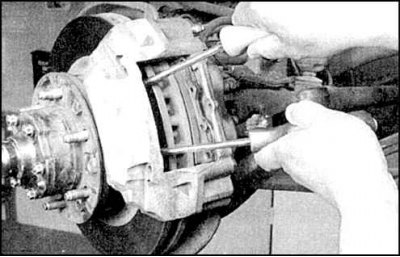
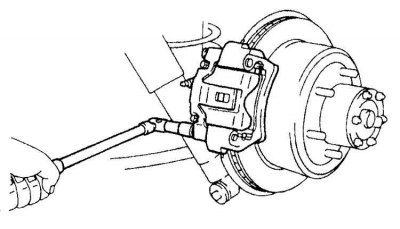
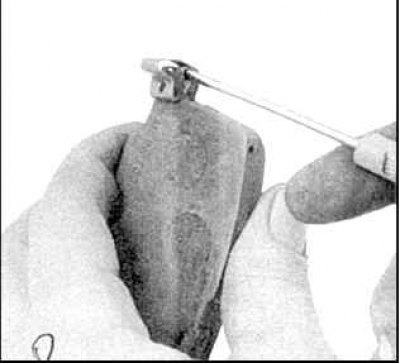
15. You will need a clamp to spread the rear brake caliper pistons. The heel of the clamp rests against the platform next to the fitting, and the screw is screwed in, pressing on the outer block.
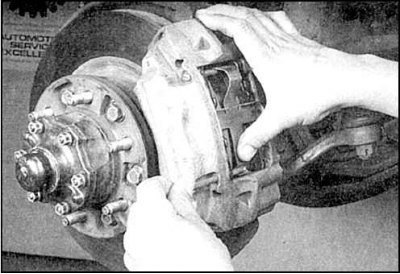
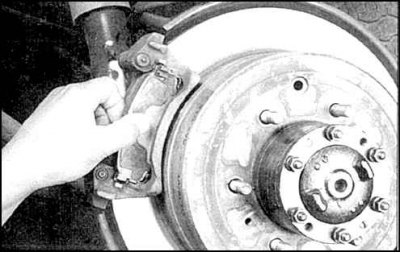
16. Loosen the caliper bolts.
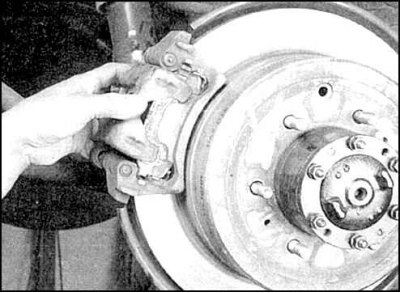
17. Remove rear brake caliper, move caliper aside and secure.
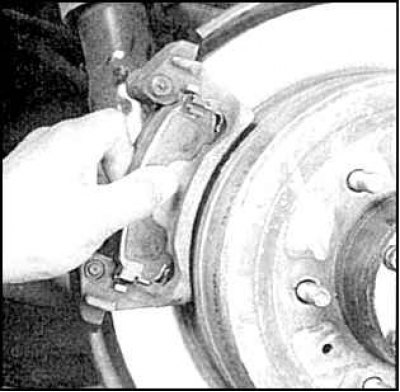
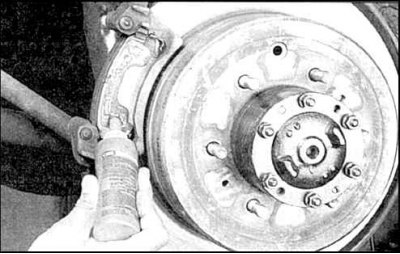
18. Remove the pads from the caliper bracket.
19. Take out the wear indicators and anti-noise pad and rearrange to a new pad. If wear or deformation is found, replace these parts with new ones.
20. Remove the brake pads and check. Replace if any deformation is found.
21. Install a new pad, anti-noise pad and wear indicator.
22. Lubricate the pads of the outer and inner pads with anti-noise compound and install the caliper in reverse order.
23. When disassembling the rear brake, remove the support plates of the pads, which should be replaced at the slightest deformation. Reposition the wear indicator to the thickness of the new pads. Replace indicators if damaged.
24. When assembling, tighten the caliper bolts to the specified torque.
25. Press the brake pedal several times, check and restore the fluid level in the reservoir.
26. Check the operation of the brakes.