



Attention! The pads are changed only as a set for one axle. When cleaning the pads, remove dust and dirt by wiping with a rag soaked in alcohol or a special liquid; blowing is prohibited. The procedure in question applies to the rear and front brake pads.
1. Unscrew the cap of the brake fluid reservoir.
2. Loosen the wheel nuts and lift the car (front or back) and place on stands.
3. Remove the wheels.
4. Check the condition of the disk carefully (see subsection 10.6.). If grinding or replacement is necessary, remove the disc and pads.
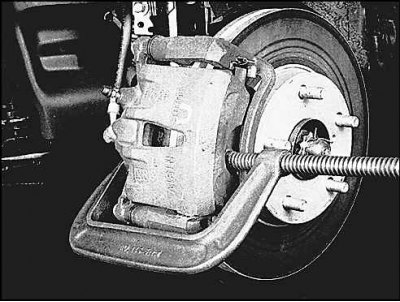
5. Press the pistons into the cylinders to install the new pads. Use a clamp if necessary. As the piston is pressed in, the fluid level in the reservoir will rise. Remove excess fluid by sucking it out with a syringe.
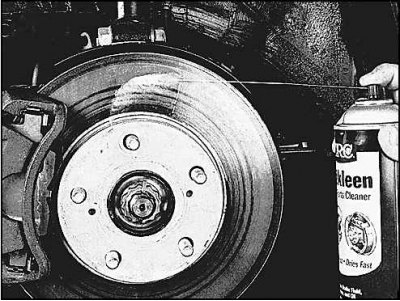
6. Before work, clean the brake parts with a special compound.
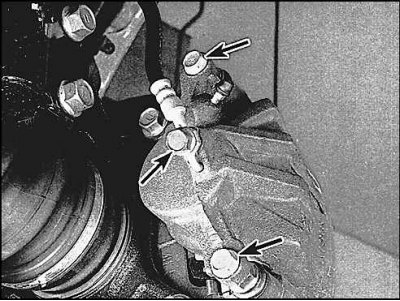
7. Remove the bolts indicated by the upper and lower arrows (loosen the hose fitting bolt only if the caliper is removed from the vehicle).
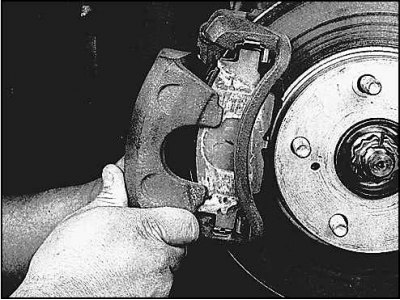
8. Remove the caliper.
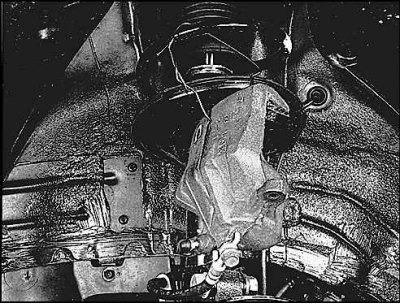
9. Secure the caliper with wire, preventing it from sagging on the hose.
[Publication Reprinted from a web portal: www.toyotaman.ru]
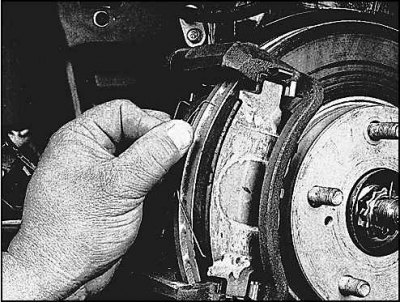
10. Remove the upper anti-noise spring of the pads (on 4-cylinder models).
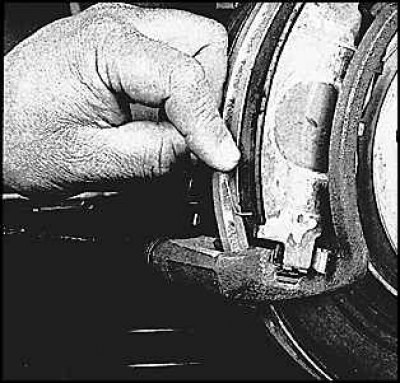
11. Remove the lower anti-noise spring of the pads (on 4-cylinder models).
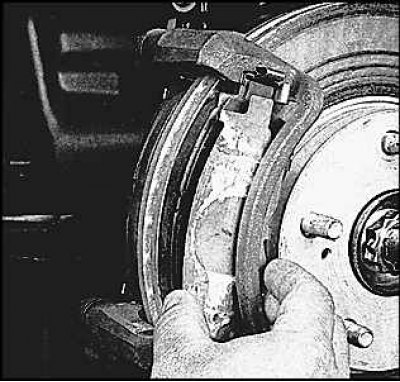 | 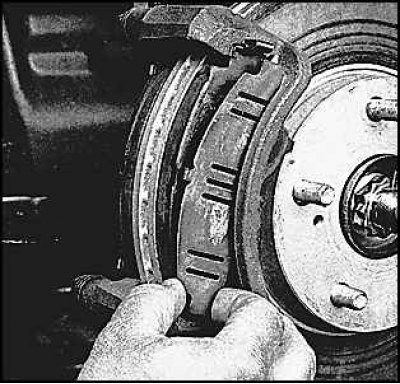 |
12. Remove the outer and inner noise plates from the outer shoe.
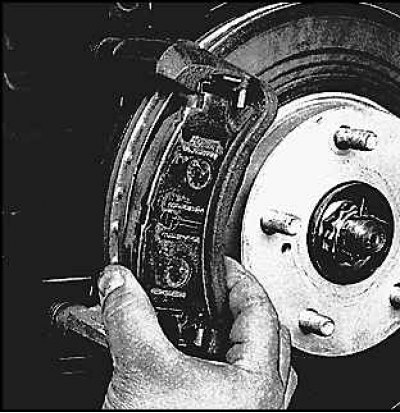
13. Remove the outer shoe.
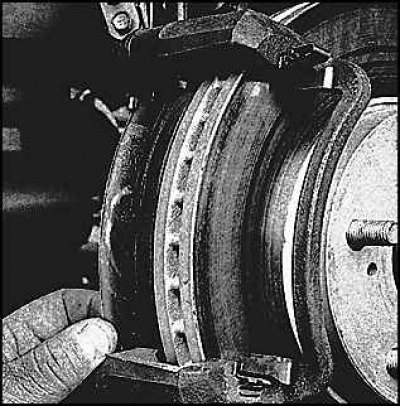 | 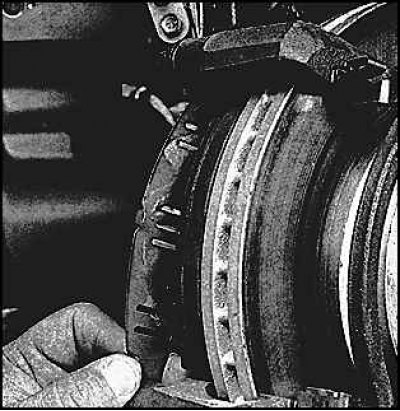 |
14. Remove the outer and inner noise plates from the inner shoe.
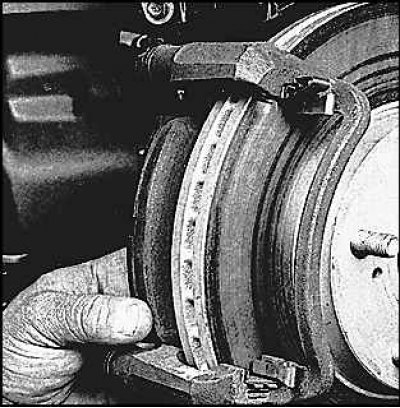
15. Remove the inner shoe.
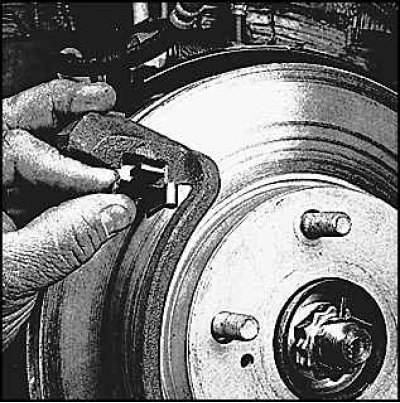
16. Remove the brake shoe retainers, check their condition and replace if necessary (the clamps must snap into the sockets of the caliper brackets. If deformations or loosening of the fit are detected, replace the clamps).
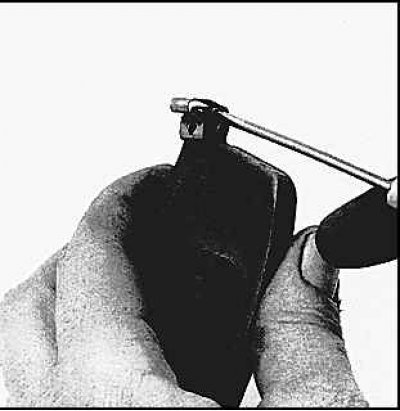
17. Pry and remove the wear indicator from the inner pad and reposition the indicator on the new pad. If damage is found, replace the indicator.
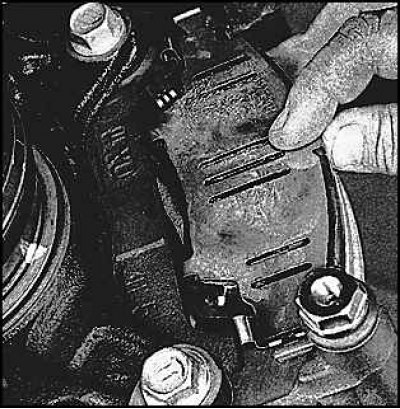
18. Install the pad retainer, new inner pad and anti-noise plates. Make sure that the tabs of the anti-noise plates fit into the grooves on the pad retainers.
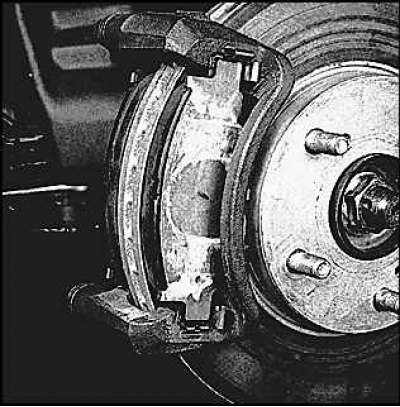
19. Install the shoe retainer, new outer shoe and noise shims.
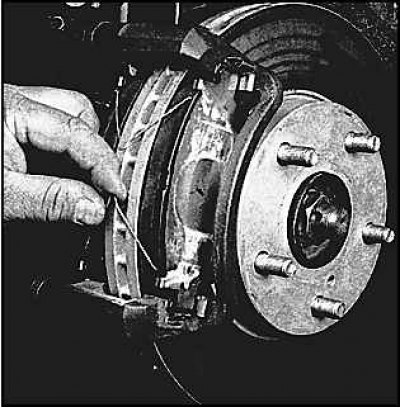
20. Install the upper and lower anti-noise springs of the shoes (on 4-cylinder models), make sure that the springs engage with the pads.
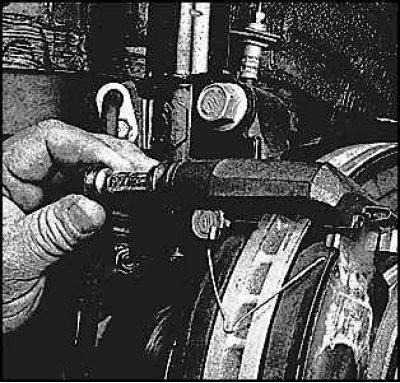
21. Remove the upper and lower pad pins and clean them (replace the damaged rubber boot by prying the flange on the metal bushing).
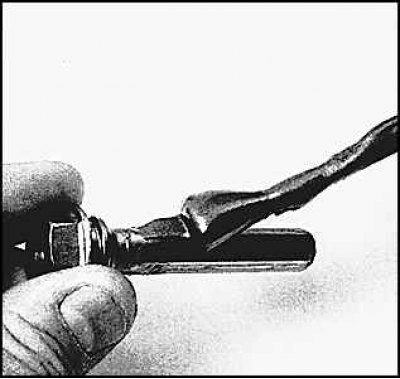
22. Then lubricate the pin with high-temperature grease and install it in place.
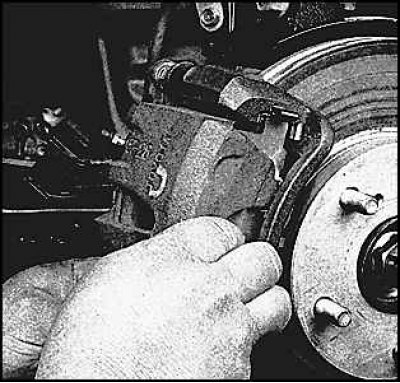
23. Install the caliper and tighten the bolts to the specified torque.
24. Before replacing the rear disc brakes, clean the brake parts.
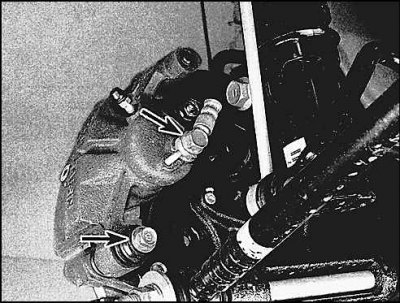
25. Loosen the caliper mounting bolt (indicated by the lower arrow), hose fitting bolt (top arrow) unscrew only if the caliper is removed from the vehicle.
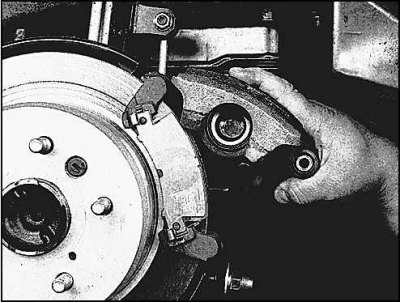
26. Open the caliper and secure it.
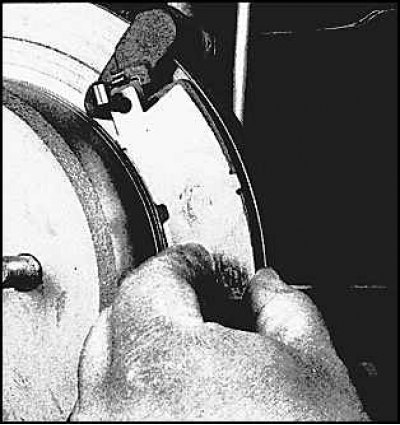 | 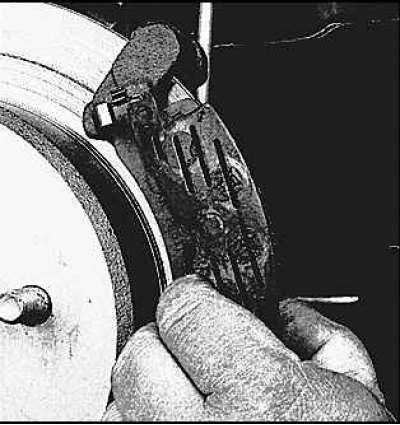 |
27. Remove the outer and inner noise damping plate from the outer shoe.
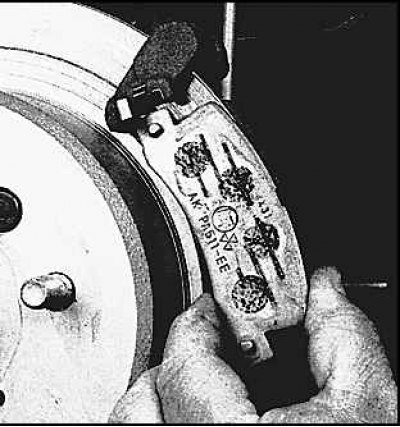
28. Remove the outer shoe.
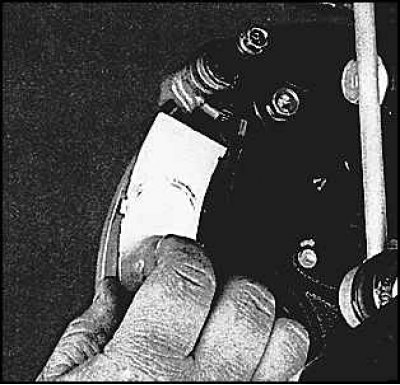 | 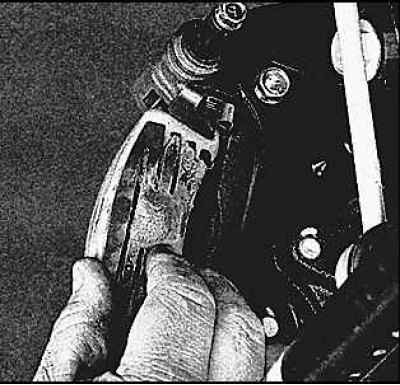 |
29. Remove the outer and inner noise plate from the inner shoe.
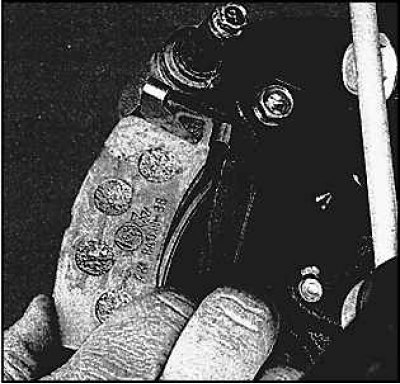
30. Remove the inner shoe.
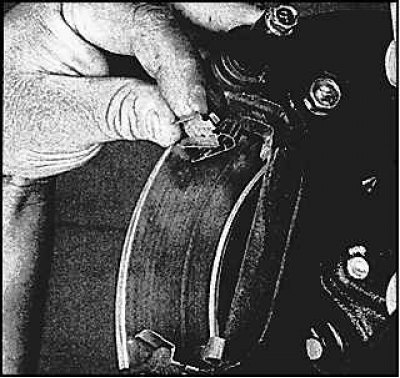
31. Remove the brake shoe retainers, check their condition and replace if necessary (the clamps must snap into the slots of the caliper bracket. If deformations or loosening of the fit are detected, replace the clamps).
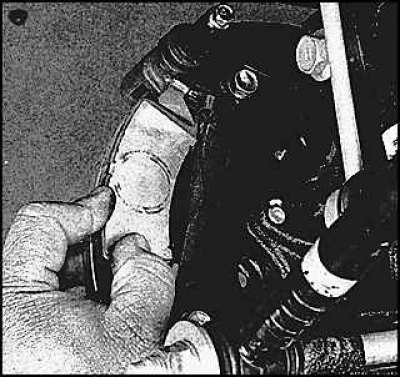
32. Install the pad retainer, new inner pad and anti-noise plates. Make sure the anti-noise plates engage with the pads and with each other.
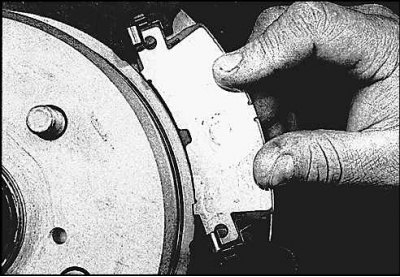
33. Install the shoe retainers, new outer shoe and anti-noise plates. Make sure that the anti-noise plates engage with each other on the outer shoe.
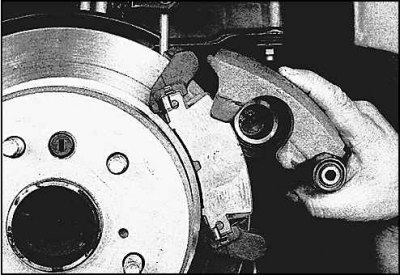
34. Lower the caliper onto the new pads. Tighten the bolt to the specified torque.
35. After assembly, press the brake pedal several times to bring the pads into contact with the disc. Check the fluid level, top up if necessary. Check the operation of the brakes.