



Contents: Removal ↓ Installation ↓
Removal
Front and rear doors
1. On models with manual windows, remove the window handle (see Figure 15.1).
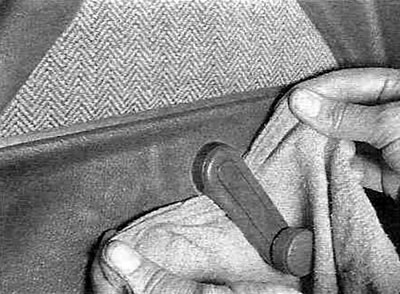
Figure 15.1. Remove the window handle by inserting a piece of cloth between the handle and the trim to depress the spring clip.
2. On models with power windows, pry up on the door switch panel with a screwdriver to access the single mounting screw (see Figure 15.2).
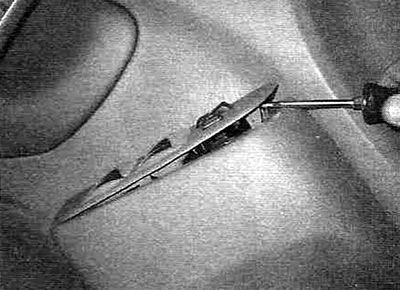
Figure 15.2. Using a screwdriver, pry up the switch panel and disconnect the wiring connectors.
3. Pry up and remove the decorative cover of the outside side mirror (see Figure 15.3).
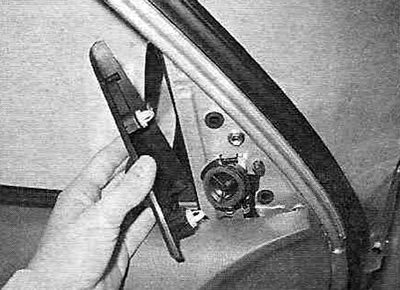
Figure 15.3. Press and remove the decorative mirror cover.
4. On models produced since 2001, use a screwdriver to pry off the cover of the screws securing the door trim panel (see Figure 15.4).
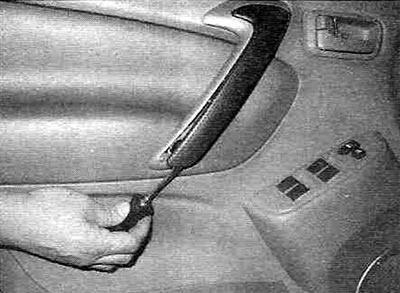
Figure 15.4. On models produced since 2001, remove the decorative cover of the door trim panel mounting plate.
5. Loosen the screws securing the trim panel and the inner door handle cover, then slowly and carefully press the panel along the outer edge until it releases from the clips (see Figure 15.5).
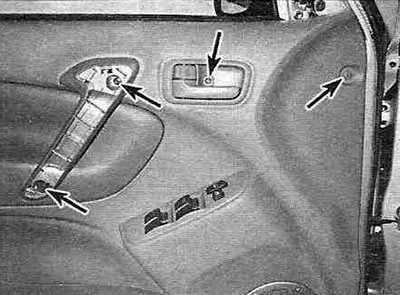
Figure 15.5. Door trim panel mounting screws - 2001 and later models shown; models produced before 2000 have two additional mounting bolts in the storage compartment on the front door trim panel.
Note: The rear door trim panels are secured with only three bolts - two on the plate (under the overlay) and one in the socket of the inner door handle.
6. Once you have released the trim panel from all the clips, pull the panel up, disconnect all the wiring harness connectors and remove the trim panel from the door.
7. To access the outside door handle or the window lift mechanism inside the door, lift the glass completely, then carefully peel off the plastic film (see Figure 15.7).
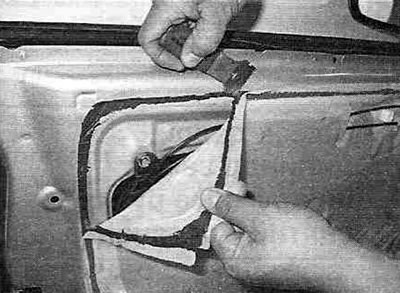
Figure 15.7. Carefully peel back the plastic film to gain access to the inside of the door.
Rear (trunk) door
8. Open the rear (trunk) door.
9. Using a screwdriver or a special tool for removing panels, press the clips and remove the trim panel from the door (see Figure 15.9).
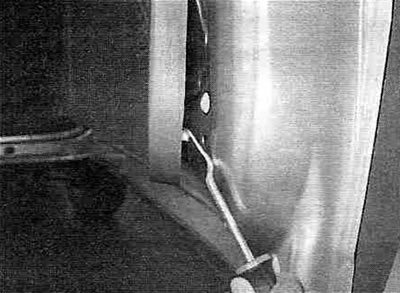
Figure 15.9. The rear door trim panel can be removed by simply pressing the fasteners.
On models produced before 2000, pry and lift a small (better than forked) use a screwdriver to loosen the heads of the push pins (pistons) of the plastic fasteners of the trim panel, but do not try to pull them out - they are installed in spacer bushings.
10. To access the components inside the door, carefully peel off the plastic film (see Figure 15.7).
Installation
11. Before installing the trim panel, make sure that all the fasteners are inserted into the panel (some may have fallen out or broken when removed).
The original source is located on the website: www.ToyotaMAN.ru
12. Connect the door switch panel and window regulator (if equipped) wiring connectors through the hole in the panel, then install the panel onto the door. Press the panel against the door along the entire perimeter until the fasteners snap into their holes.
13. The rest of the procedure is performed in the reverse order of removal.