
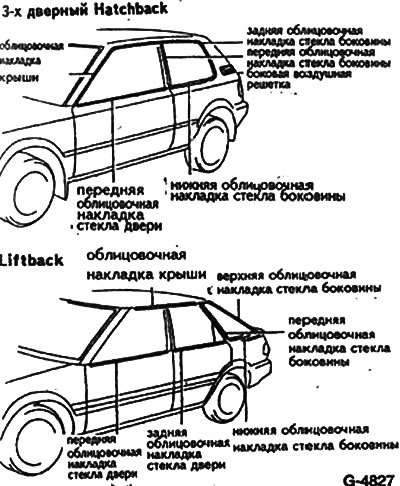
Withdrawal. 3-door Hatchback

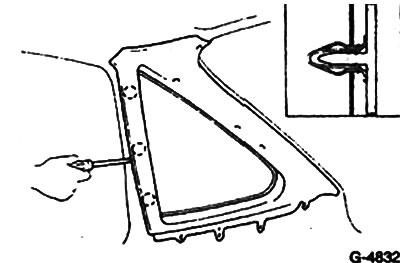
Use a steel plate bent at an angle or a wide screwdriver to pry off the roof lining at the rear. To protect the body from damage, wrap the tool with adhesive tape.
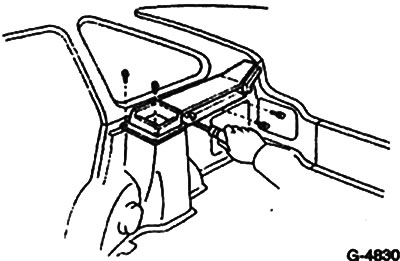
Remove the bottom glass trim by removing the three holders.
Loosen the two screws and remove the rear side glass trim.
Installation
Fasten the rear trim with two screws.
Using palm strokes, replace the bottom trim strip and snap the clips into place.
Press the roof trim by hand.
Withdrawal. Liftback since 5/87
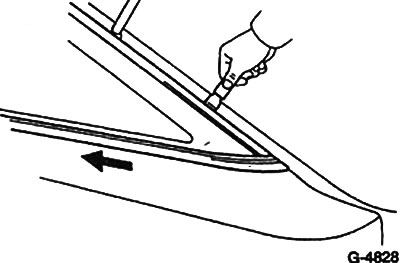
Use a steel plate bent at an angle or a wide screwdriver to separate first the top, then the front lining. To protect the body from damage, wrap the tool with adhesive tape.
Pull the bottom cover forward, see fig. G-4828.
Installation
Replace the bottom trim by pushing it in.
Press the front trim into place with palm strokes.
Place the upper facing plate on the clamps and press it with the palm of your hand.
Withdrawal. Liftback up to 4/87
Due to the fact that the screws for fastening the side glass trim are located inside the passenger compartment, you must first remove the inner upholstery.
Tilt the rear seat forward. Remove the rear seat back.
Remove the headgear hanger holder by unscrewing the hexagon head and cross head screws.

Remove the rear trunk lining.
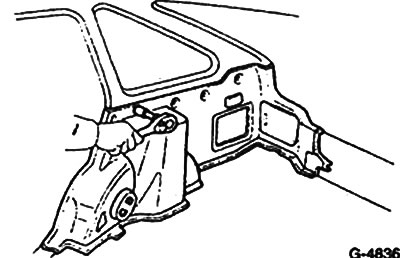
Detach and remove side trim.
Remove the screws securing the inner and side trim to the roof.
Use a screwdriver to unclip the clips and remove the upholstery.
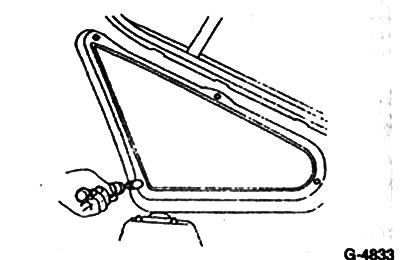
From the inside of the passenger compartment, give 4 nuts for fastening the facing linings of the sidewall windows.
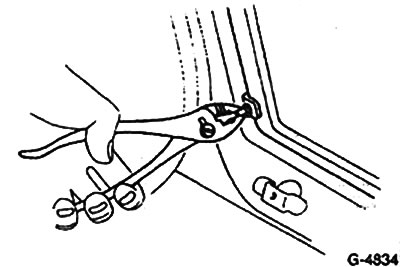
Remove the threaded pins with a suitable collet.
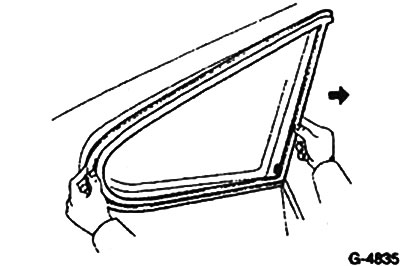
Slide trim forward, then remove.
Installation
Install the cover plate and insert the threaded pins into it.
Screw on 4 nuts.
Install the following items in the reverse order of disassembly: roof side trim, side trim, trunk rear trim, headgear hanger holder, rear seat.