



Front fender
Caution: Always lock the passive restraint system when working in the immediate vicinity of its components to prevent the possibility of accidental deployment of the airbags, which could result in serious injury (see chapter 12).
Removal
1. Loosen the front wheel mounting nuts. Raise the vehicle, place it on safety stands and remove the front wheel.
2. Open the hood.
3. On models prior to 2000, remove the trim panel underneath the headlight housing.
4. On models produced since 2001, remove the radiator grille (see paragraph 13).
5. Remove the front bumper panel (see paragraph 11).
6. Remove the headlight housing (see chapter 12).
7. Disconnect the mounting clips on the inner part of the wheel arch, then remove the protective arch liner (see Figure 12.7, a, b).
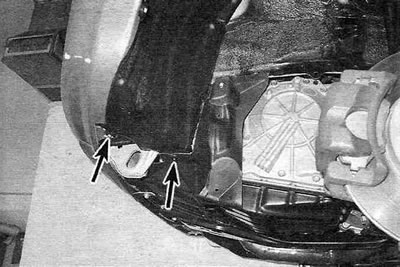
Figure 12.7,a. Unscrew the fastening bolt and press the pins (shown by arrows) on the front lower part of the protective fender liner.
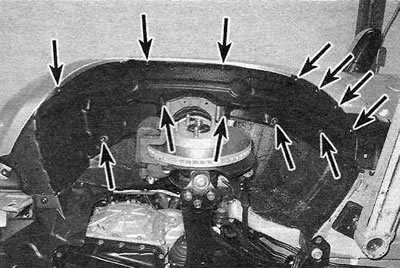
Figure 12.7, b. Disconnect the main part of the protective fender liner by unscrewing the bolts, mounting screws and disconnecting the plastic fasteners (shown by arrows).
8. If you are removing the right fender, remove the radio antenna. If you are removing the left fender, remove the hood support and leave the hood open in a safe position.
9. Open the front door and unscrew the upper bolt securing the wing to the body (see Figure 12.9).
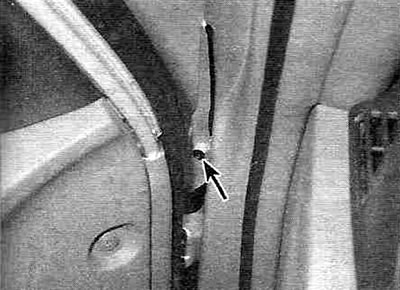
Figure 12.9. Open the door and unscrew the upper wing mounting bolt (shown by the arrow).
10. Unscrew the lower bolt securing the wing to the body (see Figure 12.10).
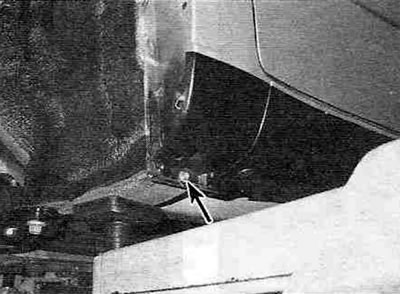
Figure 12.10. Unscrew the lower wing mounting bolt (shown by the arrow).
11. Unscrew the remaining wing mounting bolts (see Figure 12.11, a-c).
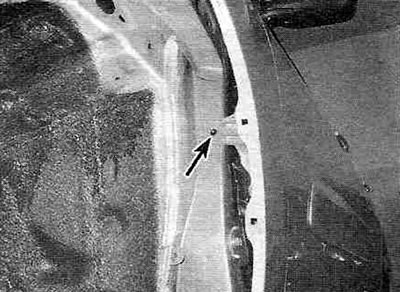
Figure 12.11,a. Loosen the mounting bolt in the wheel arch opening (shown by the arrow).
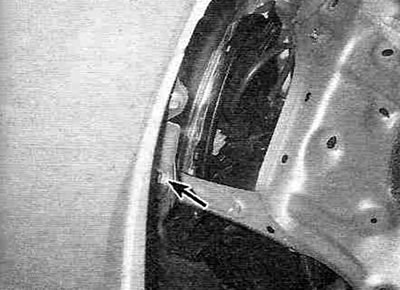
Figure 12.11, b. Unscrew the front bolt securing the wing to the bracket (shown by the arrow). (The upper mounting bolt has already been unscrewed)
The original version is published on the website: ToyotaMan.ru
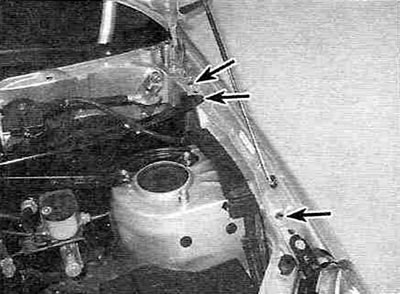
Figure 12.11, c. Unscrew the three mounting bolts along the top of the wing.
12. Lift up and remove the wing from the car. It would be a good idea to ask an assistant to support the wing when removing it to avoid scratching the adjacent body panels.
Installation
13. The wing is installed in the reverse order of removal. Check the alignment of the wing surfaces in relation to the hood and the leading edge of the door and only then finally tighten the mounting bolts.