



Contents: Front parking lights/direction…↓ Tail light assembly (parking…↓ Third brake light ↓ Instrument panel illumination lamps ↓ Interior lighting lamps ↓ License plate light ↓ Fog light ↓
Front parking lights/direction indicators
1. Loosen the side mounting screw (see Figure 19.1), then turn the headlight housing over to gain access to the bulbs located on the back of the housing.
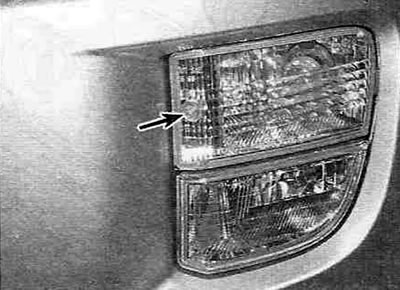
Figure 19.1. Loosen the screw securing the turn signal on the side of the light.
2. Turn the socket counterclockwise and pull it out of the headlight housing together with the bulb. Remove the lamp from the socket.
3. Install the new lamp and headlight in the reverse order of removal.
Tail light assembly (parking light/brake light/direction indicator)
Models produced before 2000
4. To remove the tail light to replace the bulb, remove the trim panel to gain access to the mounting screws.
5. Loosen the two mounting screws and detach the light assembly.
6. Turn the desired cartridge counterclockwise and remove it together with the lamp. Remove the lamp from the socket.
7. Installation of new lamps and headlight assembly is carried out in the reverse order of removal.
Models produced since 2001
8. To access the lamps, remove the inspection hatch cover in the luggage compartment and remove the lamp access panel inside it (see Figure 19.8).
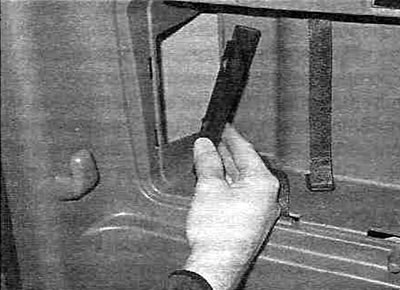
Figure 19.8. Remove the inspection hatch cover in the luggage compartment and remove the lamp access panel inside it.
9. Turn the desired cartridge counterclockwise and remove it together with the lamp. Remove the lamp from the socket.
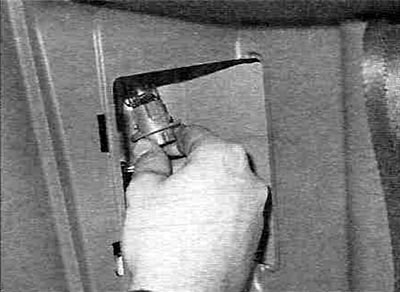
Figure 19.9. Turn the desired socket counterclockwise and remove it from the taillight assembly.
10. Installation of new lamps is carried out in the reverse order of removal.
Third brake light
11. Open the trunk lid and, after detaching the clips, remove the plastic panel of the third brake light.
12. Turn the socket counterclockwise and remove it together with the lamp. Remove the lamp from the socket (see Figure 19.12).
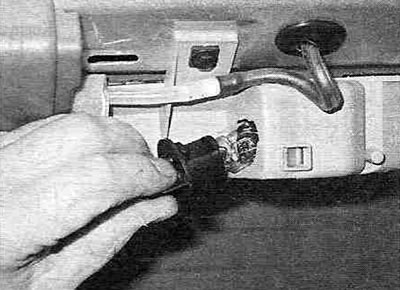
Figure 19.12. Turn the socket counterclockwise and remove it together with the bulb from the housing of the upper (third) brake light.
13. Installation of new lamps is carried out in the reverse order of removal.
Instrument panel illumination lamps
14. To access the backlight lamps, you need to remove the instrument panel itself (see chapter 10). After this, the backlight lamps can be removed and replaced from the back of the panel.
15. Turn the sockets counterclockwise and remove them together with the lamps. Remove the bulbs from the sockets.
16. Installation of new lamps is carried out in the reverse order of removal.
Interior lighting lamps
17. Carefully pry up with a screwdriver and remove the light bulb cover (see Figure 19.17).
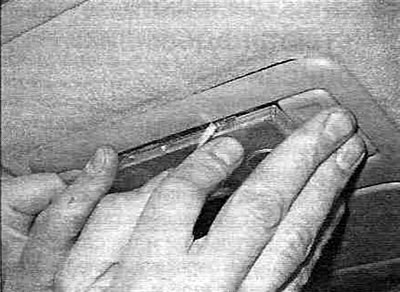
Figure 19.17. Carefully pry up with a screwdriver and remove the interior light bulb.
18. Remove the lamp from the terminal clamps (see figure 19.18).
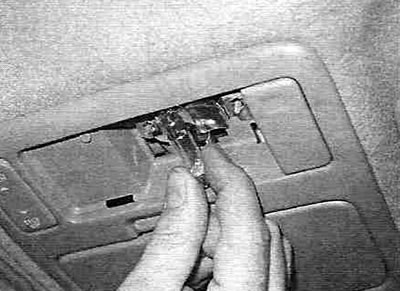
Figure 19.18. Remove the lamp.
You may need to pry it off with a screwdriver - only pry off the metal tips, not the bulb itself (it might break).
19. Install the new lamp in the reverse order of removal.
License plate light
20. Press the two clamps (see Figure 19.20,a) and, turning counterclockwise, remove the cartridges together with the lamps from the trunk door (see Figure 19.20,b).
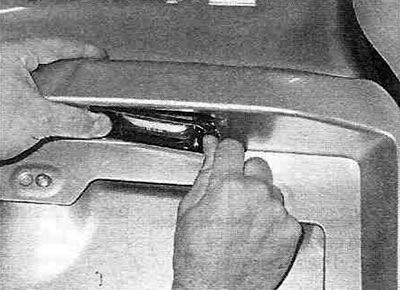
Figure 19.20,a. Press the latches on the side of the license plate light.
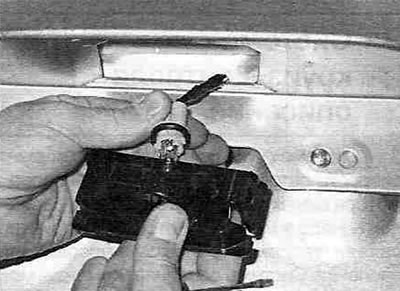
Figure 19.20,b. Turn the license plate light bulb socket counterclockwise.
Remove the bulbs from the sockets.
21. Installation of new lamps is carried out in the reverse order of removal.
Fog light
22. Raise the car with a jack and place it on safety supports.
23. To access the fog light assemblies, remove the front wheels and wheel arch liners (see figure 19.23).
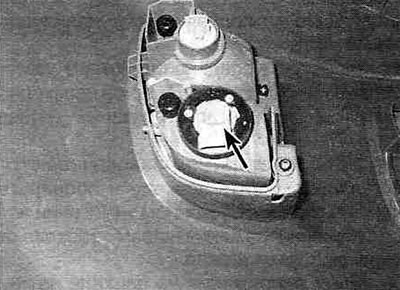
Figure 19.23. Location of the fog light socket.
24. Unscrew the socket together with the bulb from the headlight housing and replace the bulb.