



Rear window defroster
1. The rear window defroster consists of horizontally arranged thin strips of foil (threads) baked into the surface of the rear window.
2. Minor thread breaks can be repaired without removing the glass.
Examination
3. Turn the ignition key to the ON position and turn on the rear window defroster. Connect the negative probe of the voltmeter to the ground terminal and the positive probe to the positive terminal of the heater grid. If there is no voltage, check the fuse, switch and wiring. If there is voltage but one or more threads are not working, proceed as described below.
4. Connect the negative probe of the voltmeter to the ground terminal, wrap the positive probe with aluminum foil, then touch each heater filament in turn in its middle part, pressing the foil (but not the probe) with your finger (see Figure 14.4).
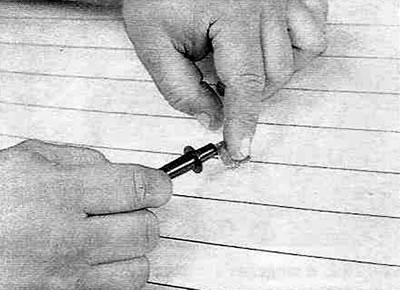
Figure 14.4. Use your finger to press the foil onto the heater filament.
5. The voltmeter should read about 5-6 volts. If the reading is zero, there is a break between the midpoint and the positive terminal of the grid; if the voltmeter shows 10-12 volts, there is a break between the midpoint and the ground terminal (see Figure 14.5).
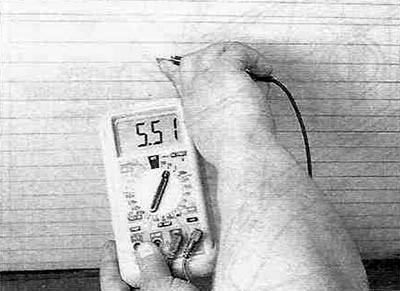
Figure 14.5 To determine if there is a break, check the voltage at the center of each heater strand.
6. Connect the negative probe of the voltmeter to a good ground on the vehicle body. The voltmeter reading should not change. Otherwise, check the tightness of the connections between the grid ground terminal and the vehicle body ground.
7. To find a break, press the negative probe of the voltmeter to the ground terminal of the heater grid. Place the positive probe of the voltmeter on a piece of foil and push it along the wire being tested to the ground terminal of the grid. The point at which the voltmeter reading changes from a few volts to zero is the point where the filament breaks (see Figure 14.7).
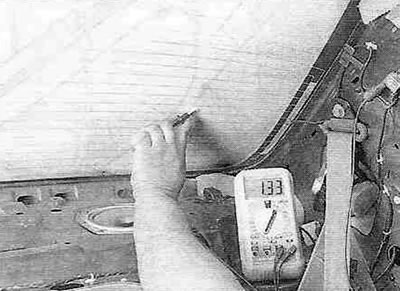
Figure 14.7. Searching for a thread break.
Repair
8. For thread repair, the market offers a variety of conductive compounds; the use of conductive epoxy glue is recommended.
9. Before repairing, turn off the system for a few minutes to allow the glass to cool.
10. Lightly sand the break area with the finest sandpaper, then wipe the area with alcohol.
11. Cover the break with paper tape.
12. Mix the glue thoroughly according to the instructions on the package.
13. Apply glue to the gap between the strips of tape, overlapping the undamaged sections of the thread by 15-20 mm on each side (see figure 14.13).
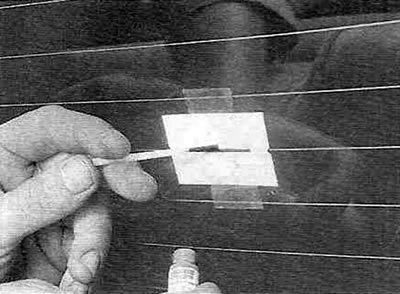
Figure 14.13. Cover the break on the inside of the glass with paper tape, then apply conductive glue to the gap between the tape strips.
14. Allow the glue to dry for 24 hours before removing the tape and turning on the heater.