
Disassembly
Note. If you are going to replace the CV joint boots, consider all options before starting work. Under the terms of the exchange, it is possible to purchase remanufactured half shafts in a fully assembled form, which saves a lot of time and reduces labor costs. Whatever course of action you choose, check the cost and availability of spare parts before dismantling the vehicle.
Note. Some auto parts stores offer two-piece boot covers that can be installed without removing the axle shaft from the vehicle for replacement purposes. This is a convenient option; however, it is recommended to remove the axle shaft, disassemble the CV joint and, if necessary, clean it of dirt and moisture, which accelerate the wear of the hinge. Do not disassemble the outer CV joint.
1. Remove the half shaft (see paragraph 2).
2. Clamp the axle shaft in a vice with soft jaws (to prevent damage). Check the constant velocity joint (SHRUS) for the presence of increased radial clearance, which indicates wear of the hinge elements. Check each CV joint for smooth running throughout the entire travel range. If the cover is torn, disassemble the hinge, clean the elements and inspect them for damage caused by lack of lubrication and possible contamination.
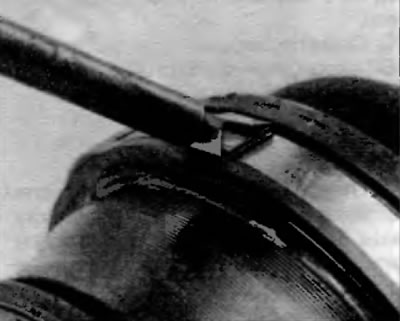
3. Use a small screwdriver to depress the locking tabs of the clamps, release the clamps and move to the side (pic. 3.3).
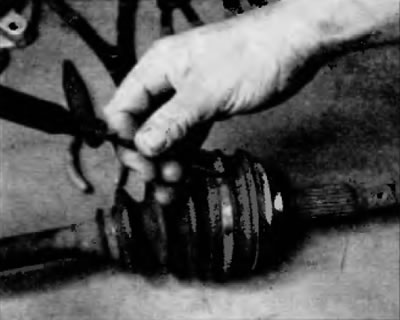
Pic. 3.3. Using a small screwdriver, unscrew the tabs on the clamps of the cover, and then release the clamps
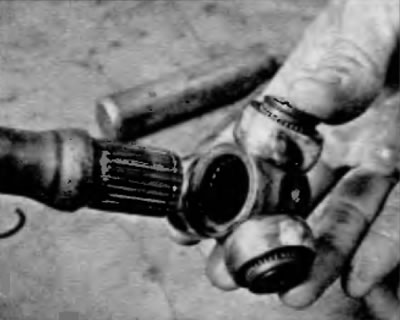
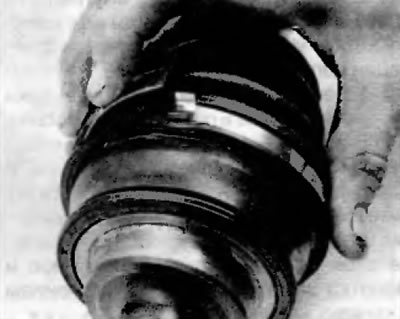
4. Using a screwdriver, carefully lift the edge of the outer boot and remove the boot from the CV joint. Old and worn covers can be simply cut and removed. Pull the cover of the inner CV joint from the body and pull the body off the tripoid (pic. 3.4).
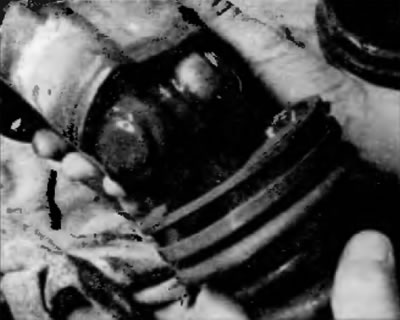
Pic. H.4 Remove the cover from the inner CV joint and slide the hinge housing off the tripoid
5. Mark the relative position of the tripoid and the axle shaft so that they are properly positioned during assembly.
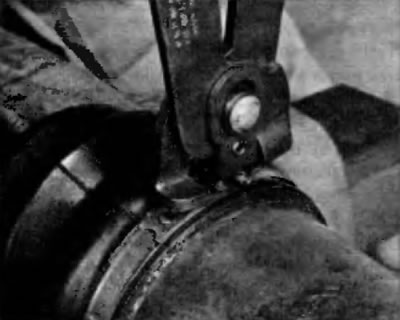
6. Remove the retaining ring of the tripoid using special pliers (pic. 3.6).
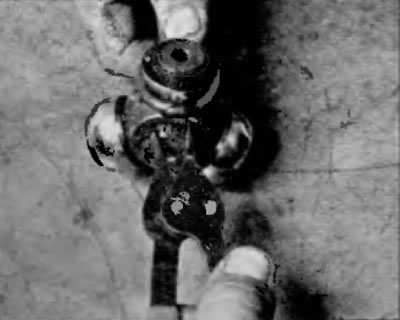
Pic. 3.6. Remove carpentry ring with special pliers
7. Using a hammer and a brass drift, remove the tripoid from the half shaft (pic. 3.7).

Pic. 3.7. Using a brass drift and a hammer, separate the tripod from the axle shaft. Be careful not to damage the running surfaces of the bearings or the splines on the axle shaft
8. Remove both covers if you have not already removed them.
Note. Do not disassemble the outer CV joint. If you are working with a right axle shaft, you will need to cut the dynamic damper clip and move the damper.
Note. It may be necessary to use a hydraulic press to remove the damper. In addition, before removing the damper, measure how far it is located from the end of the axle shaft, since it must be returned to its original place during assembly.
Examination
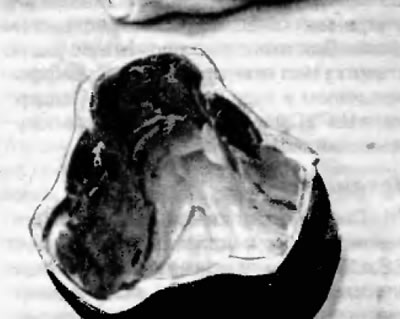
9. Thoroughly clean all elements, including the outer CV joint, with a solvent until the old CV joint grease is completely removed. Inspect the running surfaces of the inner tripod bearings and housing for cracks, pitting, nicks or other signs of wear. It is impossible to inspect the working surfaces of the inner and outer races of the outer CV joint, but you can at least check the working surfaces of the ball bearings directly. If they are in good condition, then so are the clips; if not, then the clips are damaged. If the inner CV joint is worn out, you can buy a new inner CV joint and install it on the old axle shaft. If the outer CV joint is worn, you will need to purchase a new outer CV joint and axle shaft (they are sold assembled).
Assembly
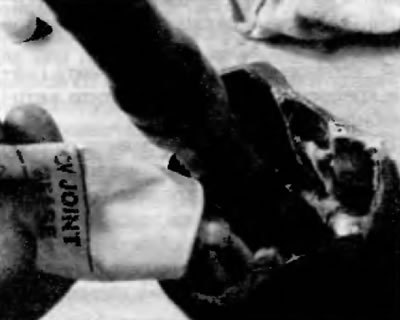
10. Wrap the splines on the inner end of the axle shaft with duct tape to prevent damage to the boots when they come into contact with the sharp edges of the splines. Put on the clamps and cover (ly) not half shaft, then install the tripod not half shaft. Apply grease not to the tripoid and the inside of the case. Insert the tripoid into the body and fill the cavity around the tripoid with the rest of the lubricant (pic. 3.10, a-g).
Pic. 3.10, a. To prevent damage to the covers when removing or installing them, wrap the splined end of the axle shaft with adhesive tape
Pic. 3.10b. Install the tripod in your way so that the recess in the spline is facing the axle shaft
Pic. 3.10, c. Fill the lower part of the CV joint housing with grease
Pic. 3.10, d. Install the clamps of the cover on the axle shaft, then insert the tripoid into the body and fill the cavity around the tripoid with the rest of the lubricant
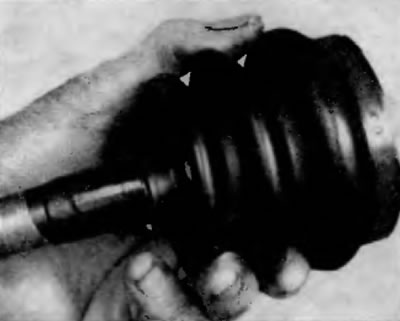
11. Slide the boot back into place, making sure both ends fit into their respective grooves. Adjust the length of the axle shaft, setting it to about half its course.
12. Release excess air from under the boot, then tighten and secure the boot straps (pic. 3.12, a-g).
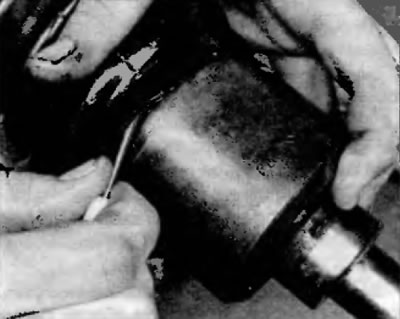
Pic. 3.12, a. Release excess air from under the boot by inserting a small, blunt screwdriver between the boot and the clip spring
Pic. 3.12b. To install new clamps, bend the tip...
Pic. 3.12, in... and then bend the tabs to fix the clamp
Pic. 3.12, d. If the boot being used as a replacement is the boot of a swaging body, an appropriate special tool will be required to properly tighten it (can be purchased at many auto parts stores)
13. Install the axle shaft assembly (see paragraph 2).