
2. Stop the vehicle on level ground with firm ground.
3. Stop the engine and turn on the hazard warning lights.
4. Securely lock the parking brake and move the selector to the position "R". On models with manual transmission, engage first or reverse gear.
Note: if necessary, block the wheel diagonally opposite the one to be replaced.
5. Remove the spare wheel.
A) Open the back door.
b) Loosen the spare wheel lock.
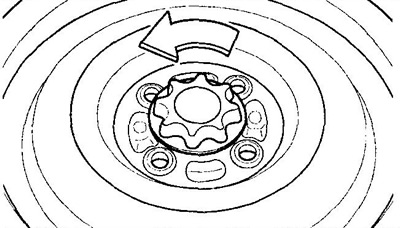
6. Replace wheel.
A) Remove the decorative cap (if installed).
b) Loosen the wheel nuts to be replaced by one turn.
V) Set the jack (see section "car jacking").
G) Turn the jack handle to raise the vehicle.
d) Loosen the wheel nuts.
Note: Raise the vehicle only high enough to remove or change a wheel.
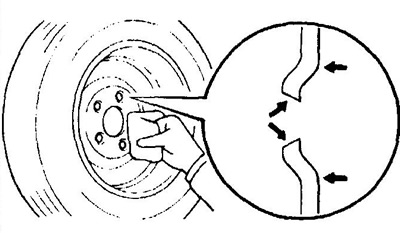
e) Before installing the wheel, remove rust from the mounting surface with a wire brush or similar tool. Mounting a wheel without good metal-to-metal contact on the mounting surface can loosen the wheel nuts and even cause the wheel to come off while driving. Therefore, check the reliability of fastening nuts.
Note: when replacing with a standard wheel after the first 1600 km, check the tightness of the nuts.
 | 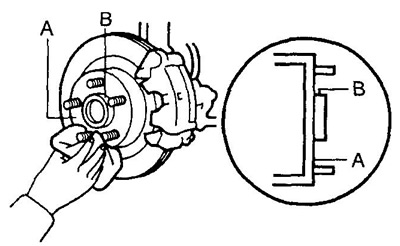 |
and) Install the spare wheel and hand-tighten the mounting nuts.
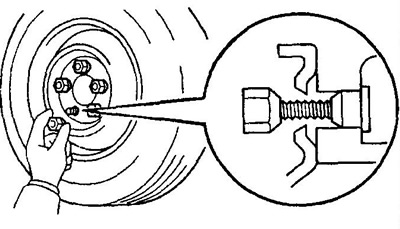
steel disc
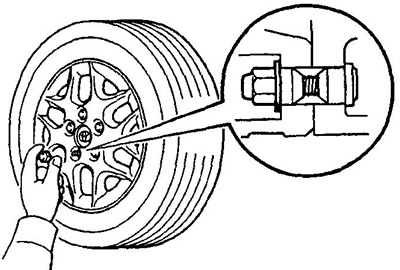
aluminum disc
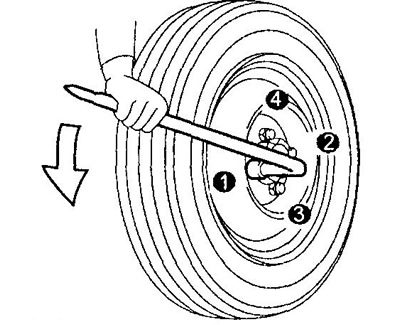
h) Lower the car and tighten the wheel nuts in the sequence shown in the figure. When tightening the nuts, do not use an extension wrench or press it with your foot.
- Tightening torque - 103 Nm
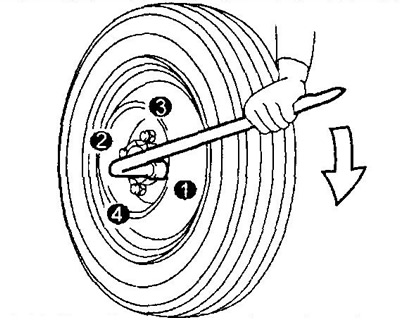
7. Check the air pressure in the installed tire.
Note: Be sure to replace the tire valve cap, as dirt and moisture may enter the valve and cause air leakage.
8. Before driving, make sure that all tools, jack and punctured wheel are securely stored in their storage areas to reduce the possibility of injury during a collision or sudden braking.