



Contents: Removal ↓ Installation ↓
Removal
1. Disconnect the battery from ground.
2. Set the car's handbrake and block the rear wheels.
3. Raise the front of the car.
4. Remove the engine mudguards.
5. Drain the oil and remove the oil filter. Remove the oil level indicator.
6. Remove the anti-roll bar.
7. Remove the exhaust pipes.
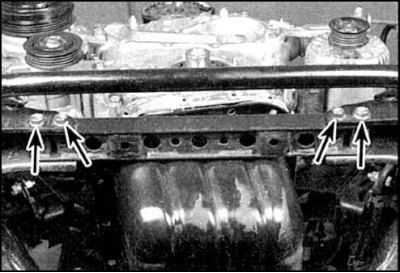
8. Remove the crossbar by unscrewing the bolts (indicated by arrows).
9. Remove the air conditioning compressor bracket
10. Remove the generator and bracket.
11. Remove the crankshaft speed sensor.
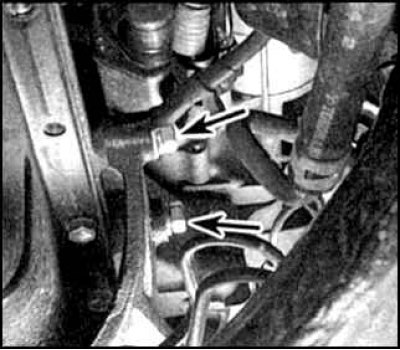
12. Remove the left and right reinforcement plates by unscrewing the bolts (indicated by arrows).
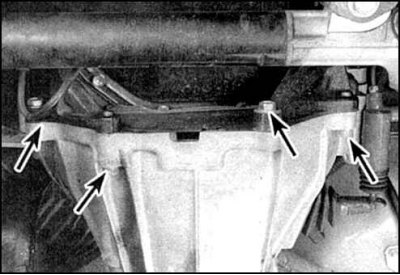
13. Loosen the transmission housing mounting bolts (indicated by arrows).
14. Remove the pan bolts.
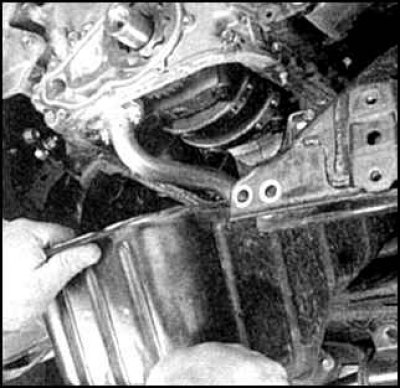
15. Tilt and remove the oil pan.
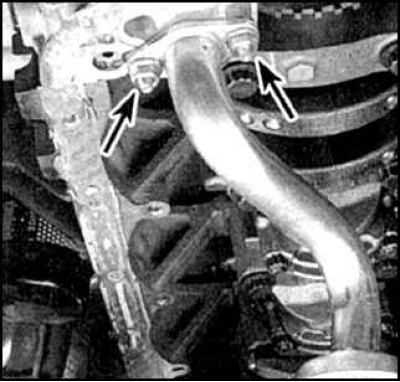
16. Remove the oil receiver by unscrewing the bolts (indicated by arrows).
Installation
1. Remove any remaining seal from the split surfaces of the cylinder block and the oil pan. Wash the sealing surfaces with solvent.
2. Make sure the threaded holes in the cylinder block are clean.
3. Check the split surface of the tray for deformations, especially near the bolt holes. If necessary, straighten the surface with a hammer.
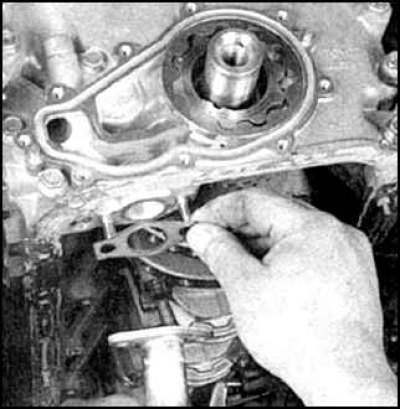
4. Check the condition of the oil receiver, the presence of cracks and clogging of the coarse filter.
(The material is republished from an online website: «ToyotaMan»)
5. When assembling, install a new oil pan gasket.
6. Apply a bead of sealant with a diameter of about 3 mm to the sealing surface of the tray, tracing the holes from the inside.
Attention! The part must be installed no later than 5 minutes after applying the sealant.
7. Carefully install the pan and tighten the bolts. Tighten the pan bolts to the specified torque in three or four steps, starting from the center.
8. Further assembly is performed in the reverse order. Fill the engine with oil and replace the filter. Replace the exhaust pipe muffler gaskets.
9. Start the engine and check for leaks.