



Models with four-cylinder engines
1. Disconnect the ground cable from the battery (see paragraphs 1 and 3).
2. On 2003 and earlier models, remove the air cleaner housing and air intake duct (see chapter 4). On 2004 and later models, remove the battery and battery tray (see paragraph 3).
3. Disconnect the electrical connectors on the starter assembly with the solenoid (Fig. 13.3).
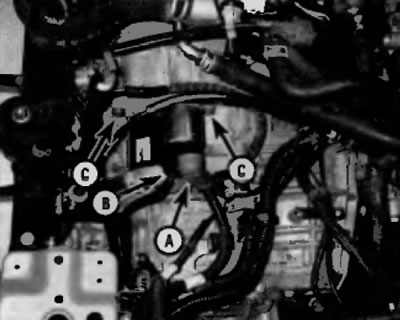
Fig. 13.3. To remove the starter from a four-cylinder engine, disconnect the electrical connector (A) and disconnect the wire from the battery (B) on the starter, then unscrew the starter mounting bolts (C)
4. Unscrew the starter mounting bolts (Fig. 13.3) and remove the starter.
5. Installation is performed in the reverse order of removal.
Models with V6 engine
6. Disconnect the ground cable from the battery (see paragraph 3).
7. Remove the battery and battery tray (see paragraph 3). Remove the air filter housing and air intake duct (see chapter 4).
8. On 1999-2003 models, first remove the starter, then disconnect the electrical connectors (fig. 13.8, a-c).
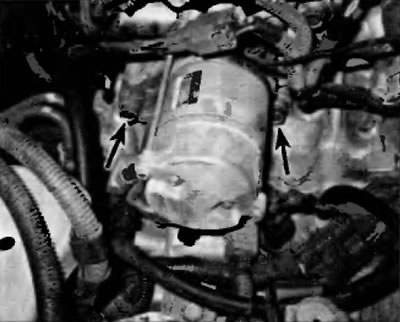
Fig. 13.8, a. On 1939-2093 models with a KB engine, unscrew the starter mounting bolts and remove the starter...
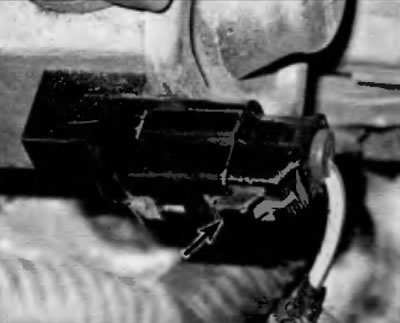
Fig. 13.9, b....press the locking tab and disconnect the electrical connector on the starter solenoid...
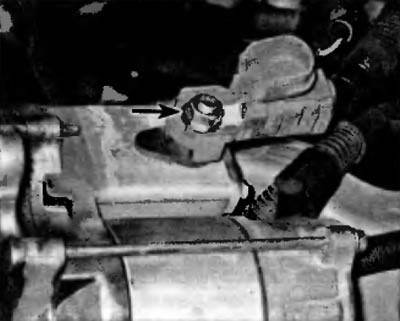
Fig. 13.9, c....then open this nut and disconnect the wire coming from the battery from the B+ terminal on the starter
9. On 2004 and later models, disconnect the electrical connectors and remove the starter mounting bolts (Fig. 13.9). Then remove the starter.
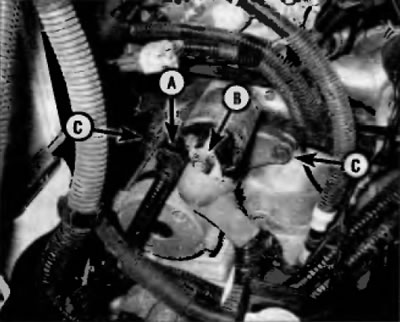
Fig. 13.9. On 2904 and later models with V6 engine, disconnect electrical connector (A), disconnect battery to starter wire (B), then remove starter mounting bolts (C) and remove starter
10. Installation is performed in the reverse order of removal. Tighten the starter mounting bolts to the specified torque specified in Specifications at the beginning of this chapter.