
Removing
A rear anti-roll bar has been fitted to models since 2001.
Block the front wheels with chocks. Raise the rear of the car and place it on stands.
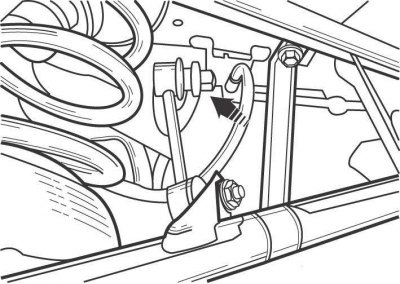
Pic. 12.16. Arrangement of a nut of fastening of draft of the stabilizer of cross-section stability to the stabilizer
Loosen the anti-roll bar link nuts (pic. 12.16). When unscrewing the nuts securing the ball joints of the stabilizer link with a hex wrench, hold the trunnion of the ball joint from turning.
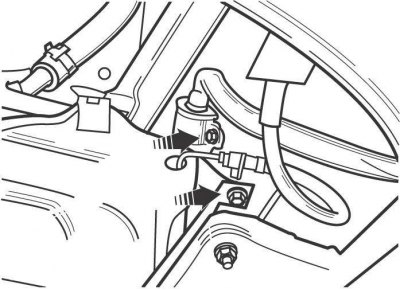
Pic. 12.17. The location of the nuts for fastening the clamps that secure the anti-roll bar to the car body
Turn out bolts of fastening of clips with plugs fastening the anti-roll bar to a car body (pic. 12.17).
Remove the anti-roll bar from the vehicle.
Remove the support bushings from the stabilizer and check their condition.
Check up a condition of spherical hinges of drafts of the stabilizer. To do this, remove them from the car and secure in a vise (pic. 10). Swing the ball joint trunnion all the way to one side and the other, then screw the nut onto the trunnion. Using a torque wrench, turn the ball joint trunnion (one revolution in 2–4 s), and on the fifth turn, measure the cranking torque, which must be at least 0.04 Nm. Otherwise, replace the stabilizer link.
Use a wire brush to clean the areas of the stabilizer where the bushings are to be installed.
Installation
Lubricate the inside of the bearing bushings with cooking oil to facilitate their installation. Do not use engine oils or brake fluid as a lubricant. Install the stabilizer bushings.
Further installation is carried out in the reverse order of removal.