



Contents: Examination ↓ Repair ↓
The heater consists of thin wires sintered with the glass surface.
Minor damage to wires can be repaired independently.
Examination
1. Turn on the ignition and heater.
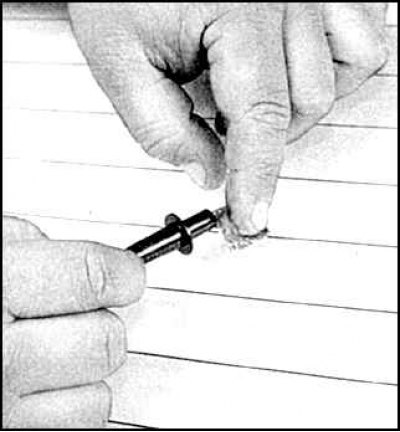
2. Place a folded strip of aluminum foil over the voltmeter probe and press it against the heater filament with your finger.
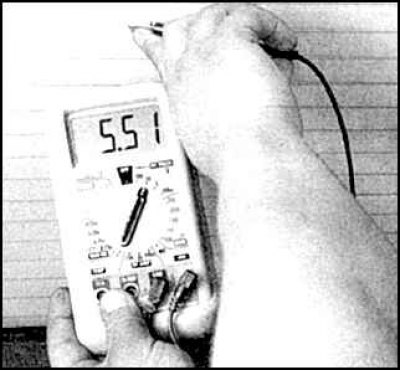
3. If the voltage in the center of the thread is 6 V, then the thread is working properly, if the voltage is 12 V, then the thread is broken (the break occurs between the center of the thread and the mass). If the voltage is 0 V, then the thread is broken between the center and the power terminal of the heater.
4. If the threads are OK, connect the (-) terminal of the heater to ground. If the voltmeter readings change, the ground connection is unsatisfactory.
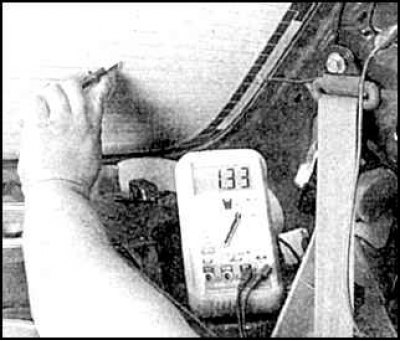
5. The location of the break in the thread can be determined by moving the aluminum contact on the voltmeter probe along the thread from the (+) terminal to the (-) terminal of the heater. Connect the (-) terminal of the voltmeter to the aluminum contact. At the location of the break, the voltmeter reading should increase from 0 to several volts.
Repair
1. You can splice a broken heater thread using conductive epoxy compound Dupont N 4817 or equivalent.
2. Turn off the heater and wait until it cools down completely.
3. Using a steel wool pad, carefully polish the damaged area and wipe with alcohol.
4. Apply a mask of adhesive tape to the damaged area.
5. Prepare the resin according to the instructions.
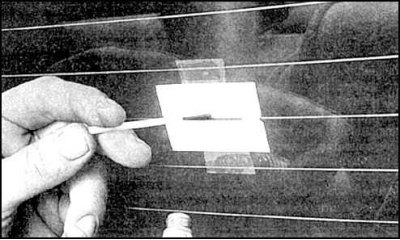
6. Apply the composition to the gap in the mask, spreading it approximately 18 mm in both directions.
7. After 24 hours, remove the mask.