Contents: Checking the glove box light switch ↓ Checking the interior light switch ↓ Checking the rear interior light…↓ Checking the trunk light switch ↓ Checking the rheostat of the…↓
Checking the glove box light switch
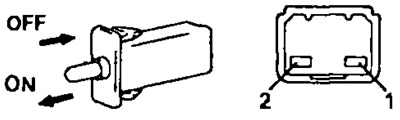
1. Check for conductivity between terminals "1" and "2" when the button is pressed and for conductivity when the button is released. If the conductivity does not match the description, replace the switch.
2. Disconnect the connector from the switch and check the circuit from the wiring harness side according to the table.
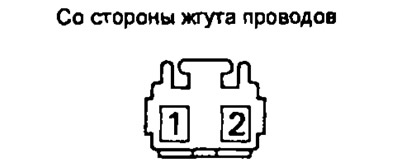
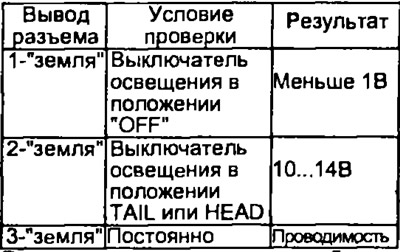
If the chain does not match the table, check other system components.
Checking the interior light switch
1. Disconnect the connector from the lamp.
2. Set the interior light switch to the "ON" position and check the continuity between terminal "2" and "ground" (see picture).
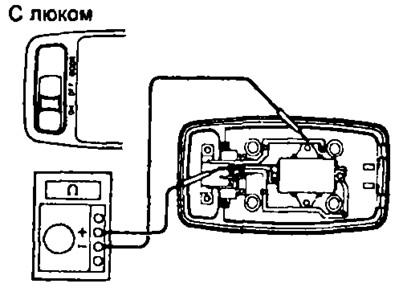 | 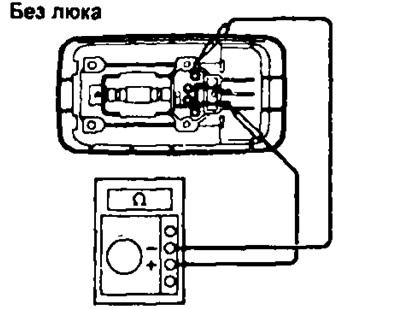 |
3. Set the interior light switch to the "DOOR" position and check the continuity between terminals "1" and "2" (see picture).
[The full article is posted on the website toyotaman.ru]
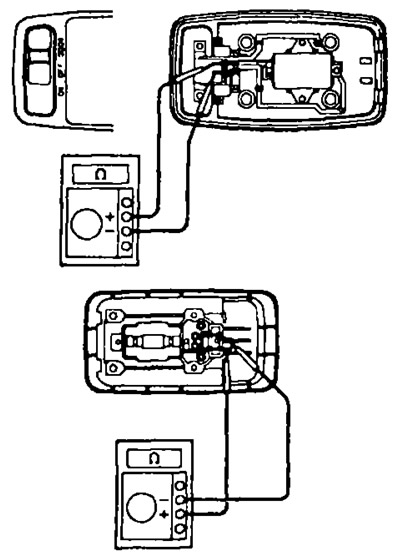
If the switch does not operate as described, replace it.
Checking the rear interior light switch (models before 1996)
1. Disconnect the connector from the lamp.
2. Set the interior light switch to the "ON" position and check the continuity between terminal "2" and "ground" (see picture).
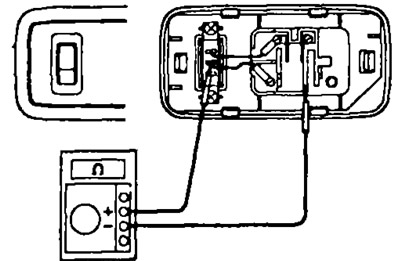
Checking the trunk light switch
Check for continuity between the connector terminal and ground when the switch button is pressed (the trunk is closed), and the presence of conductivity when the button is pressed (the trunk is open).
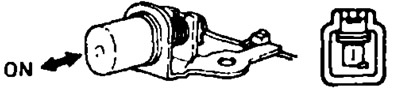
If the conductivity is not as described, replace the switch.
Checking the rheostat of the instrument cluster illumination switch
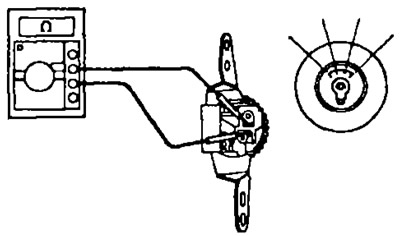
When changing the position of the rheostat handle from one extreme position to the other, the resistance should change within the range of approximately 0 to 4.5 ohms.