
Note. The hood is quite bulky, and therefore it is recommended to remove and install it with at least two people.
Removal and installation
1. Open the hood and install protective covers on the fenders and the area in front of the windshield. This will protect the bodywork and paintwork when the hood is removed.
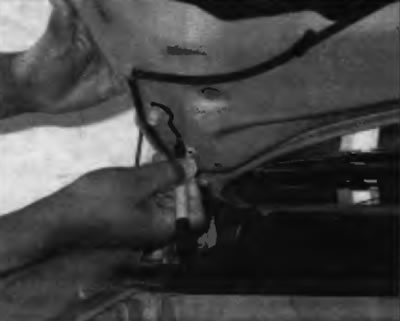
2. Disconnect all cables and wires that may interfere with removal. Disconnect the windshield washer pipe near the right hinge.
3. Outline the hood hinges to ensure that the hood is installed accurately (pic. 9.3).
Pic. 9.3. Trace the rope loops around the outline to ensure the hood is positioned accurately when it is put back in place
4. Have an assistant support the hood on one side. Remove the clips from each end of the thrust strut and disconnect the strut from the hood. Turn out bolts of fastening of loops to a cowl and remove a cowl (pic. 9.4).

Pic. 9.4. Support the hood with your shoulder while unscrewing the bolts of its fastening
5. Installation is carried out in the reverse order of removal. Align the loops according to the marks made in accordance with paragraph 3.
Adjustment
6. Longitudinal and transverse adjustment of the hood is performed by moving the hood within the grooves in the hinge plates after loosening the bolts or nuts.
Notes. Factory-installed bolts are bolts «centering» types that cannot be adjusted. To adjust the position of the hood relative to the hinges, these bolts must be replaced with standard bolts, complete with flat washers and lock washers.
7. Draw around the loops so that you can determine the amount of movement.
8. Loosen the bolts and move the hood to the correct position. Move it around a little at a time. Tighten the hinge bolts and carefully lower the hood to check its position.
9. If necessary, after installing the hood, you can adjust the height and transverse direction of the hood latch assembly located on the radiator support. The criterion for the correct adjustment is the reliability of the bonnet closing and its location flush with the wings. Draw a marker around the heads of the hood latch mounting bolts to provide a base for adjustment, then loosen the bolts and readjust the position of the latch if necessary (pic. 9.9). Retighten the screws after adjustment.
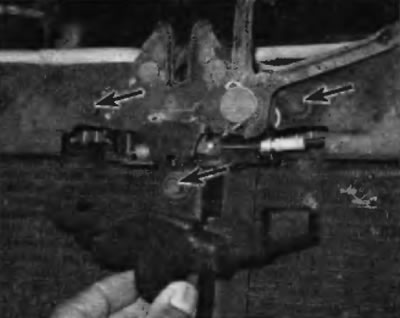
Pic. 9.9. To adjust the position of the hood latch horizontally or vertically, loosen the bolts
10. Finally, adjust the hood stops on the radiator support so that the hood in the closed position is flush with the wings (pic. 9.10).
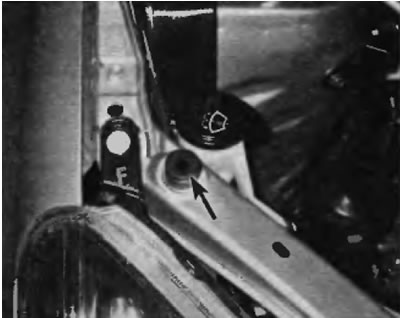
Pic. 9.10. To adjust the front edge of the hood so that it is flush with the fenders, turn each stop (one of them is marked with an arrow) clockwise (to lower the hood) or counterclockwise (to lift the hose)
11. The hood latch, as well as the hinges, should be periodically lubricated to prevent sticking and wear «white grease» not lithium based.