
Fuel tank and related parts
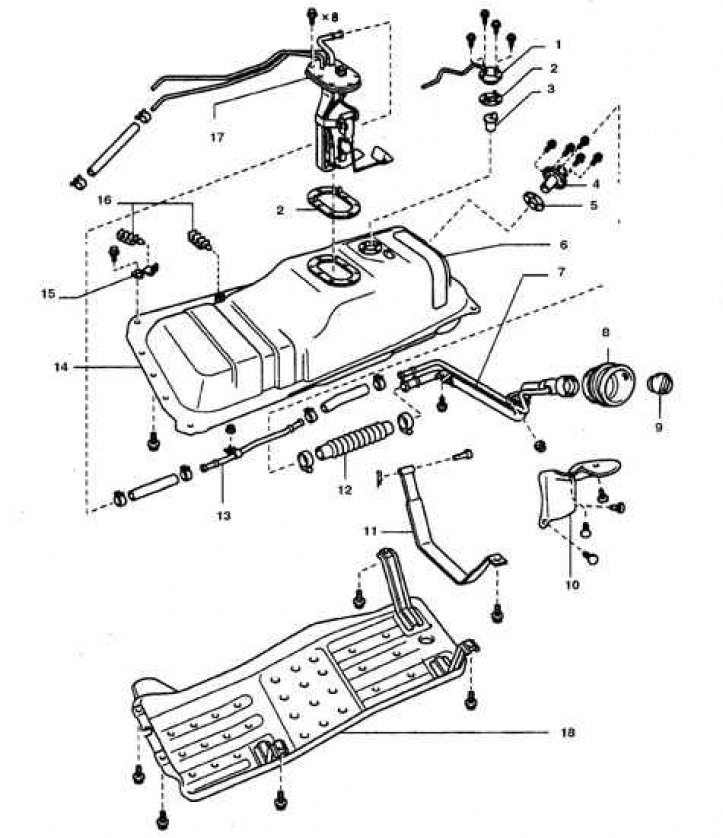
1. Ventilation tube; 2, 5. Gasket; 3. Shut-off valve; 4. Neck; 6. Pillow; 7. Top fill pipe; 8. Case; 9. Cork; 10. Shield; 11. Tank fastening tape; 12. Neck hose; 13. Tube; 14. Buck; 15. Bracket; 16. Tube holder; 17. Pump; 18. Bottom guard
Removing
1. Empty the tank by driving or through the drain plug. Loosen the tank filler cap to relieve residual pressure.
2. Disconnect the battery from the ground.
3. Raise the rear of the car and place on stands.
4. Drain the remaining gasoline through a hose or plug.
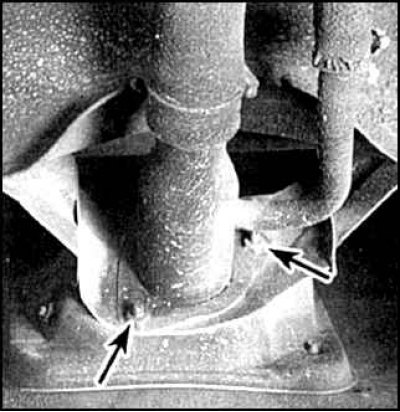
5. Loosen the screws (indicated by arrows) and detach the neck.
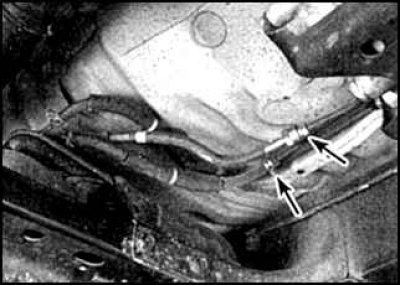
6. Disconnect and plug hoses (indicated by arrows).
7. Loosen the tank strap bolts.
8. Remove shields. Install a brace under the tank.
9. Disconnect the tank straps and set aside.
10. Lower the tank just enough to disconnect the wiring connector and ground strap from the pump and fuel gauge (if the wires and bus are not already disconnected).
11. Remove the tank.
Installation
1. Installation is carried out in the reverse order.
2. If the car is equipped with a spare tank, then this tank can be removed by unscrewing the bolts around its perimeter.
Repair
Tank repair is carried out by experienced specialists. It is forbidden to repair the tank by soldering or welding on your own.