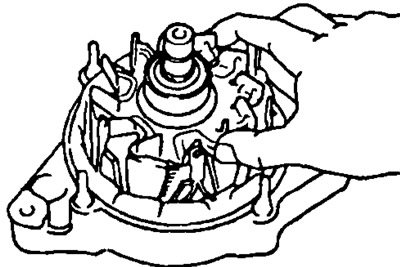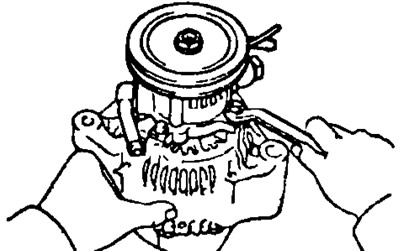
2. Remove the generator cover from the rectifier side.
- a) Unscrew the nut and remove the terminal insulator.
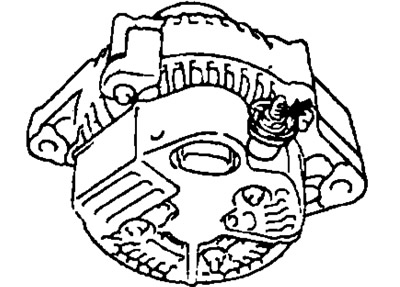
- b) Unscrew the fastening nut and disconnect the terminal.
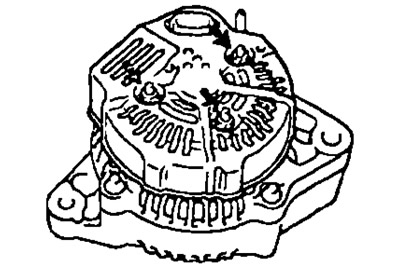
- c) Unscrew the three cover fastening nuts and remove the generator cover from the rectifier block side.
3. Remove the brush holder and voltage regulator.
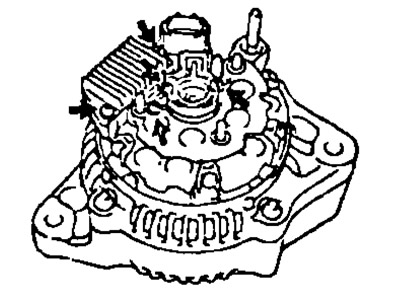
- a) Unscrew 5 screws, remove the brush holder and voltage regulator.
- b) Remove the brush holder cover from the brush holder.
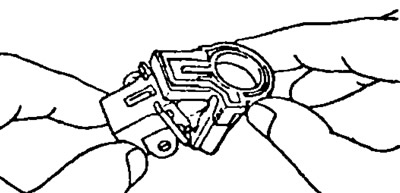
- c) Remove the sealing plate from the cover on the regulator side.
4. Remove the rectifier block.
- a) Unscrew 4 screws and remove the rectifier unit.
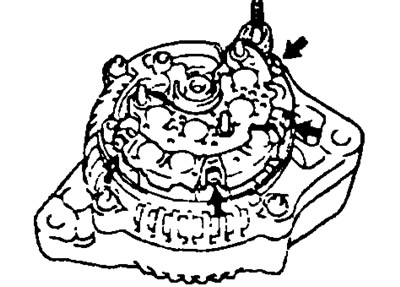
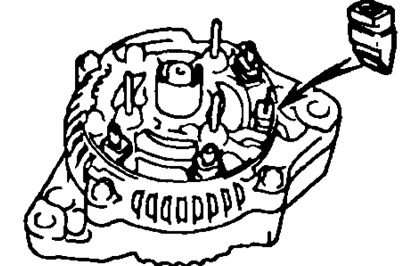
- b) Remove 4 rubber insulators.
5. Remove the generator pulley.
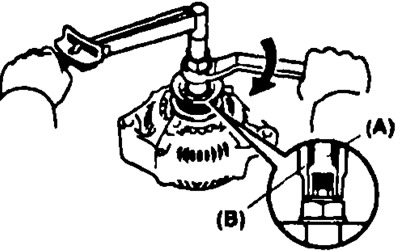
- a) Hold the special tool (A) with a torque wrench and tighten the special tool (B) (clockwise). (M3 = 39 Nm).
- 6) Make sure that the special tool (A) is securely fixed together with the rotor.
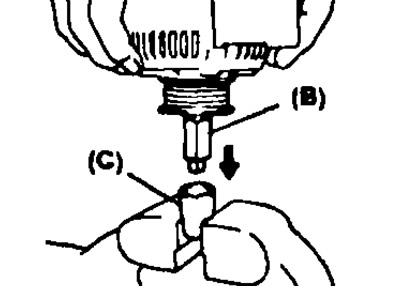
- c) Clamp the special tool (C) as shown in the figure and install the generator on it.
- d) Insert the special tool (B) into the special tool (C) and attach the pulley nut to the special tool (C).
- d) To loosen the pulley mounting nut, turn the special tool (A) in the direction shown in the figure.
Note: To avoid damaging the rotor shaft, do not loosen the pulley mounting nut more than half a turn.
- f) Remove the generator from the special tool (C).
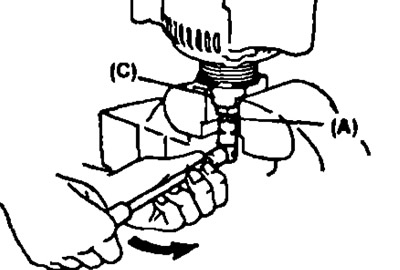
- g) Unscrew the special tool (B) and remove the special tools (A) and (B).
- c) Loosen the pulley mounting nut and remove the generator pulley.
5. Remove the rectifier housing.
- a) Remove the rectifier housing using a puller, after unscrewing the four nuts and removing the wiring clamp.
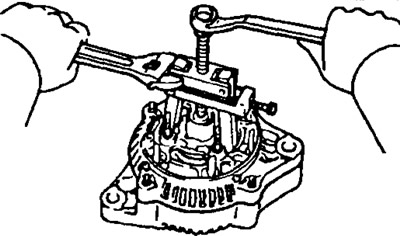
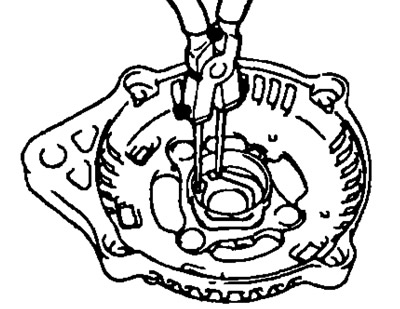
- b) Using pliers, remove the washer from the rectifier housing.
6. Remove the rotor from the generator cover on the drive side.