
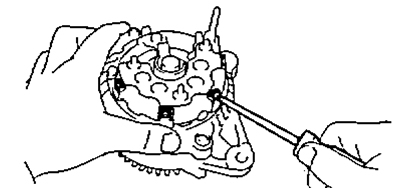
A) Loosen the nut and remove the terminal insulator.
b) Remove the rectifier plate.
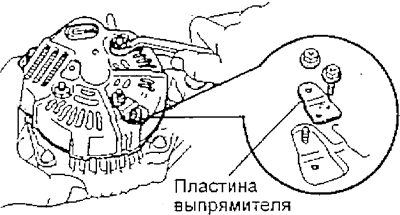
V) Unscrew the 3 cover fastening nuts and remove the generator cover from the side of the rectifier unit.
2. Remove the brush holder and electronic voltage regulator.
A) Remove the brush holder cover.
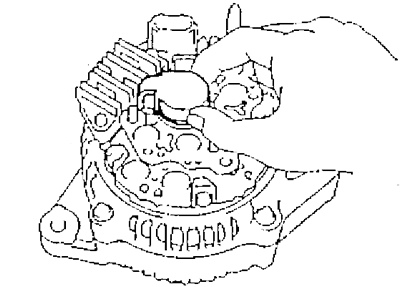
b) Unscrew 5 screws, and remove the brush holder with cover and electronic voltage regulator.
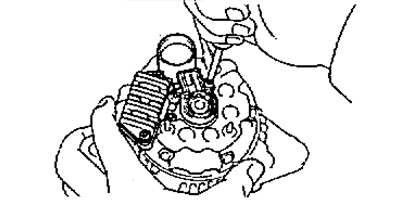
3. Remove the sealing plate.
4. Loosen 4 screws, remove rectifier block, 4 rubber insulators and sealing plate.
5. Remove the alternator pulley.
A) Holding a special tool "A" torque wrench, tighten the special tool "IN" (clockwise).
- Tightening torque - 39 Nm
b) Make sure the special tool "A" securely fixed together with the rotor.
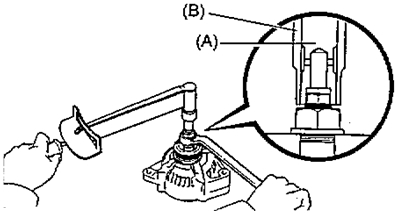
V) Clamp special tool "WITH", as shown in the figure, and install the generator on it.
G) To loosen the pulley nut, turn the tool "A" in the direction shown in the figure.

Warning: To avoid damage to the rotor shaft, do not loosen the pulley mounting nut more than a half turn.
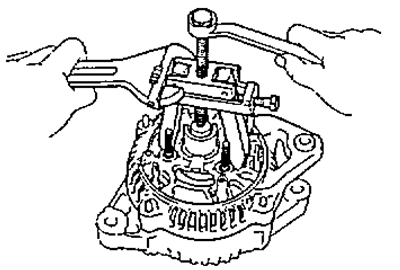
d) Remove generator from tool "WITH".
e) Unscrew the special tool "IN" and remove special equipment "A" And "IN".
and) Loosen the pulley nut and alternator pulley.
6. Remove the rectifier housing.
A) Loosen 4 nuts.

b) Using a puller, remove the rectifier housing.
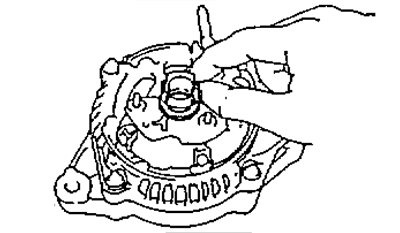
7. Remove washer.
8. Remove the rotor from the generator cover on the drive side.