



Turbocharger
Examination
1. The turbocharger is a high-tech device that can be seriously damaged due to insufficient lubrication or foreign objects entering the intake air duct. A faulty turbocharger will cause a loss of engine power, bluish/grey exhaust, or unusual noises from the turbocharger. If you suspect a turbocharger problem, perform the following checks:
- Check the air intake duct for leaks and damage. Make sure there are no obstructions to the air flow in the intake tract. Also check the air filter element for blockages and the serviceability of the intercooler.
- Check the condition of the vacuum hoses for damage, pinching, and air leaks.
- Check the wiring connectors for reliability and absence of corrosion.
- Check the operation of the turbocharger pressure regulator drive - there should be no jamming.
- Check the condition of the exhaust system.
- Check the condition of the turbocharger feed and return oil lines.
- When replacing a turbocharger due to a faulty turbocharger, be sure to change the engine oil and oil filter (see Chapter 1B).
2. Complete diagnostics of the turbocharger and engine management system requires special technologies and equipment. If the above checks do not reveal the cause of the malfunction, contact your dealership service center.
Removal
Caution: Allow the engine to cool completely before beginning this procedure.
3. Drain the coolant as described in chapter 1B.
4. Loosen the clamps and disconnect the inlet and outlet air hoses from the intercooler.
5. Loosen the mounting nuts and remove the intercooler from the top of the engine.
6. Loosen the mounting bolts and remove the upper heat shield from the turbocharger (see figure 13.6, a, b).
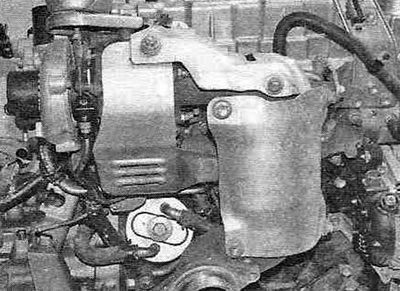
Figure 13.6,a. Turbocharger heat-insulating shields.
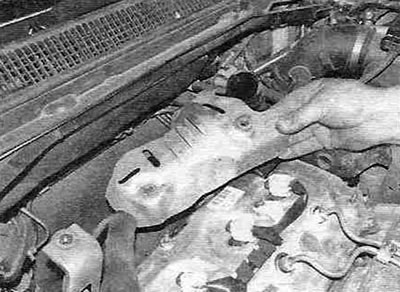
Figure 13.6, b. Loosen the mounting bolts and remove the upper heat-insulating screen...
7. Remove the lower heat shield mounting bolts from the rear of the exhaust manifold/catalytic converter (see Figure 13.7).
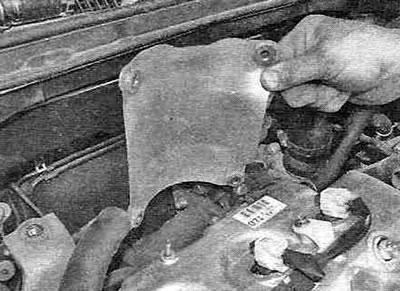
Figure 13.7. ...and the lower thermal insulation screen.
(The material is republished from an online website www.ToyotaMAN.ru)
It will be easier to access the lower mounting bolt from underneath the car. The large heat shield with ventilation slots can only be removed from the rear of the engine after the turbocharger has been removed.
8. Loosen the clamps and disconnect the intercooler hose and air outlet hose from the turbocharger (see figure 13.8, a, b).
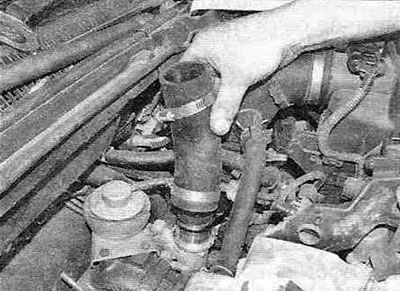
Figure 13.8,a. Removing the intercooler hose...
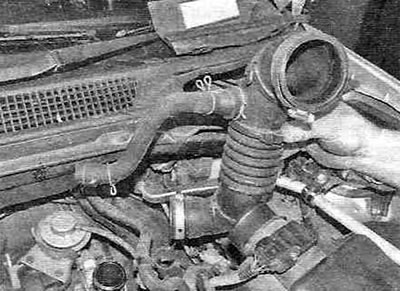
Figure 13.8,...and the exhaust air hose.
9. Disconnect the vacuum hose from the turbocharger (see Figure 13.9).
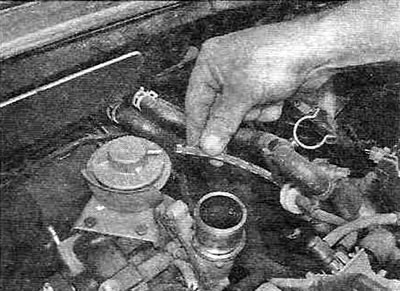
Figure 13.9. Disconnect the vacuum hose from the turbocharger wastegate.
10. Loosen the mounting bolts and remove the turbocharger/intercooler mounts (see figure 13.10, a, b).
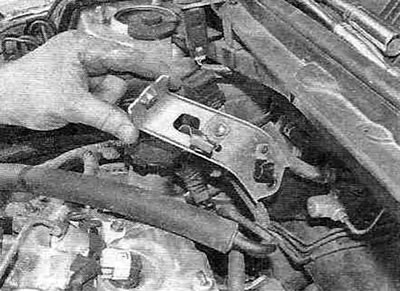
Figure 13.10,a. Loosen the mounting bolts and remove the intercooler support...
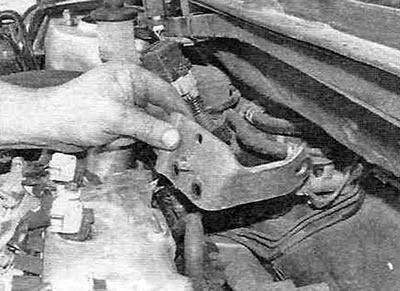
Figure 13.10, b....and the turbocharger support.
11. Loosen the mounting bolts and remove the catalytic converter support (see Figure 13.11).
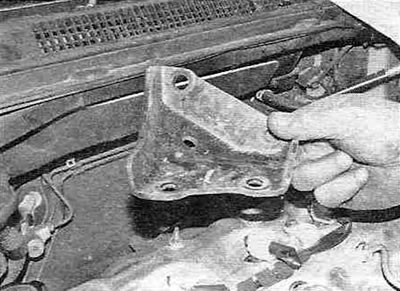
Figure 13.11. Removing the catalytic converter support.
12. Loosen the mounting nuts and separate the catalytic converter from the turbocharger. Remove the old gasket (see Figure 13.12, a-c).
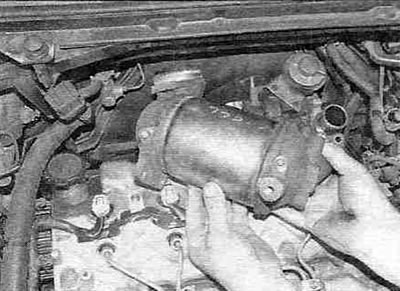
Figure 13.12,a. Removing the catalytic converter.
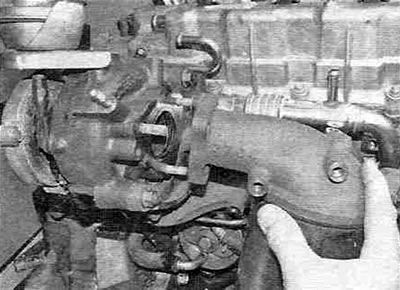
Figure 13.12.6. The catalytic converter is connected to the turbocharger with studs and nuts.
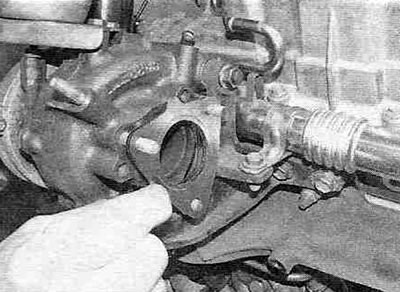
Figure 13.12, c. Removing the gasket from the turbocharger.
13. Loosen the clamps and disconnect the cooling system hoses from the turbocharger.
14. Loosen the bolt securing the support bracket for the inlet and outlet oil lines.
15. Loosen the clamp and disconnect the turbocharger oil outlet hose.
16. Loosen the mounting bolts and remove the turbocharger inlet/return oil line flange; if necessary, also unscrew the union nut and disconnect the other ends of the oil line from the cylinder block. Remove the old gasket and sealing washers (see Figure 13.16).
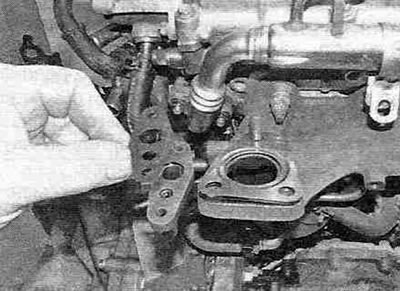
Figure 13.16. Turbocharger inlet/return oil line connecting flange with gasket (turbocharger removed).
17. Loosen the mounting bolts and remove the remaining support, then loosen the mounting nuts and separate the turbocharger from the exhaust manifold (see figure 13.17, a, b).
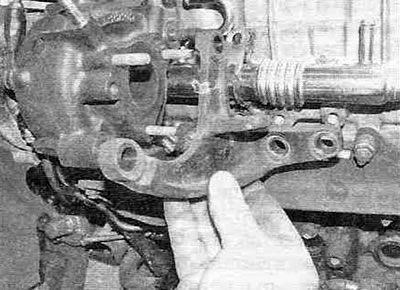
Figure 13.17,a. Unscrew the bolts, fasteners and remove the remaining support...
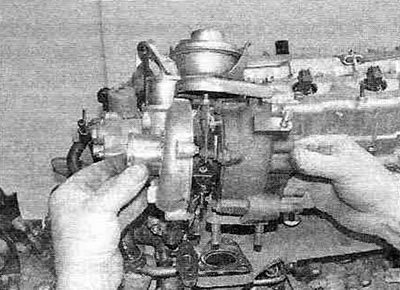
Figure 13.17, b....then unscrew the mounting nuts and separate the turbocharger from the exhaust manifold.
Remove the old gasket. Be careful not to damage the turbocharger drive rod.
18. If necessary, loosen the mounting bolts and remove the EGR cooler pipe (see figure 13.18).
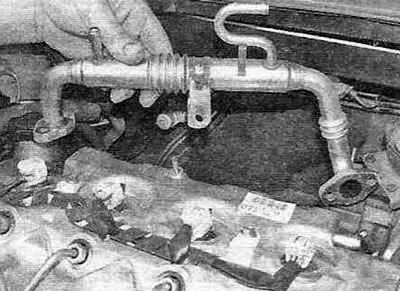
Figure 13.18. Removing the ROG tube (exhaust gas recirculation systems).
19. Remove the remaining heat shield from the rear of the engine (see Figure 13.19).
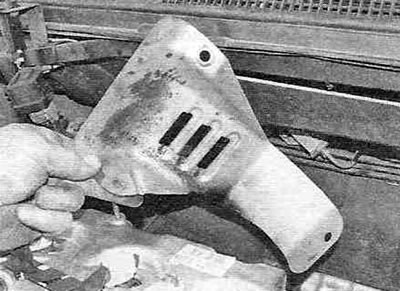
Figure 13.19. Remove the remaining thermal insulation screen.
Installation
20. The turbocharger is installed in the reverse order of its removal, taking into account the following additions:
- Replace all gaskets, seals, union nut washers and self-locking nuts.
- Tighten bolts and nuts to torque specified in Specifications.
- Change engine oil and oil filter (see Chapter 1B).
- Fill the cooling system (see Chapter 1B).
- Before starting the engine, disconnect the wiring connectors from the injectors and turn the crankshaft with the starter until the oil pressure is established.