
Attention! The procedure for setting the ignition timing is applicable to almost all vehicles covered in this manual. If the procedure for installing the ignition indicated in the engine compartment plate of the car differs from that described below, then follow the instructions on the plate.
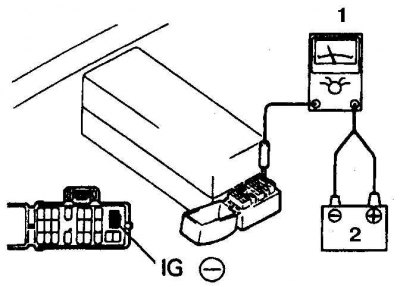
1. Connect a tachometer following the instrument manufacturer's instructions (1 - tachometer, 2 - battery).
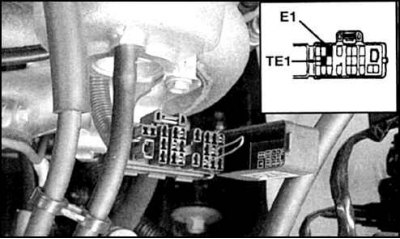
2. Locate the diagnostic connector and short-circuit terminals E1 and TE1 (the mounting location of the connector is indicated in subsection 5.10).
3. With the ignition off, connect the stroboscope according to the device manufacturer's instructions. Almost all strobe lights are battery powered. In addition, the winding of the stroboscope induction sensor is put on the high-voltage wire of the 1st cylinder.
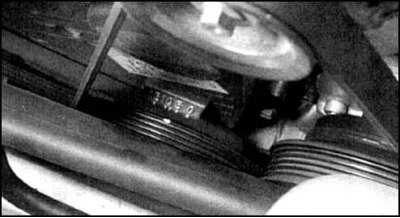
4. Locate the ignition timing marks on the front cover and on the crankshaft pulley.
5. Warm up the engine, make sure that the engine idle speed is correct.
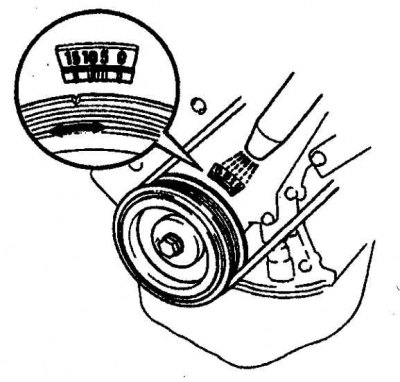
6. Point the strobe light at the scale. The mark on the crankshaft pulley should be opposite the corresponding division of the scale.
7. If necessary, loosen the distributor mounting bolt and slowly turning the distributor, set the ignition timing (see subsection 11.1).
8. Tighten the distributor bolt and check the ignition timing again.
9. Remove the jumper and check that the ignition timing is correct.
10. Switch off the ignition and remove the instruments.