
Tools needed to check and adjust ignition timing
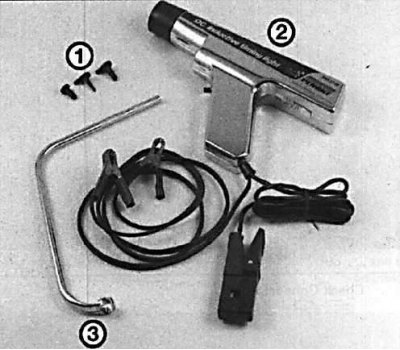
1 - vacuum plugs that must be used to close the vacuum hoses disconnected during the ignition timing check;
2 - stroboscope;
3 - a wrench needed to loosen the ignition distributor mounting bolt.
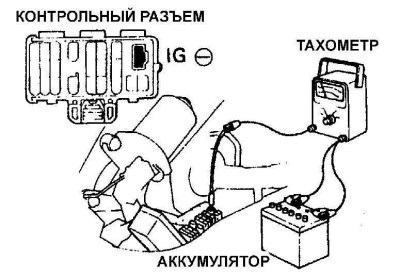 |  |
1. Connect a tachometer in accordance with the manufacturer's instructions.
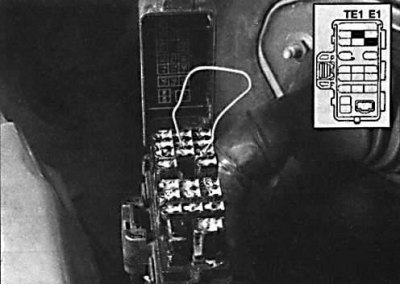
2. Using an additional wire, connect the contacts E1 and TE1 of the control connector.
3. Connect the stroboscope according to the manufacturer's instructions. Install the stroboscope test lead to the high voltage lead of the first cylinder.
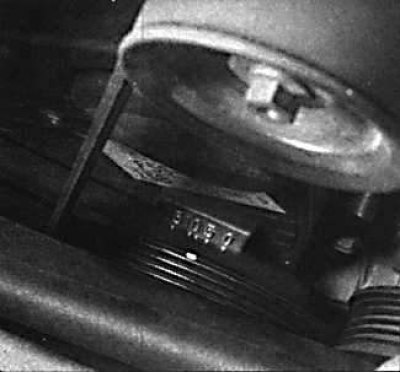 | 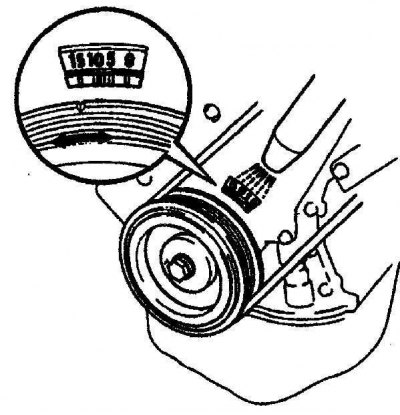 |
4. Align the alignment marks on the timing belt housing and the crankshaft pulley.
5. Start the engine, warm it up to normal operating temperature and measure the idle speed. Point the strobe light at the ignition timing indicator and the crankshaft pulley. In this case, the mark on the pulley must be aligned with the mark S on the scale of the pointer. If necessary, loosen the ignition distributor mounting bolt and slowly turn the ignition distributor until the mark on the crankshaft pulley aligns with the S mark on the pointer.
6. Remove the additional ground wire from the diagnostic connector and check that the ignition timing has moved forward between 12 and 22 degrees.
7. Turn off the engine and remove the tachometer and strobe light.