
Removing
1. Remove the tray.
2. Remove the toothed belt and lower tensioner pulley.
3. Remove the drive sprocket.
4. Remove the oil gauge.
5. Remove the generator.
6. Remove the A/C compressor and set aside.
7. Remove compressor bracket.
8. Disconnect the power steering control rod and set aside.
9. Remove the lower tensioner pulley.
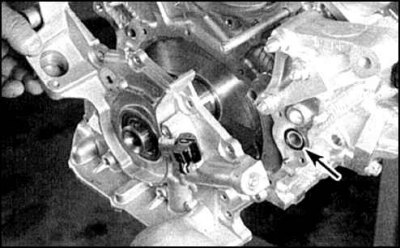
10. Unscrew the bolts and remove the pump by prying with a screwdriver.
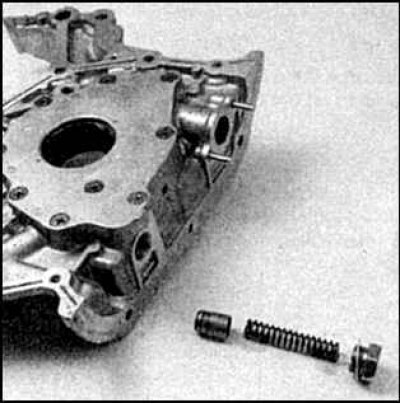
11. Remove the seal and relief valve parts.
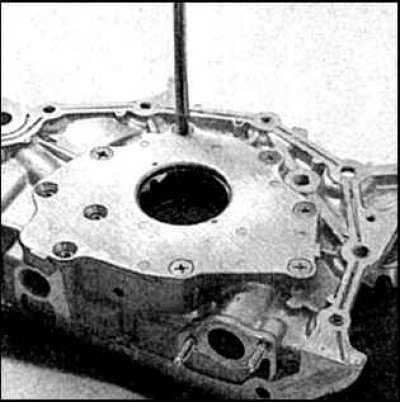
12. Loosen the cover screws.
13. Remove cover and remove gears.
14. Remove sealing residues from the split planes of the pump, rinse with solvent.
Examination
1. Wash all parts in solvent, check for wear and damage.
2. Check the condition of the pressure reducing valve parts. If damage is found, replace the piston complete with spring.
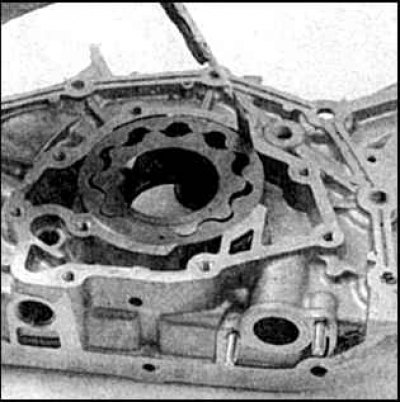
3. Check the gap between the driven rotor and the housing with a feeler gauge.
4. Check the end clearance with a feeler gauge.
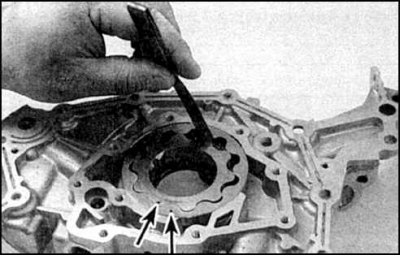
5. Check the gap between the rotors with a feeler gauge (arrows).
6. Compare the results with the data given in subsection 3.2.1.
Installation
1. Remove the crankshaft seal with a screwdriver.
2. Lubricate and carefully press in the new oil seal.
3. Install the pump gears into the housing with the marks up.
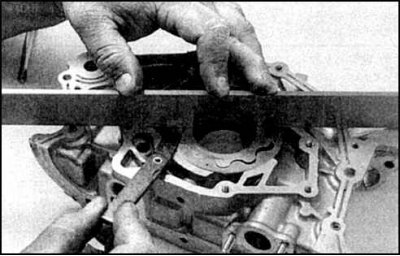
4. Lay technical vaseline in the pump cavity, lay the gasket, put the cover on and tighten the screws.
5. Lubricate the pressure reducing valve piston with fresh engine oil and install the valve parts.
6. Flush the sealing surface of the pump.
7. Apply a bead of sealant to the pump cover.
8. Install a new seal in the cylinder block.
9. Install the pump by aligning the spline on the drive gear with the spline on the crankshaft.
10. Tighten the bolts diagonally to the specified torque.
11. Install the rest of the parts in reverse order, add oil, start the engine. Check the oil level again.