Note:
- Completely clean all parts to be installed.
- Before installing rotating and/or sliding parts, lubricate their working surfaces with fresh engine oil.
- Replace all gaskets, seals and valve stem seals with new ones.
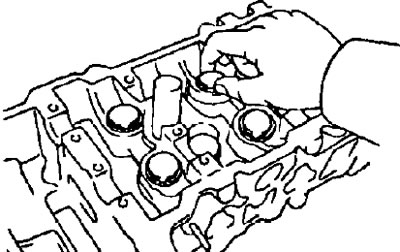
1. (2C, 2C-T) Install combustion chamber inserts.
- Protrusion — "-"0.03-"+"0.02 mm
2. (5E-FE) Install the spark plug tubes.
- Note: When using a new cylinder head, spark plug tubes must be installed in it.
- a) Apply glue to the surface of the spark plug tube installation hole.
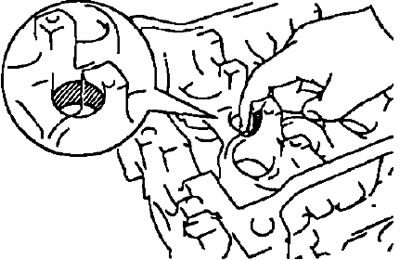
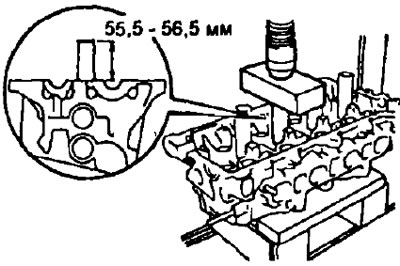
- c) Using a press, press in the new spark plug protective tube, ensuring that it protrudes 55.5-56.5 mm from the plane of the camshaft bearing cap joint.
Note: Do not press the tube more than necessary.
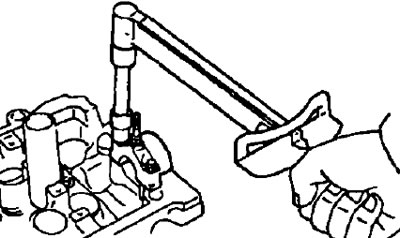
3. (5E-FE) Install the camshaft bearing cap No.4.
- a) Clean the surfaces of bearing cap No.4 and cylinder head.
- b) Apply sealant to bearing cap No.4 as shown in the figure.
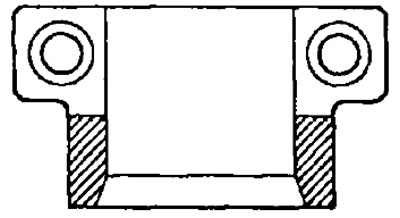
- c) Apply a small amount of engine oil to the threads of the bolts and under the heads of the bearing cap mounting bolts No.4.
- d) Install bearing cover No.4 and tighten the two bolts alternately.
- Tightening torque - 13 Nm
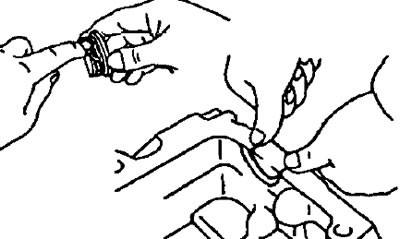
4. (5E-FE) Install the segment plug.
- a) Remove the old sealing material.
- b) Apply sealant to the segment plug as shown in the figure and install it into the cylinder head.
5. (5E-FE) Install engine lift brackets #1 and #2 (if they were filmed).
- Tightening torque:
- bracket no. 1 - 21 Nm
- bracket No.2 - 43 Nm
6. (5E-FE) Install the wiring mounting plate (if it was filmed).
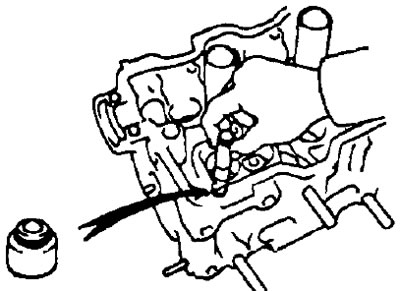
7. Install the valves.
- a) Using a suitable tool, install new valve stem seals.
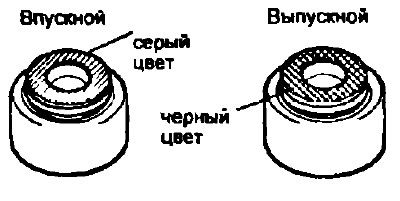
Note: Intake valve stem seals are painted grey or brown, and exhaust valve stem seals are painted black.
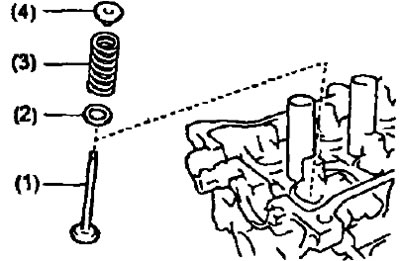
- b) Install the following parts:
- (1) valve;
- (2) spring seat;
- (3) valve spring;
- (4) spring plate.
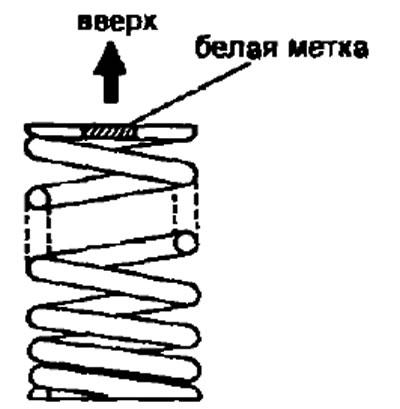
Note: (3S-GE)install the valve spring with the mark facing up as shown in the figure.
(This material is taken from a resource: www.toyotaman.ru)
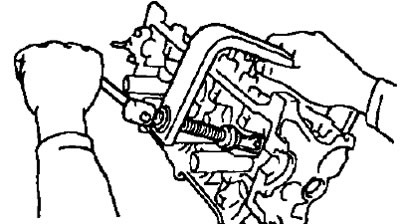
- c) Using a suitable tool, compress the valve spring and install two cotters around the valve stem.
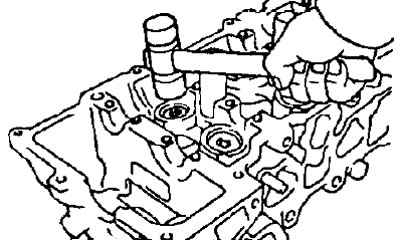
- d) Using a plastic-headed hammer, lightly tap the end of the valve stem to ensure that the valve is securely secured with crackers.
8. Install the valve lifters and adjusting washers; make sure the pushers rotate freely by hand.