



Caution: Wait until the engine has cooled down completely before starting this procedure.
Models with four-cylinder engine
Caution: Handle the ECT sensor with care. Damage to the ECT sensor will adversely affect the operation of the entire fuel injection system.
Note: The ECT sensor is located on the left end of the cylinder head.
1. Disconnect the ground cable from the battery (see paragraph 1 of chapter 5). Partially drain the coolant from the cooling system (see chapter 1).
2. Disconnect the electrical connector of the ECT sensor (Fig. 6.2).
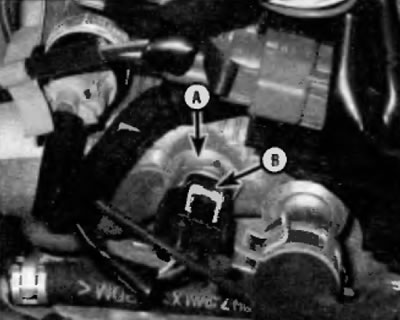
Fig. 6.2. To remove the ECT sensor (A) from the left end of the cylinder head on a four-cylinder engine, disconnect the electrical connector (B) and unscrew the sensor from the cylinder head
3. Unscrew the sensor from the cylinder head.
4. Seal the sensor threads with Teflon tape (Fig. 6.4).
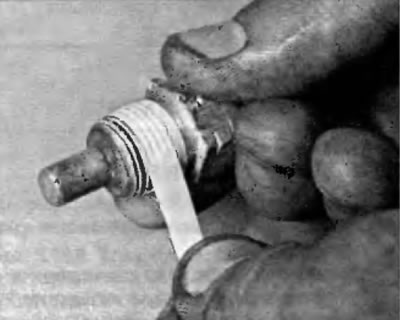
Fig. 6.4. To prevent leakage, wrap the threads of the ECT sensor with Teflon tape
5. Installation is performed in the reverse order of removal. Securely tighten the sensor. Fill the cooling system (see chapter 1).
Models with V6 engine
Caution: Handle the ECT sensor with care Damage to the ECT sensor will adversely affect the operation of the entire fuel injection system.
Note: The ECT sensor is located on the right side of the engine (where is the timing belt located), on the coolant distribution housings.
This material is taken from a resource: www.ToyotaMAN.ru
6. Disconnect the ground cable from the battery (see paragraph 1 of chapter 5). Partially drain the coolant from the cooling system (see chapter 1).
7. Disconnect the electrical connector of the ECT sensor (Fig. 6.7).
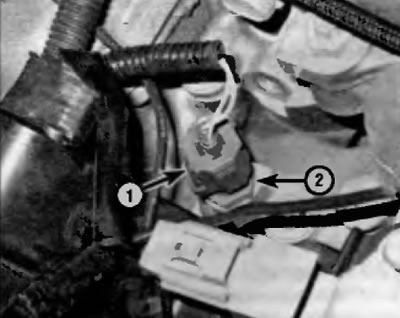
Fig. 6.7 To remove the ECT sensor from the coolant distribution housing on a V6 engine, disconnect the electrical connector (1) and then align the sensor (2)
8. Unscrew the sensor from the coolant distribution housing.
9. Seal the sensor threads with Teflon tape (Fig. 6.4).
10. Installation is performed in the reverse order of removal. Securely tighten the sensor. Fill the cooling system (see chapter 1).