
Attention! If the vehicle is equipped with electronically controlled air suspension, turn off the suspension height control switch before raising the vehicle.
Removing
1. Loosen the wheel nuts. Raise the front of the car and place secure supports under it. Place wheel chocks under the rear wheels and set the parking brake. Remove the front wheel.
2. Hold the tie rod with a wrench and loosen the lock nut just enough to mark the position of the tie rod end in relation to the threaded section of the tie rod (pic. 18.2, a, b).
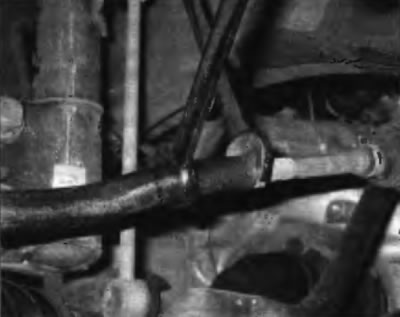
Pic. 18.2, a. Hold the tie rod end with a wrench and loosen the locknut with another wrench
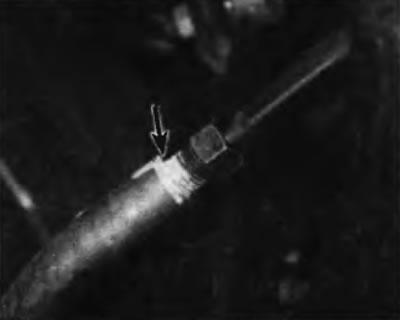
Pic. 18.2, b. Loosen the lock nut and mark the open section of the thread so that when installing the hollow tie rod end, screw it in by the same number of turns!
3. Remove cotter pin and loosen nut on tie rod end stud.
4. Using a puller, disconnect the tie rod from the steering knuckle (pic. 18.4). Turn away a nut and separate steering draft.
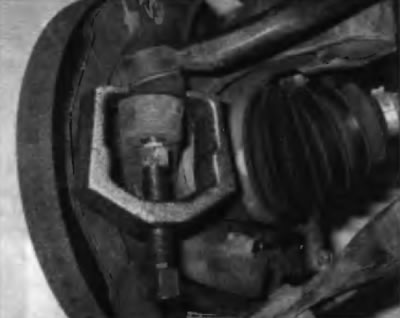
Pic. 18.4. Install a two-jaw puller to separate the tie rod end from the steering knuckle
5. Disconnect the tie rod end from the tie rod.
Installation
6. Screw the tie rod end onto the tie rod according to the marked position and insert the tie rod end pin into the steering knuckle arm. Tighten locknut securely.
7. Screw the castle nut onto the pin and tighten to the specified torque specified in Specifications at the beginning of this chapter. Install a new pin.
8. Establish a wheel and screw nuts of its fastening. Lower the vehicle and tighten the wheel nuts to the specified torque specified in Specifications.
9. Check the wheel alignment by contacting the dealer's service department or a wheel alignment shop.