
Attention! At the beginning of this procedure, wait for the engine to cool completely. Do not allow antifreeze to come into contact with skin or body paintwork. Wash off splashes immediately with plenty of water. Do not leave coolant in open containers or in puddles where children and pets can access it. The pleasant smell of this substance may attract their attention, but its ingestion can be fatal! Wipe up spilled antifreeze from the garage floor immediately. Keep antifreeze bottles covered and repair leaks in the cooling system as soon as they are discovered. Dispose of used antifreeze in accordance with local codes and regulations. Never pour used antifreeze onto the ground or down a drain.
Attention! Models covered in this manual are equipped with an assisted restraint system (SPS), better known as «airbag system». To avoid accidental deployment of the airbags, which could result in injury, be sure to deactivate the parade airbag system by working in the vicinity of the airbag components (see chapter 12).
Note. On most models, the engine cooling fan removal procedure prescribed by the manufacturer involves removing the radiator and fan assembly and then separating them from each other. You can remove the engine cooling fans without removing the radiator.
1. Disconnect the ground wire from the battery (see paragraph 1 of chapter 5). Drain the coolant from the cooling system (see chapter 1), then disconnect the upper hose from the radiator.
2. On 2004 and later Lexus models, remove the intake air line (see chapter 4), the plastic cover over the radiator support and the hood release latch (see chapter 11). Remove 6 bolts (two at each end and two in the middle) radiator support and then remove the support.
3. Disconnect the electrical unless we have both fan motors (pic. 4.3, a).
Application. On 2004 Lexus models, disconnect the ECM electrical connectors and all other electrical connectors on the fan shroud (pic. 4.3, b).
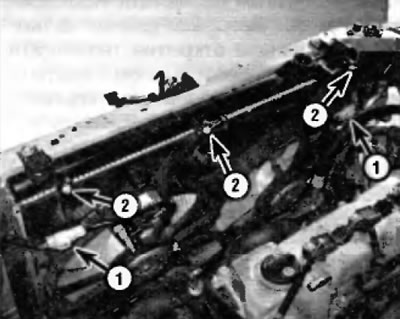
Pic. 4.3, a. Engine cooling fan location
1 - Fan motor electrical connectors
2 - Fan mounting elements (shown above, similar below)
Pic. 4.3b. Disconnect the electrical connectors of the wiring harnesses on the fan shroud
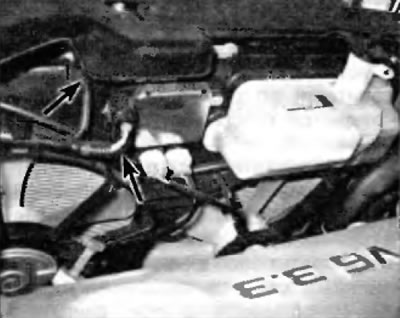
4. Remove the fan/shroud mounting hardware from the radiator, remove any hoses or wiring harnesses that may be attached to it, and then remove from the vehicle (pic. 4.3.8).
5. Hold the fan impeller and unscrew the fan fastening nut (pic. 4.5).
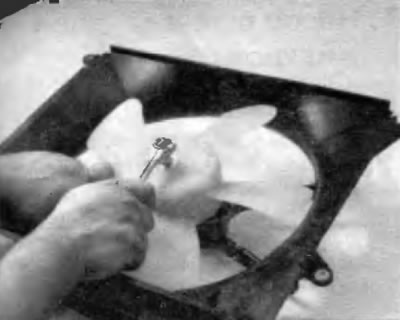
Pic. 4.5. Remove the impeller from the motor
6. Turn out bolts and take the fan electric motor from a casing (pic. 4.6).
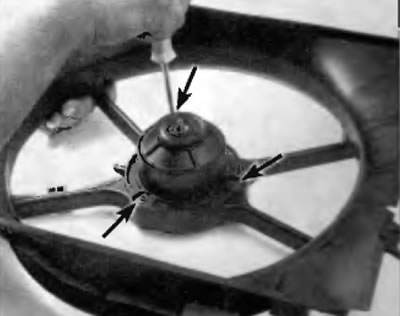
Pic. 4.6. Remove the screws and separate the motor from the casing
7. Installation is carried out in the reverse order of removal. Tighten the radiator support bolts to the specified torque as specified in Specifications at the beginning of this chapter. Recharge the cooling system (see chapter 1).