
Removing
1. Decompress the fuel system and disconnect the battery from the ground.
2. Remove the air filter.
3. Drain the coolant.
4. Label and disconnect all wiring connectors, vacuum and fuel hoses from the engine. Plug the disconnected hoses securely.
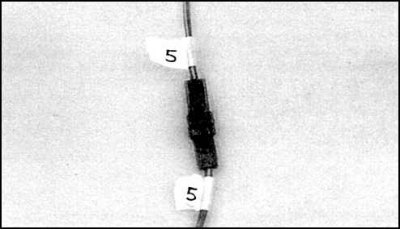
5. Designate and disconnect hoses of system of cooling from the engine.
6. Remove the radiator, fan shroud, and all drive belts.
7. Disconnect the throttle and cruise control cables from the engine (if provided, see subsection 5.1.7).
8. On vehicles equipped with power steering, remove the power steering pump bolts (see subsection 9.12). Take the pump aside and secure with wire without disconnecting the hoses. Do not overturn the pump.
9. On vehicles equipped with air conditioning, remove the mounting bolts and move the compressor to the side. Do not disconnect hoses.
10. Drain the engine oil.
11. Remove the starter and alternator.
12. Disconnect the exhaust pipe from the engine (would).
13. On vehicles equipped with automatic transmission, unscrew the bolts securing the torque converter to the drive plate (see subsection 7.2.1).
14. Substitute props under the transmission, laying the board.
15. Attach the hoist hoist to the hooks on the motor, take up the slack in the hoist.
16. Loosen the transmission-to-engine bolts.
17. Loosen the bolts securing the engine mounts to the frame.
18. Make sure that all parts connecting the engine to the body or transmission are removed. Mark and remove all remaining parts.
19. Carefully lift the engine and separate it from the transmission. Attach the torque converter to the automatic transmission. On a manual transmission, disengage the transmission input shaft from the clutch.
20. Carefully lift the engine out of the engine compartment, being careful not to snag wires or hoses.
21. Remove the flywheel (or torque converter drive plate) and install the engine on the stand.
Installation
1. Check the condition of the engine mounts. If damage or signs of wear are found, replace the bearing.
2. On vehicles with manual transmission, check the condition of the clutch, it is recommended to replace the clutch.
3. Carefully lower the engine into the engine compartment, ensuring that the supports are in place.
4. On vehicles with automatic transmission, carry out the work described insubsection 7.2.8.
5. On vehicles with a manual transmission, lightly grease the splines of the input shaft and insert the shaft into the friction disc and pilot bearing so that the gearbox housing is in contact with the cylinder block all around.
6. Tighten the transmission mounting bolts to the specified torque.
7. Further assembly is carried out in the reverse order.
8. Fill the engine with liquid and oil, restore the oil level (liquids) in the transmission and in the hydraulic booster.
9. Start the engine, check engine operation and check for leaks. Carry out road tests.