
Attention. Wait until the engine has completely cooled down before starting this procedure. Do not allow antifreeze to come into contact with skin or body paintwork. Wash off splashes immediately with plenty of water. Do not leave coolant in open containers or in puddles where children and pets can access it. The pleasant smell of this substance may attract their attention, but its ingestion can be fatal! Wipe up spilled antifreeze from the garage floor immediately. Keep antifreeze bottles covered and repair leaks in the cooling system as soon as they are discovered. Dispose of used antifreeze in accordance with local codes and regulations. Never pour used antifreeze onto the ground or down a drain.
Attention! Models covered in this manual are equipped with an assisted restraint system (SRS), better known as «airbag system». To prevent accidental deployment of airbags, which could result in injury, be sure to deactivate the airbag system before working near components of the airbag system (see chapter 12).
Note. Non-toxic coolant is available from some auto parts stores. Although fresh coolant of this type is non-toxic, the appropriate regulations for the disposal of coolant must be followed.
Radiator
Removing
1. Disconnect the ground wire from the battery (see paragraph 1 of chapter 5).
2. On 2004 and later Lexus models, remove the intake air line from the top of the radiator (see chapter 4).
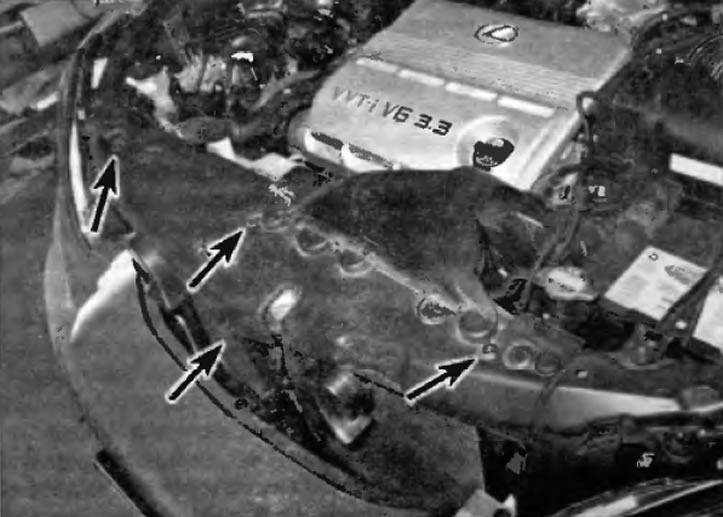
3. Remove the engine protection from under the radiator and all engine covers, if any (see chapter 2).
4. Drain the coolant into a suitable container (see chapter 1).
5. On 2003 and earlier Lexus models, remove the A/C condenser (see paragraph 15).
6. On 2004 and later Lexus models, remove the hood latch (see chapter 11).
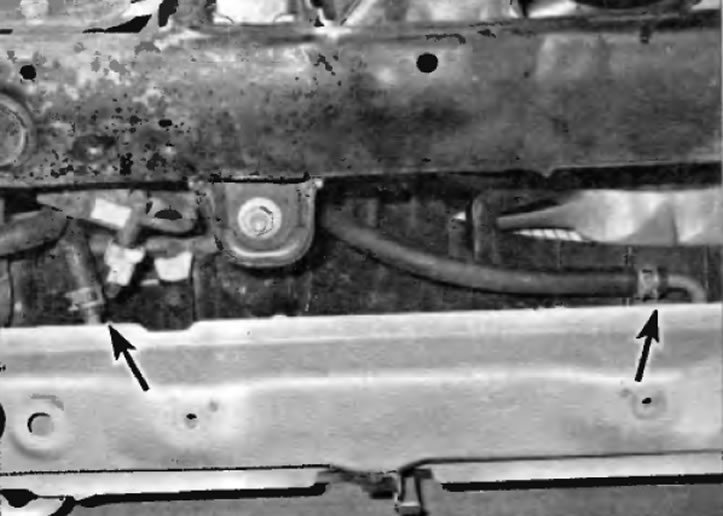
7. On 2004 and later Lexus models, remove the plastic cover over the radiator support (pic. 5.7). Disconnect the horn electrical connectors, remove the radiator support mounting bolts and the brackets mounted on it, and then remove the support.
Pic. 5.7. Radiator support cover fasteners on 2004 and later Lexus models
8. Disconnect the upper and lower hoses from the radiator and the reservoir hose from the radiator filler neck.
9. Disconnect transmission heat exchanger lines from radiator (pic. 5.9). Install a container to collect the escaping fluid and plug the fittings.
Pic. 5.9. Disconnect the automatic transmission heat exchanger lines
10. Disconnect the cooling fan electrical connectors and disconnect all other wires and brackets from the fan shroud (see paragraph 4) and radiator.
11. Remove the heatsink support brackets and then carefully remove the heatsink and fan shroud as a single assembly (pic. 5.11).
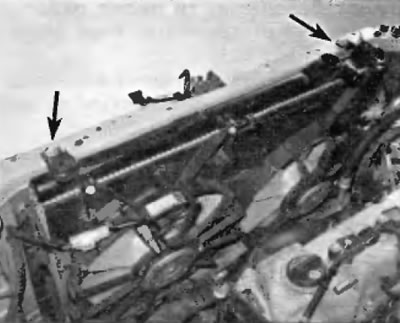
Pic. 5.11. Radiator Support Bracket Bolts
12. Remove the cooling fans from the radiator (see paragraph 4).
13. After removing the radiator, it can be inspected for leaks, damage, and internal blockage. If repair is required, contact a specialized service station, as special repair techniques are required.
14. Insects and dirt can be removed from the radiator using compressed air and a brush. Be careful not to deform the cooling fins while doing this.
Attention! Use eye protection.
Installation
15. Installation is performed in the reverse order of removal. Correctly position the rubber feet in place.
16. After installation, fill the cooling system with a mixture of antifreeze and water in the correct ratio. If necessary, contact chapter 1.
17. Start the engine and check for leaks. Let the engine reach normal operating temperature. You will feel it in the upper radiator hose - it will become hot. Check the coolant level again and add coolant if necessary.
18. Check the transmission fluid level in the automatic transmission in the block with the drive axle and add fluid if necessary (see chapter 1).
Expansion tank
19. On most models, the expansion tank is simply pulled up and out of the bracket in the niche on the engine compartment mudguard (pic. 5.19).
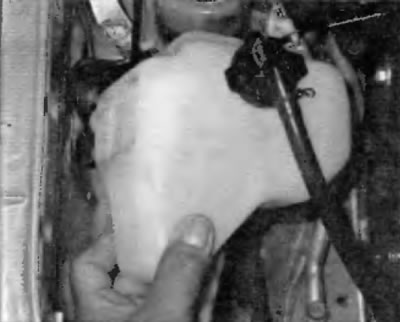
Pic. 5.19. To remove the expansion tank, pull it up and out of its bracket
Note. On 2004 Lexus models, the reservoir is mounted on the engine cooling fan shroud.
20. Pour the coolant into a container. Rinse it and inspect the reservoir for cracks and abrasion. Replace if damaged.
21. Installation is carried out in the reverse order of removal.