
Attention! Wait until the engine has completely cooled down before starting this procedure. Do not allow antifreeze to come into contact with skin or body paintwork. Wash off splashes immediately with plenty of water. Do not leave coolant in open containers or in puddles where children and pets can access it. The pleasant smell of this substance may attract their attention, but its ingestion can be fatal! Wipe up spilled antifreeze from the garage floor immediately. Keep antifreeze containers closed and repair leaks in the cooling system as soon as they are discovered. Dispose of used antifreeze in accordance with local codes and regulations. Never pour used antifreeze onto the ground or down a drain.
Note. Non-toxic coolant is available from some auto parts stores. Although fresh coolant of this type is non-toxic, the appropriate regulations for the disposal of coolant must be followed.
Four cylinder engine
1. Disconnect the ground wire from the battery (see paragraph 1 of chapter 5) and drain the coolant from the cooling system (see chapter 1).
2. Remove the lower protection from under the engine on the right side (see chapter 2A) and fender mudguard, engine mount reaction link and its bracket, and then the No. 2 engine mount and associated bracket.
3. Remove the drive belt (see chapter 1) and generator (see chapter 5).
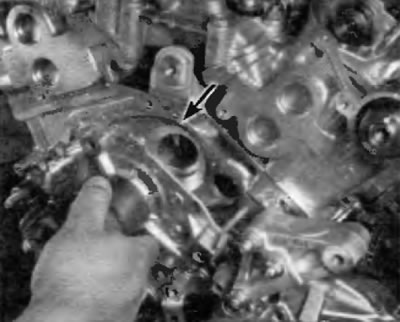
4. Remove the water pump pulley using a strap wrench or a wrench to hold the pulley while loosening the bolts (fig 7.4).
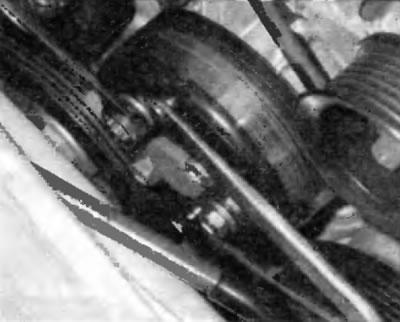
Pic. 7.4. Loosen the coolant pump pulley bolts using a wrench to hold the pulley
5. Turn out four bolts, turn away two nuts and remove the pump (pic. 7.5). If necessary, tap the pump gently with a soft-faced hammer.
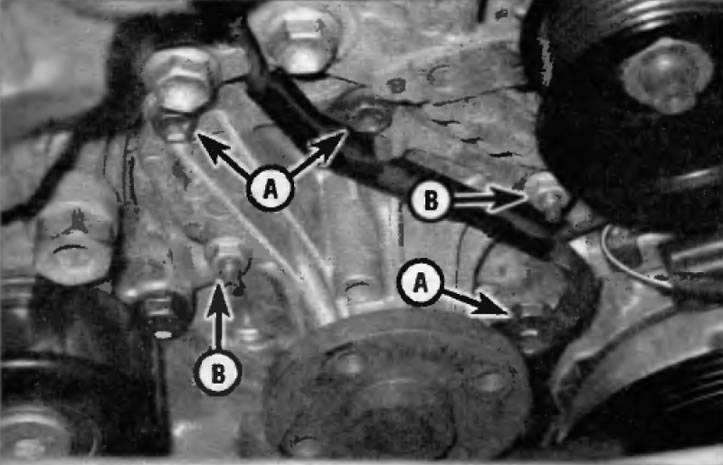
Pic. 7.5. The coolant pump on a four-cylinder engine is supported by four bolts (A, one bottom bolt is not visible in this picture) and two nuts (IN)
6. For installation, clean the pump and cylinder block from traces of material «old» gaskets or sealant, and then wash with lacquer thinner.
7. Apply new sealant in a bead and install the pump. Screw in the bolts and screw on the pump mounting nuts and tighten them to the prescribed torque specified in Specifications at the beginning of this chapter. This should be done within five minutes of applying the sealant.
8. Install the remaining elements, working in the reverse order of removal.
9. Fill the cooling system (see chapter 1). Then start the engine and check for correct operation. Check it for leaks.
V6 engine
10. Disconnect the ground wire from the battery (see paragraph 1 of chapter 5) and drain the coolant from the cooling system (see chapter 1).
11. Remove the timing belt, camshaft pulleys (see chapter 2B) and intermediate pulley No. 2 (above the coolant pump).
12. Remove the #3 timing belt cover (pic. 7.12).
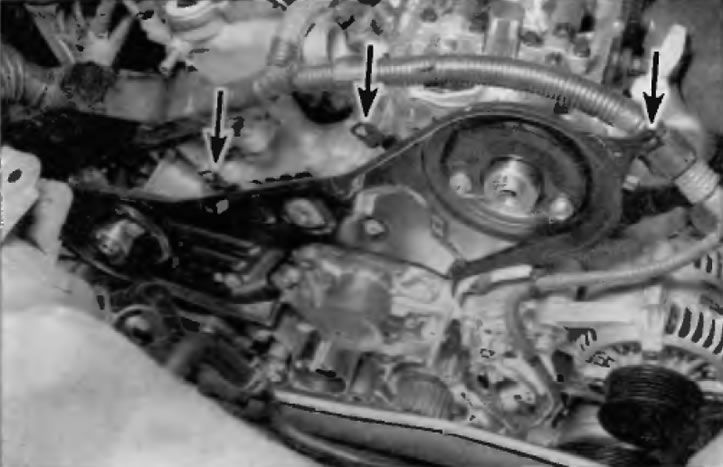
Pic. 7.12. Loosen the three harness clamps, tighten the harness back and remove the #3 timing belt cover
13. Turn out bolts / turn away nuts and separate the pump from the engine.
Application. Two long studs are provided to attach the engine support bracket and water pump. The studs have a small hex head that is used to unscrew the stud (pic. 7.13). It may be necessary to return one or both studs to remove the pump. If the stud sticks, unscrew it with a self-tightening wrench and replace with a new one of the same length.
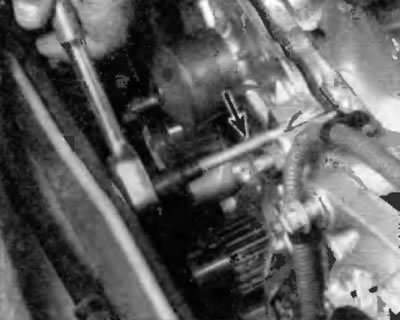
Pic. 7.13. It may be necessary to completely unscrew one or both studs using a small wrench to remove the coolant pump
14. Thoroughly clean all sealing surfaces, removing all traces of old gasket material, sealant, and o-rings. Remove all traces of oil with acetone or lacquer thinner and a clean rag.
Pic. 7.15. On models with U6 engine, a new rubber-to-metal gasket is used when installing the coolant pump
15. These models use a rubber-to-metal gasket (pic. 7.15).
16. Reinstall the pump and other elements, working in the reverse order of removal. Tighten the pump mounting bolts/nuts in several steps to the specified torque as specified in Specifications at the beginning of this chapter.
17. Fill the cooling system (see chapter 1). Start the engine and check for correct operation. Check the engine for leaks.