



2. Remove the drive belt (see chapter 1). Unscrew the bolts, remove the bracket from the engine thrust (see paragraph 17).
3. Apply the parking brake. Move the selector lever to the "P" position (automatic transmission) or turn on the gear (manual transmission). Loosen the nuts securing the right front wheel. Raise the front of the car and place reliable supports underneath it. Remove the lower engine protection (fig. 6.5), right front wheel and corresponding mudguard.
Caution: If the vehicle is equipped with electronically controlled air suspension, turn off the ride height control switch.
4. Remove the bolt from the front end of the crankshaft. Since the bolt is very tight, you may need an extension. To prevent the crankshaft from turning when you loosen the pulley mounting bolt, you can install several spacers on the center hub of the puller base. Before installing the puller, install a socket head on the crankshaft bolt head, and then insert the extension through the center hole in the puller (Fig. 11.4).
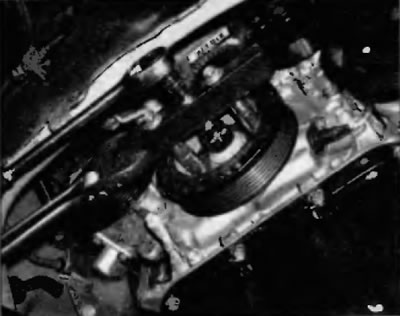
Fig. 11.4. Before installing the puller, install the socket head on the crankshaft bolt head, and then insert the extension through the center hole in the puller
5. Using a puller that is bolted to the crankshaft hub, remove the pulley from the crankshaft (Fig. 11.5).
Note: Depending on the type of puller, you may need to support the engine from above. Remove the right engine mount and lower the engine to provide enough space to use the puller.
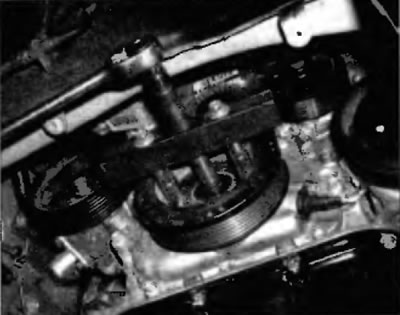
Fig. 11.5. On the left, install a puller with the central bolt installed on the pulley and remove the pulley from the crankshaft
Caution: Do not use a clamp type puller. It will cause damage to the pulley/damper. In addition, use a suitable adapter to prevent damage to the end of the crankshaft.
6. To install the crankshaft pulley, push the pulley onto the crankshaft until it stops, then use the damper installation tool to press the pulley onto the crankshaft. Note that the groove in the hub must align with the woodruff key on the end of the crankshaft (Fig. 11.6), and the crankshaft bolt can also be used to press the crankshaft pulley into place.
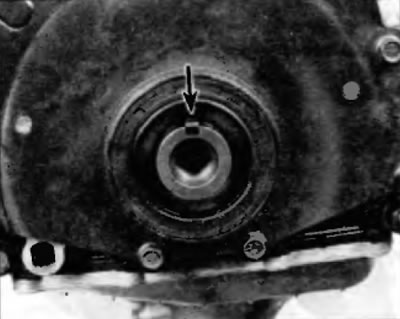
Fig. 11.6. Align the keyway bottom in the crankshaft pulley hub with the woodruff key on the crankshaft
7. Tighten the crankshaft bolt to the specified torque as shown in Specifications at the beginning of this chapter.
(View the full text on the portal: TOYOTAMAN)
8. The rest of the installation is carried out in the reverse order of removal.