
2. Pay attention to how the cuff is installed. A new one should be installed at the same depth and with the same side out. Gently pry and remove the cuff from the lid using an appropriate puller or a large screwdriver (pic. 12.2). Be very careful not to deform the cover or scratch the crankshaft! To prevent damage to the crankshaft, wrap the tip of the screwdriver with electrical tape.
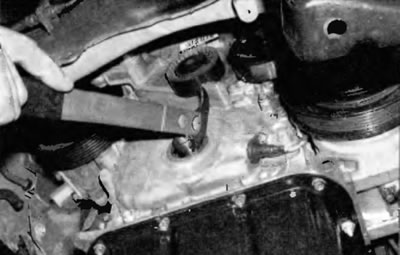
Pic. 12.2. Carefully remove the old oil seal from the timing chain cover. Do not damage the crankshaft
3. Apply clean engine oil or multipurpose grease to the outer lip of the new seal, and then insert the seal into the cover with the sealing lip (spring side) inside. Drive the cuff into place using a suitable mandrel or large socket and hammer (pic. 12.3). Insert the collar into the mounting hole of the warp bases and stop when the face is at the correct depth.
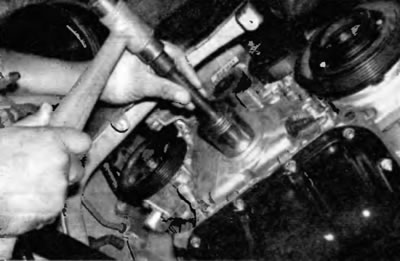
Pic. 12.3. Install the new seal in place using a suitable drift or large socket and hammer
4. Check the surface on the pulley hub that mates with the collar. If a wear groove has formed on the surface due to prolonged contact with the collar, an appropriate bushing can be pressed in to restore the sealing surface (pic. 12.4). This bushing is pressed in with a hammer and a piece of wood and is usually available from an auto parts store for various applications
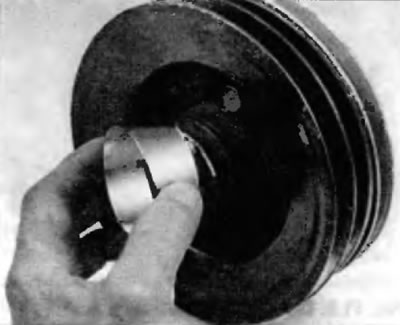
Pic. 12.4. If a wear groove has formed on the sealing surface of the pulley hub due to contact with the collar, repair sleeves can be used to eliminate this problem
5. Lubricate the pulley hub with clean engine oil and install the pulley on the crankshaft (see paragraph 11).
6. Screw in the pulley mounting bolt and tighten it to the prescribed torque specified in Specifications at the beginning of this chapter.
7. The rest of the installation is performed in the reverse order of removal.