
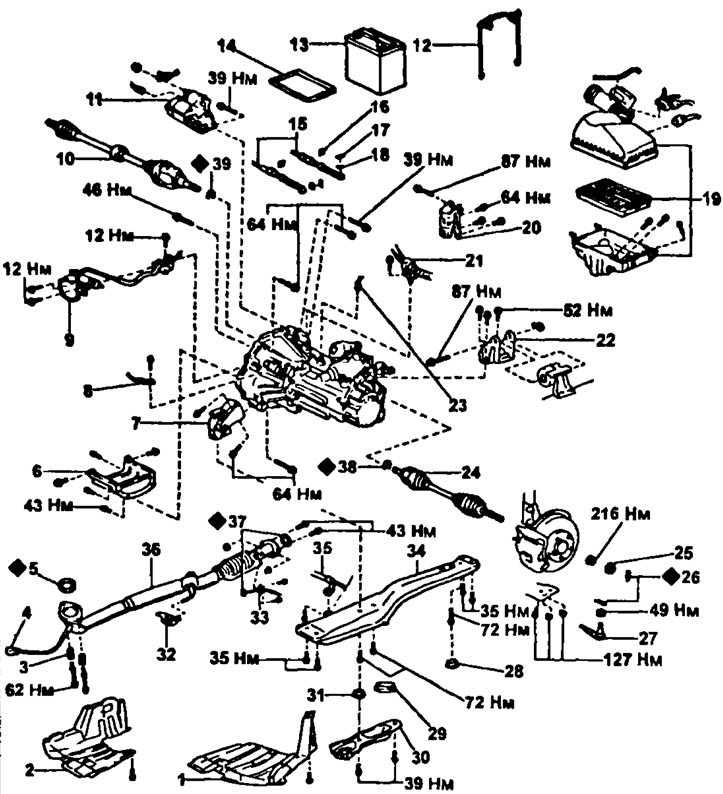
Removing and installing gearbox C58: 1 - engine protection cover (left-hand side), 2 - engine protection cover (Right side), 3 - spring, 4 - oxygen sensor connector, 5 - gasket, 6 - bracket, 7 - front engine mount with bracket, 8 - ground wire, 9 - clutch slave cylinder with hydraulic drive tube, 10 - right drive shaft, 11 - starter, 12 - battery holder, 13 - battery, 14 - battery stand, 15 - control cables, 16 - holder, 17 - cotter pin, 18 - washer, 19 - air filter with hose, 20 - rear engine mount bracket, 21 - engine wiring clamp, 22 - left engine support bracket, 23 - reversing light switch connector, 24 - left drive shaft, 25 - locknut cap, 26 - cotter pin, 27 - tie rod end, 28 - plug, 29 - plug, 30 - front towing eye, 31 - plug, 32 - muffler exhaust pipe bracket Ne1, 33 - exhaust gas temperature sensor, 34 - central engine mount beam, 35 - air conditioning pipe, 36 - silencer exhaust pipe, 37 - gasket, 38, 39 - retaining ring
Note:
- Installation is carried out in the reverse order of removal.
- Check the front wheel alignment and road test.
1. Remove the battery and air filter with hose.
2. Remove the clutch slave cylinder and tube.
- A) Loosen the tube bracket bolt. Tightening torque 12 Nm.
- b) Remove the two bolts and remove the clutch slave cylinder. Tightening torque 12 Nm.
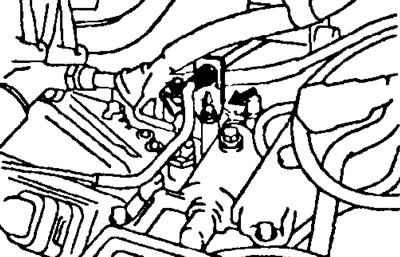
3. Remove a collar of an electroconducting of the engine.
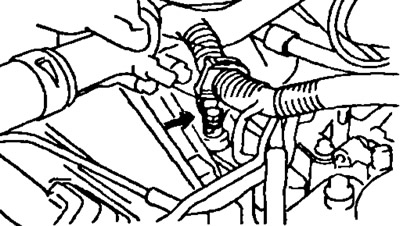
4. Disconnect a socket of the switch of lanterns of a backing.
5. Turn away a bolt and disconnect a ground wire.
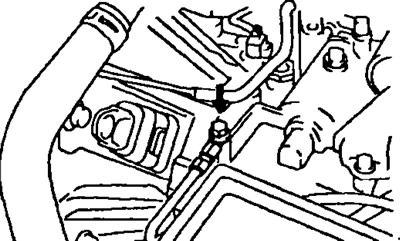
6. Disconnect control cables.
- A) Remove pins and washers.
- b) Remove the cable holders.
- V) Disconnect control cables.
7. Turn away the top bolt of fastening of a starter. Tightening torque 39 Nm.
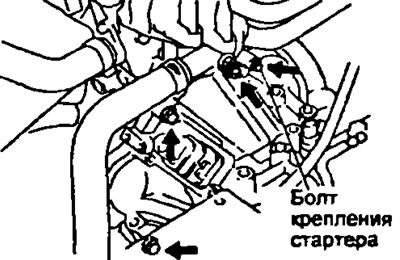
8. Turn away three top bolts of fastening of a transmission. Tightening torque 64 Nm.
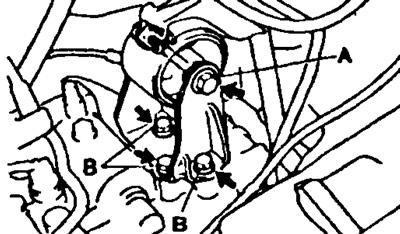
9. Turn away four bolts and remove an arm of the left support of the engine. Tightening torques:
- Bolt A 87 Nm
- Bolt B 52 Nm
10. Hang the engine.
11. Remove the front wheels.
12. Remove the motor protection cover.
13. Drain the gearbox oil. Transmission oil:
- API Oil Grade: GL-4 or GL-5
- Recommended viscosity: SAE 7SW-90
- Filling capacity: 1.9 l
14. Remove drive shafts.
15. Remove a reception pipe of the muffler.
- A) Disconnect the oxygen sensor connector.
- b) Turn away two bolts, remove the gauge of temperature of the fulfilled gases, the gauge and a lining.
- V) Remove the two bolts, springs and gasket from the exhaust manifold. Tightening torque 62 Nm.
- G) Unscrew two bolts, nuts and remove the gasket. Tightening torque 43 Nm.
- d) Disconnect the downpipe from bracket #1 and remove it.
16. Remove a beam of the central support of fastening of the engine.
- A) Turn away a bolt and disconnect a tube of the conditioner.
- b) Remove the two bolts and remove the front towing eye.
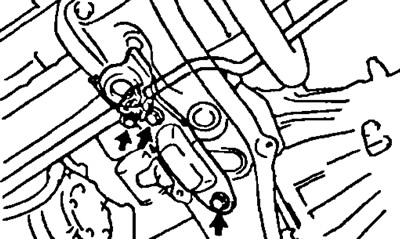
- V) Remove the two plugs and the plug AND Remove the 7 bolts and remove the beam of the central support of the engine mount. Tightening torques:
- Bolt A 35 Nm
- Bolt B 72 Nm
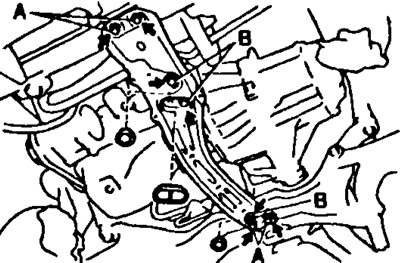
17. Remove the starter.
- A) Disconnect the connector and wire from the starter.
- b) Loosen the lower starter mounting bolt. Tightening torque 39 Nm.
- V) Remove the starter.
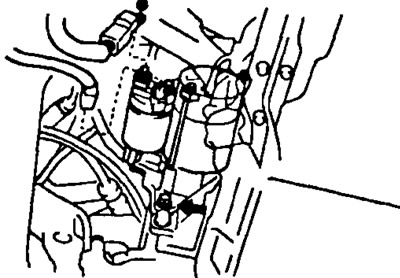
18. Place a jack under the gearbox.
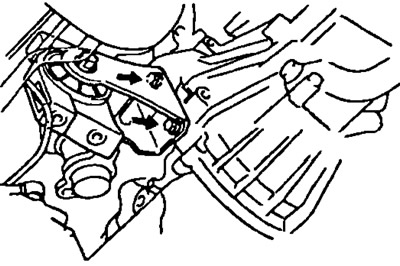
19. Turn away two bolts and remove a forward support of the engine with an arm. Tightening torque 64 Nm.
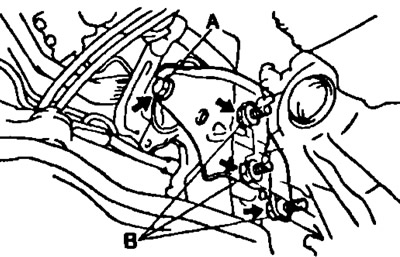
20. Turn away four bolts and remove an arm of a back support of the engine. Tightening torques:
- Bolt A 87 Nm
- Bolt B 64 Nm
21. Remove an arm and turn away the bottom bolt of fastening of a transmission.
- A) Turn away five bolts and remove an arm. Tightening torque 43 Nm.
Note:
- when installing the bracket, temporarily tighten the fixing bolt #1.
- tighten the bolts according to the numbers (see picture).
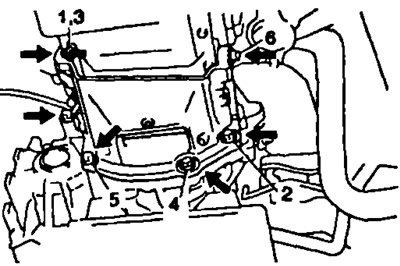
- b) Loosen the lower gearbox mounting bolt. Tightening torque 46 Nm.
22. Lower the left side of the engine and remove the gearbox.
Note:
- when installing, align the splines of the input shaft and the clutch disc and install the gearbox on the engine.
- Temporarily tighten the gearbox mounting bolts.