



Intake manifold
Caution: The engine must be completely cool before starting this procedure.
Removal
1. Relieve the pressure in the fuel system (see chapter 4A), then disconnect the terminal from the negative battery terminal.
2. Remove the intake duct and resonator (see chapter 4A), then remove the plastic grill panel under the windshield and the ventilation system drain (see paragraph 14 of chapter 11).
3. Remove the fuel rail together with the injectors as an assembly. Also remove the throttle actuator and its housing from the intake manifold (see chapter 4A).
4. Label and disconnect the PCV valve hoses and vacuum hoses at the rear of the intake manifold (see Figure 8.4).
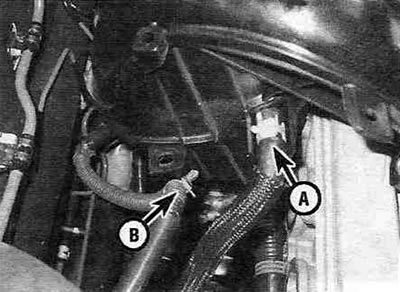
Figure 8.4. Label and disconnect the vacuum hoses (A) and wiring harness clips (B) from the intake manifold.
5. Raise the vehicle and support it on safety stands. Get under the car and remove the two lower intake manifold mounting bolts (see Figure 8.5).
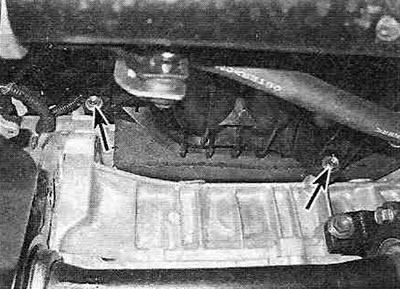
Figure 8.5. Location of the lower intake manifold mounting bolts (shown by arrows).
6. Working from the top, remove the upper intake manifold mounting bolts and nuts. Remove the manifold, gasket and manifold insulator from the engine (see Figure 8.6).
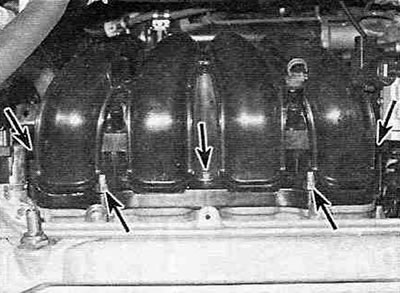
Figure 8.6. Location of the upper intake manifold mounting bolts (shown by arrows).
(See the source on the internet resource: Toyotaman.ru)
Installation
7. Wipe the mating surfaces of the intake manifold and cylinder head with a rag soaked in lacquer thinner or acetone. If there are signs of leaks on the gasket, check the curvature of the mating flange with a steel ruler. If the curvature is greater than permitted by the Specifications, the manifold must be replaced.
8. Place the new gasket into the groove on the intake manifold (see figure 8.8).
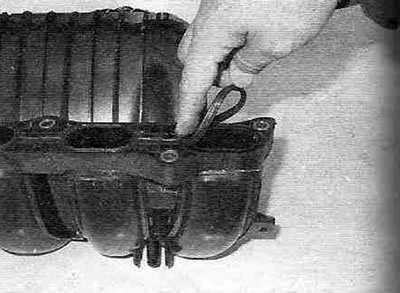
Figure 8.8. Place the gasket into the groove of the intake manifold mating flange.
Install the intake manifold with a new gasket onto the cylinder head guide pins.
9. Tighten the intake manifold to cylinder head mounting nuts/bolts to the specified Specifications moment, making three or four identical passes. Tighten from the center to the edges to avoid distortion of the manifold mating flange.
10. Install the remaining components in the reverse order of removal. Check the coolant level and top it up if necessary (see "Weekly checks").
11. Before starting the engine, make sure that the throttle drive operates normally and without sticking.
12. Start the engine and check for leaks and air intake.
13. Take the car for a test drive and make sure all systems are working properly, including the cruise control system, if equipped.