Removal and installation
Note: Installation is in the reverse order of removal.
1. Remove the upper seat belt anchor.
2. Remove the lower seat belt anchor.
3. (Models with side airbags)
Remove the airbag cover.

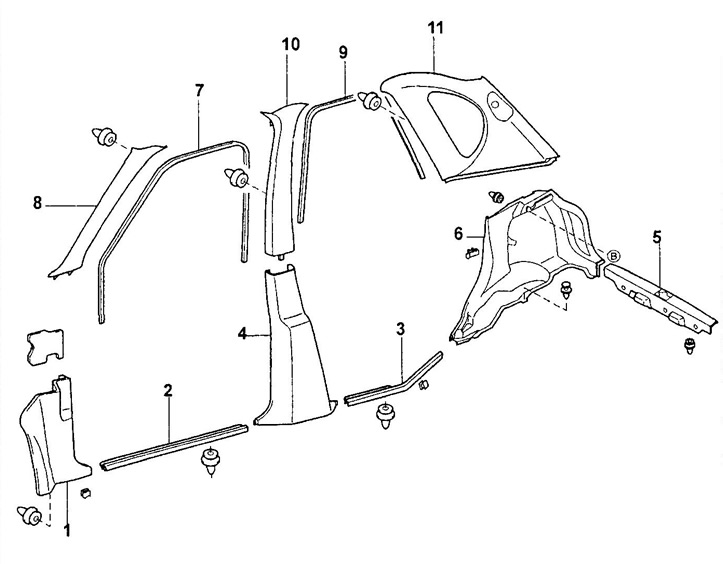
Interior trim.
1 - front side trim,
2 - front door sill trim,
3 - finishing the threshold of the rear side door,
4 - lower trim of the central pillar,
5 - rear door sill trim,
6 - trunk trim,
7 - front door seal,
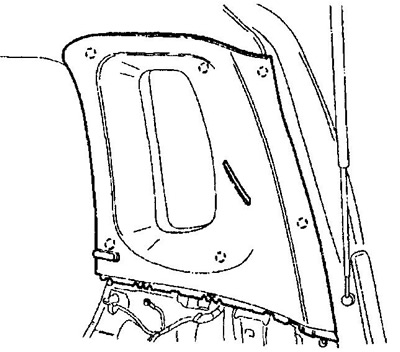
8 - finishing of the front pillar,
9 - rear side door seal,
10 - upper trim of the central pillar,
11 - rear pillar trim.
4. (Models with side airbags)
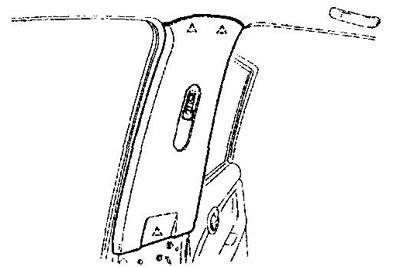
Turn away a bolt and remove furnish of a forward rack.
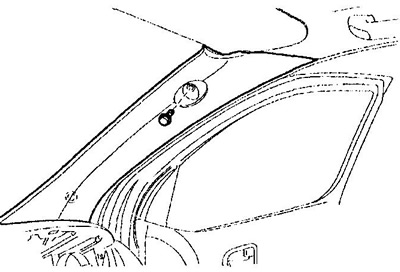
5. Turn away the screw and remove holders of a sun-protective peak as it is shown in drawing.
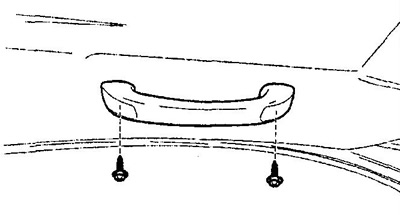
6. Turn away 2 nuts and remove the auxiliary handle.
Note: Wrap the screwdriver with protective tape.
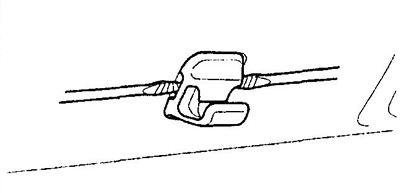
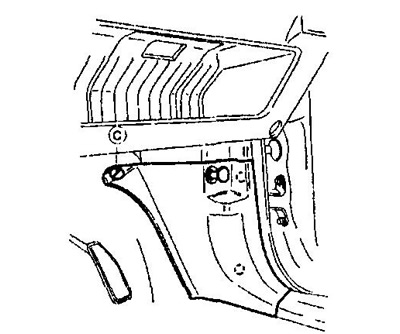
7. Using a screwdriver, disconnect the piston and remove the front side trim.
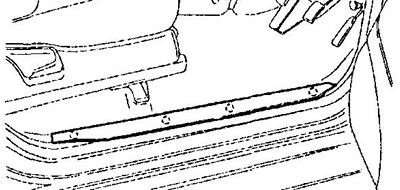
8. Disconnect caps and clamps and remove finishing of a threshold of a forward door.
9. Disconnect caps and clamps and remove furnish of a threshold of a back lateral door.
10. Remove the bottom finishing of the central rack.
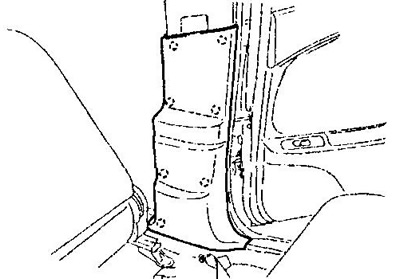
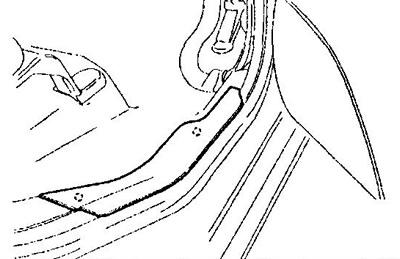
11. Disconnect a piston and a clamp and remove the top furnish of the central rack.
12. Disconnect caps and clamps and remove finishing of a threshold of a back door.
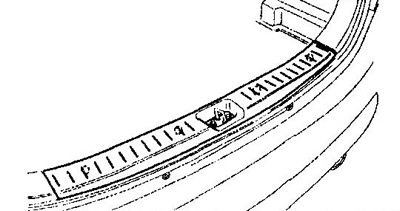
13. Turn away 3 bolts and remove furnish of a luggage carrier.
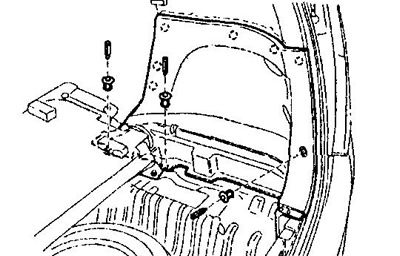
14. Disconnect caps and clamps and remove finishing of a back rack.
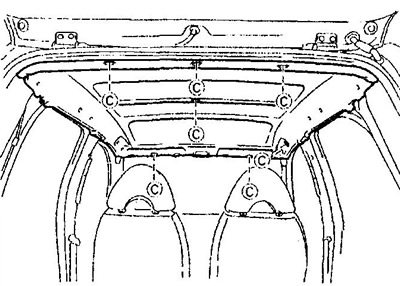
15. Using a special tool, disconnect the caps and remove the roof trim.