
Adjustment
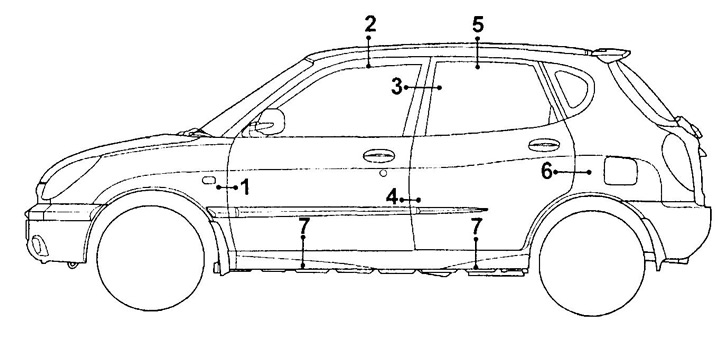
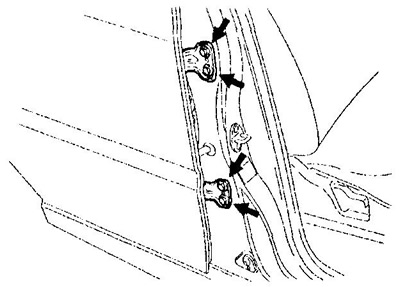
1. Check the gaps between the side doors and the car body as shown in the figure "Side door gap adjustment".
Rated value:
Duet:
- "1" - 4.7±1.5 mm
- "2" - 4.5±1.5 mm
- "3" - 5.0±1.5 mm
- "4" - 5.7±1.5 mm
- "5" — 4.5±1.5 mm
- "6" - 4.7±1.5 mm
- "7" - 5.7±1.5 mm
Sirion:
- "1" - 4.7±1.5 mm
- "2" — 4.5±1.5 mm
- "3" — 5.7±1.5 mm
- "5" - 4.5±1.5 mm
- "6" - 4.0±1.5 mm
2. Adjust the gaps of the front side door.
Note: Before adjusting the front door, remove the fender.
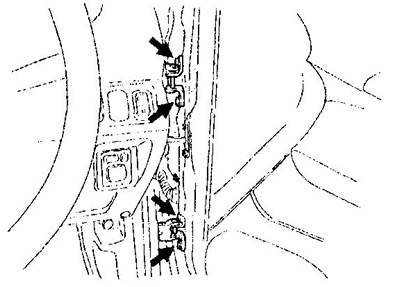
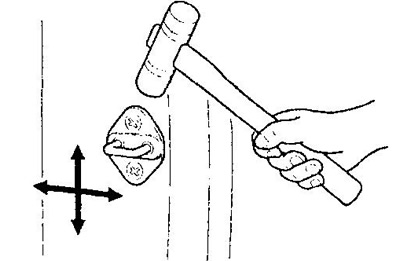
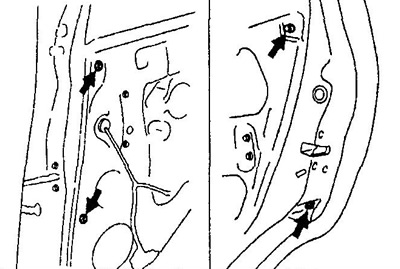
A) Adjust the position of the doors in the longitudinal and vertical directions by loosening the bolts securing the door hinges to the body.
- Tightening torque - 17-31 Nm
b) Adjust the position of the doors in the transverse and vertical directions by loosening the bolts securing the door hinges to the body.
- Tightening torque - 17-31 Nm
Side door gap adjustment.
Note: Adjustment cannot be made when the front door is fixed with center bolts. When adjusting, these bolts should be replaced with regular bolts with washers.
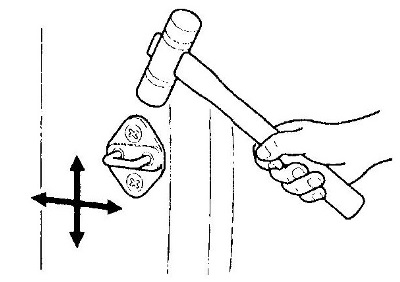
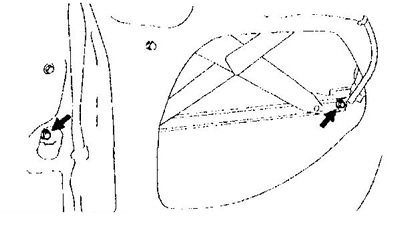
V) Loosen the mounting screws and adjust the position of the door lock bracket.
3. Adjust the gaps of the rear side door.
A) Adjust the position of the doors in the longitudinal and vertical directions by loosening the bolts securing the door hinges to the body.
- Tightening torque - 17-31 Nm
b) Adjust the position of the doors in the transverse and vertical directions by loosening the bolts securing the door hinges to the body.
- Tightening torque - 17 - 31 Nm
Note: Adjustment cannot be made when the front door is fixed with center bolts. When adjusting, these bolts should be replaced with regular bolts with washers.
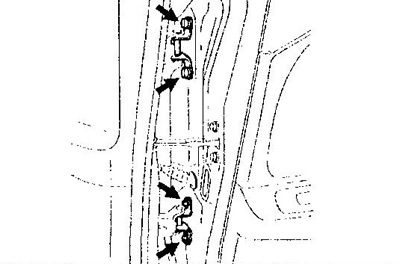
V) Loosen the mounting screws and adjust the position of the door lock bracket.
Disassembly and assembly of the front door
1. When disassembling and assembling the front door, follow the assembly drawing "Disassembly and assembly of the front door".
2. Remove the glass as follows:
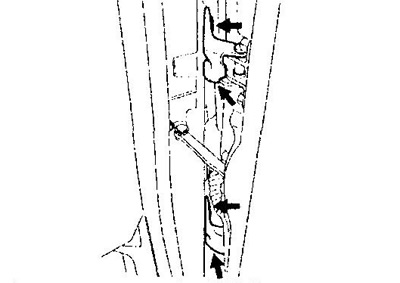
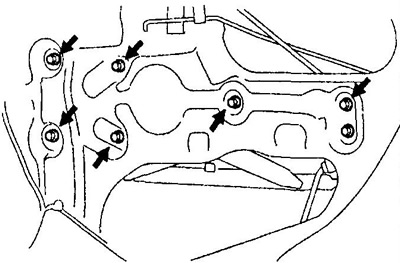
A) Lower the glass until the bolts appear in the technological hole, as shown in the figure.
b) Turn away two bolts and remove glass of a door.
V) Turn away 4 bolts and remove directing glasses of a door.
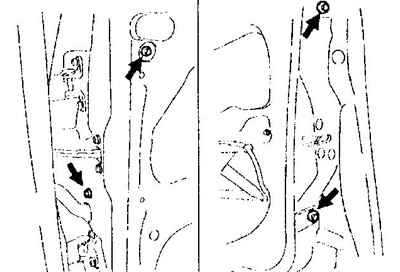
G) Turn away six bolts, disconnect a socket and remove the mechanism of a window regulator.
3. Pay attention to the following details when assembling:
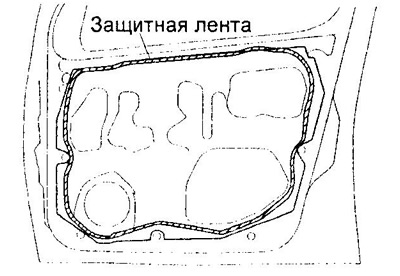
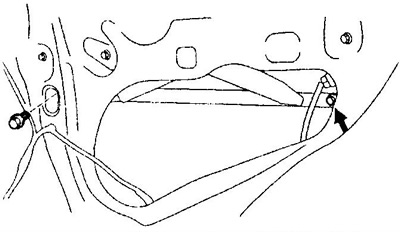
A) As shown in the picture, install the access hole cover with adhesive and cover the hole with protective tape.
b) Before installing the power window mechanism, apply special grease to its moving parts.
Disassembly and assembly of the rear side door
1. Disassembly and assembly of the door is carried out in accordance with the figure "Disassembly and assembly of the rear side door".
2. Remove the glass as follows:
A) Lower the glass until the bolts appear in the technological hole, as shown in the figure.

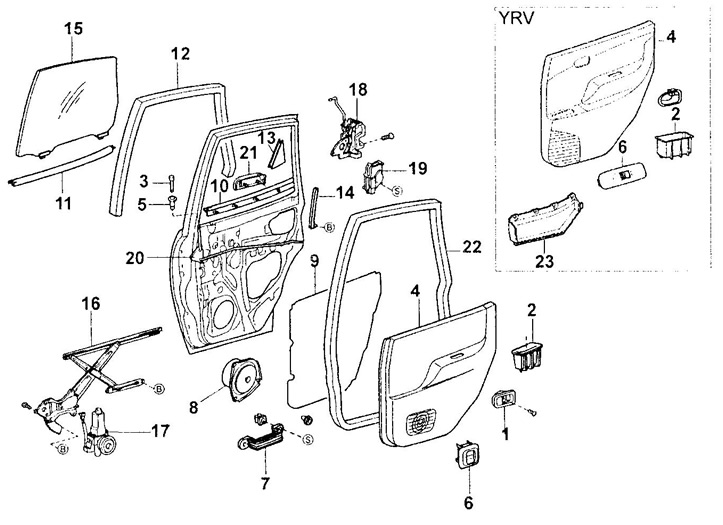
Disassembly and assembly of the front side door.
1 - internal handle for opening the door,
2 - auxiliary handle,
3 - inner cover of the side mirror,
4 - lock lock button,
5 - finishing panel of the door,
6 - power window control panel cover,
7 - power window control panel,
8 - internal glass seal,
9 - button guide,
10 - auxiliary handle bracket,
11 - speaker,
12 - technological hole cover,
13 - door glass,
14 - sealant,
15 - outer glass seal,
16 - power window mechanism,
17 - power window motor,
18 - door glass guide,
19 - door lock assembly,
20 - lock drive,
21 - external handle for opening the door,
22 - door lock cylinder retainer,
23 - door lock cylinder,
24 - pocket,
25 - door trim.
Disassembly and assembly of the rear side door.
1 - internal handle for opening the door,
2 - auxiliary handle,
3 - lock lock button,
4 - finishing panel of the door,
5 - button guide,
6 - power window control button,
7 - auxiliary handle bracket,
8 - speaker,
9 - technological hole cover,
10 - internal lower glass seal,
11 - outer lower glass seal,
12 - upper glass seal,
13 - inner cover of the side mirror,
14 - door glass guide,
15 - door glass,
16 - power window mechanism,
17 - power window motor,
18 - door lock assembly,
19 - lock drive,
20 - door lock lock rod,
21 - external handle for opening the door,
22 - door seal,
23 - pocket.
b) Turn away two bolts and remove glass of a door.
V) Turn away 4 bolts and remove directing glasses of a door.
G) Turn away six bolts, disconnect a socket and remove the mechanism of a window regulator.
3. When assembling, pay attention to the following points:
A) As shown in the picture, install the access hole cover with adhesive and cover the hole with protective tape.
b) Before installing the power window mechanism, apply special grease to its moving parts.