



Contents: Removal ↓ Installation ↓
Removal
1. Disconnect the brake pipes.
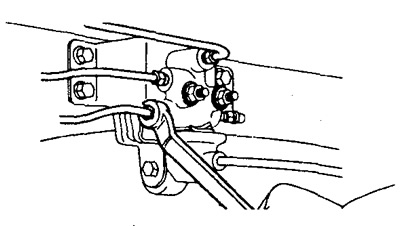
2. Remove the valve assembly.
a) Unscrew the two bolts and detach the earring bracket.
b) Unscrew the valve bracket mounting bolts and remove the valve.
Installation
1. Install the valve assembly and tighten the bolts.
- Tightening torque: 13 Nm
Install the earring bracket and tighten with two bolts.
- Tightening torque: 19 Nm
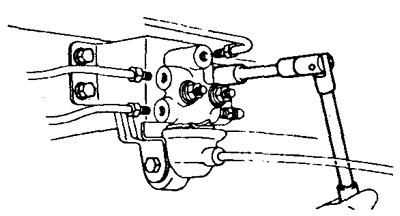
2. Attach the second earring to the bracket.
a) Adjust the distance A by turning the second earring.
- Distance A: 78 mm
b) Tighten the lock bolt.
- Tightening torque: 25 Nm
c) Install the two elastic and central bushing into the first earring of the spring assembly.
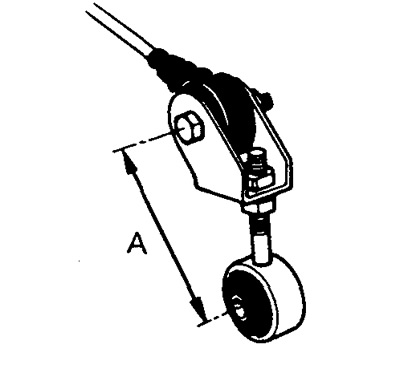
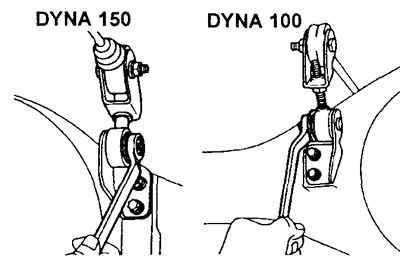
d) Install the spring assembly onto the earring bracket with the plate and nut.
- Tightening torque: 13 Nm
d) Install a new split pin.
The material was taken from a resource ToyotaMAN
3. Connect and tighten the brake pipes.
- Tightening torque: 15 Nm
4. Install the valve body.
a) By pulling the spring down, check that the valve piston moves down smoothly.
b) Position the valve body so that the valve piston is in light contact with the spring.
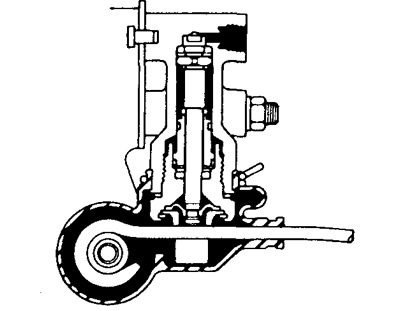
c) Tighten the valve body mounting nuts.
- Tightening torque: 13 Nm
6. Bleed the brake system.
7. Check for brake fluid leaks.
8. Check and adjust the brake fluid pressure in the brake force distribution valve.