
Attention! Wear eye protection when bleeding the brake system. If brake fluid gets into your eyes, rinse immediately with water and seek medical attention.
Note. This procedure is necessary to remove air that could enter the system when it was opened for removal and at the wall of the hose, pipeline, caliper or master cylinder.
1. If air has entered the system due to a low brake fluid level, or the brake lines have been disconnected from the master cylinder, you may need to bleed the system at all four brakes.
2. If the brake line was only disconnected from the wheel brake, only the caliper will need to be bled.
3. In case of disconnection of the fitting connection of the brake pipeline going from the master cylinder to any of the brakes, air must be removed from that part of the system that is serviced by the disconnected line.
4. Relieve the residual vacuum in the vacuum brake booster, for which you should squeeze the brake pedal several times with the engine off.
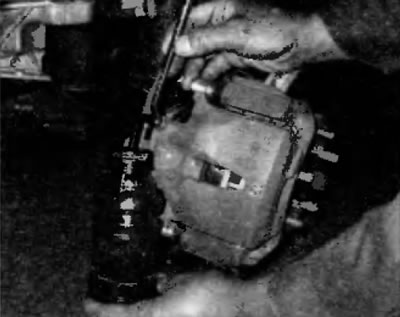
5. Remove the cover of the hydraulic brake reservoir and fill the reservoir with brake fluid. Install the cover in place.
Note. When performing the bleed procedure, frequently check the brake fluid level and top up as necessary to ensure the level does not drop so low that air could enter the master cylinder.
6. Attract an assistant, and also prepare a supply of fresh brake fluid, a clean container partially filled with fresh brake fluid, a piece of pipe for fitting the air release valve and a wrench to open and close the air release valve.
7. Starting at the right rear wheel, loosen the air release valve slightly and then tighten it just enough so that it is tight but can be released quickly and easily.
8. Place one end of the tube on the bleeder valve and immerse the other end in a container of brake fluid (pic. 8.8).
Pic. 8.8. When bleeding the brakes, connect a hose to the bleeder valve on the caliper or wheel cylinder, and then load the hose into the brake fluid. The presence of air can be detected by the presence of air bubbles in the hose and in the container. Remove all air before proceeding to the next class
9. Have an assistant depress the brake pedal slowly, and then keep the brake pedal depressed.
10. While keeping the pedal depressed, open the air release valve just enough to allow fluid to exit through the valve. Watch for air bubbles at the exit from the end of the tube immersed in the container. When fluid flow slows down after a couple of seconds, close the valve and have an assistant release the pedal.
11. Repeat the steps in p.p. 9 and 10 until no more air comes out through the tube, then tighten the bleed valve and move to the left rear wheel, right front wheel and left front wheel in that order and follow the same procedure. Check the fluid level in the brake fluid reservoir frequently.
12. Never use «old» brake fluid. It contains moisture, which adversely affects the elements of the brake system.
13. At the end of the procedure, fill the tank with brake fluid.
14. Check the operation of the brakes. The pedal, when pressed, must be perceived «solid», no failures. Repeat the entire procedure if necessary.
Attention. Do not operate the vehicle if you are in doubt about the effectiveness of the braking system. On models equipped with ABS, air can enter the hydraulic anti-lock brake control unit. Therefore, if after re-bleeding the pedal continues to be perceived «soft» or the brake or ABS warning light stays on, have the vehicle towed to a dealer or other workshop where the bleed procedure can be performed using a special tester.