
Attention! Brake pads on both front or rear wheels should be replaced at the same time; never replace pads on only one wheel. Dust generated during the normal operation of the brake system is harmful to health. Never blow it out with compressed air or inhale it. Always use a certified filter mask when working on brakes. Under no circumstances should you use petroleum-based solvents to clean the brake system. Use only brake cleaner!
Note. This procedure applies to both front and rear disc brakes.
Note. The manufacturer recommends that the shims and brake pad wear indicators be replaced each time the pads are replaced.
1. Remove the cap from the hydraulic brake reservoir.
2. Loosen the wheel nuts. Raise the front or rear of the vehicle and place secure supports under it. Install wheel chocks under the wheel at the end of the vehicle opposite the one being lifted.
Attention! If the vehicle is equipped with electronically controlled air suspension, turn off the suspension height control switch before raising the vehicle.
3. Remove wheels. Work on only one brake at a time, using the assembled brake as a visual aid if necessary.
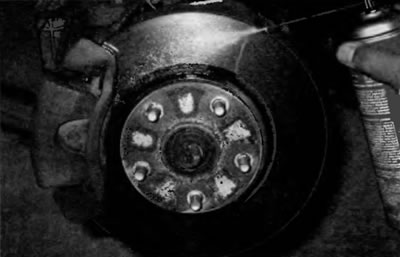
4. Carefully inspect the brake disc as described in paragraph 5. If machining is necessary, following the information given in this paragraph, remove the disc and the brake pads at the same time.
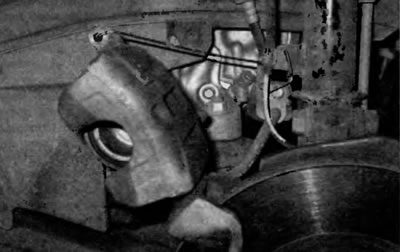
5. Press the piston into its cylinder to get space for installing new brake pads. For this you can use a clamp (pic. 3.5). As the piston enters the caliper cylinder, the fluid level in the brake fluid reservoir will rise. Take care that the liquid does not leak out of the reservoir. Pump out some of the liquid if necessary.
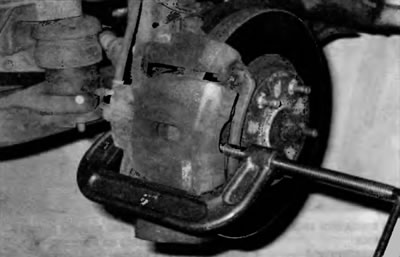
Pic. 3.5. Before removing the caliper, slowly press the piston into the caliper cylinder using a large clamp placed between the outer brake shoe and the back of the caliper
6. If you are replacing the front brake pads, follow the accompanying photos starting from fig. 3.6, a. Do not break the prescribed sequence and read the captions under each figure.
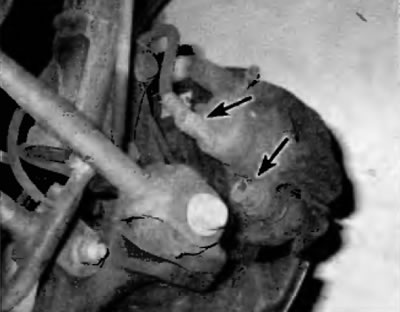
Pic. Z.6, a. Always clean the brakes with a brake cleaner before disassembling any component
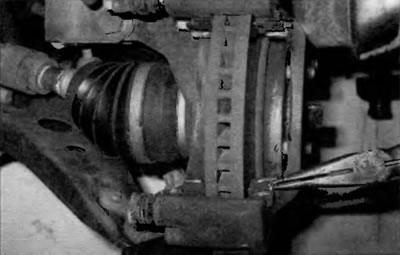
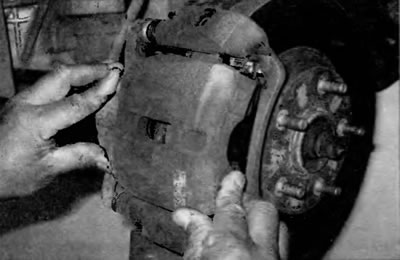
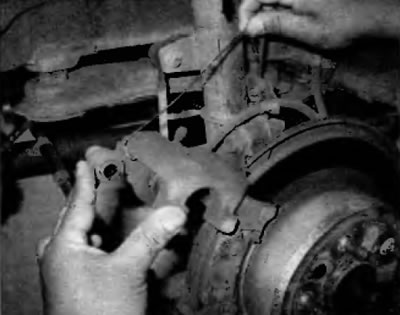
Pic. 3.6b. Check the lower caliper bolt. To detach the caliper completely, unscrew both caliper bolts, but do not let the caliper hang on the brake hose
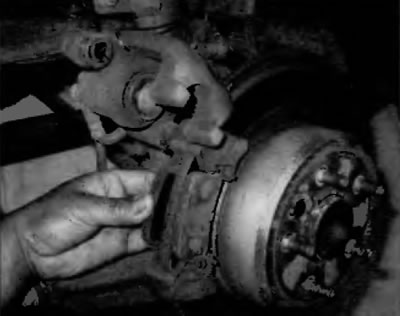
Pic. Z.6, c. Turn the caliper up (be careful not to damage the cover of the upper guide pin)...
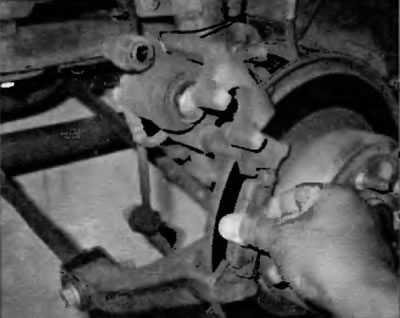
Pic. 3.6, d.... fasten it to the rack bracket with a piece of wire; do not allow the caliper to hang on the brake hose
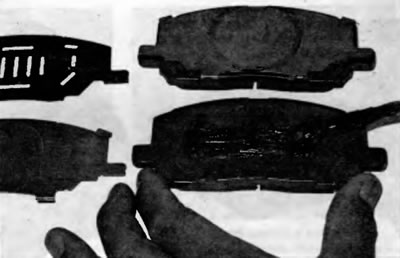
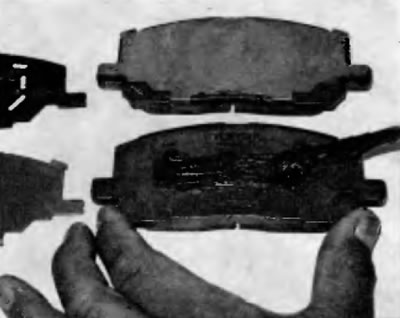
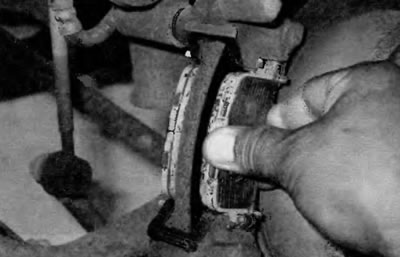
Pic. 3.6, e. Remove the inner block...
Pic. 3.6, e.... and the outer shoe
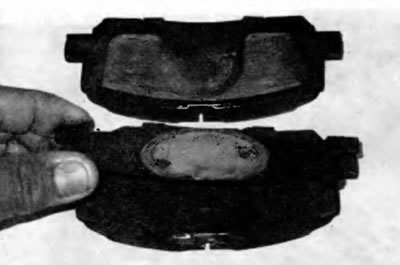
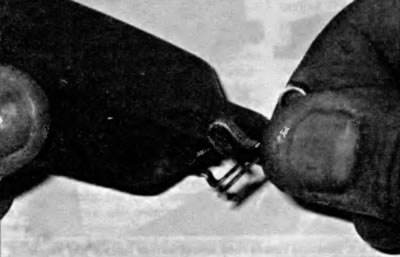
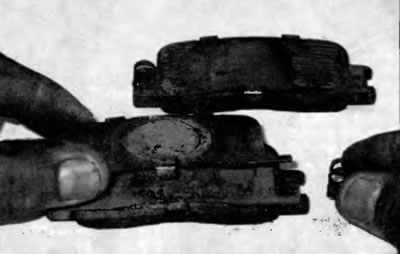
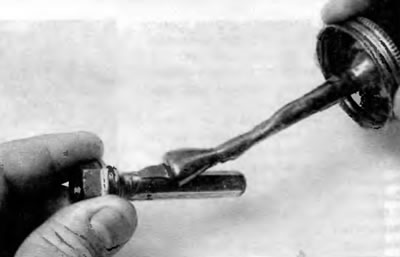
Pic. Z.6, f. Remove the shim (And) from each brake pad, noting the installation order and position (Some pads may only have one shim). The manufacturer recommends replacing the shims when replacing the pads
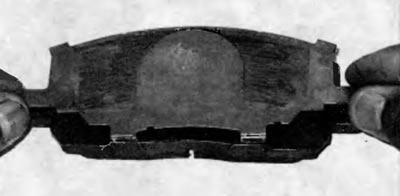
Pic. 3.6, s. Apply a light coat of disc brake grease to the back of the brake pad that mates with the shim
Pic. 3.6, and. Install the shims on the pads in random order according to the position noted during removal. If necessary, if there is any doubt and parts of the location of the shim, refer to the pads installed on the other side of the cars
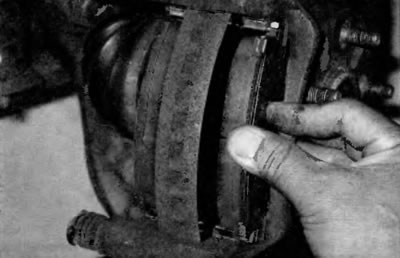
Pic. 3.6, j. Remove the upper and lower support plates of the block. Make sure they are secure and not worn. Replace if necessary.
Pic. Z.6, l. Install the upper and lower pad support plates
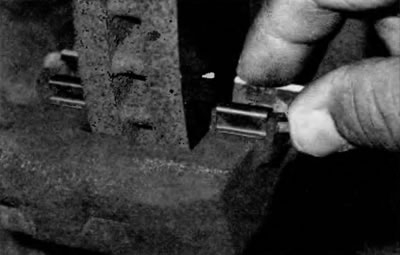
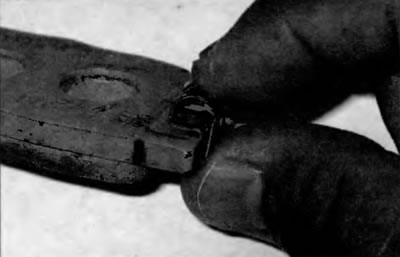
Pic. Z.6, m. Remove the upper and lower guides into the pins and clean them. Apply high temperature grease to the fingers and reinstall them. Be careful not to damage the finger covers. Replace any worn or damaged cases
Pic. 3.6, n. Install a new wear indicator on the new inner pad. The manufacturer recommends replacing the wear indicator when replacing the pads

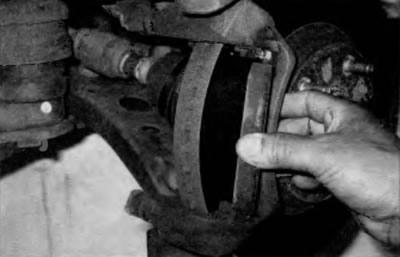
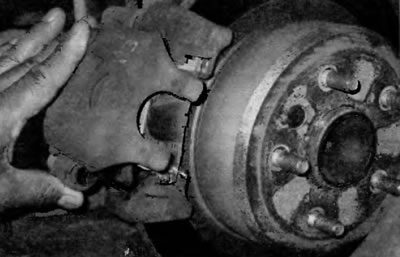
Pic. Z.6, o. Install the inner shoe, making sure that its ends are correctly located on the supporting tabs of the grooves
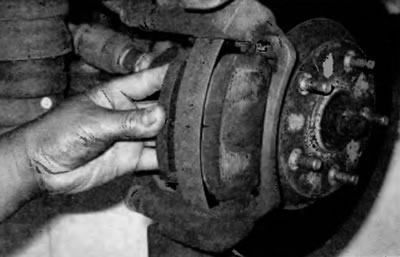
Pic. Z.6, p. Install the outer shoe, making sure that its ends are correctly located on the support plates of the shoe
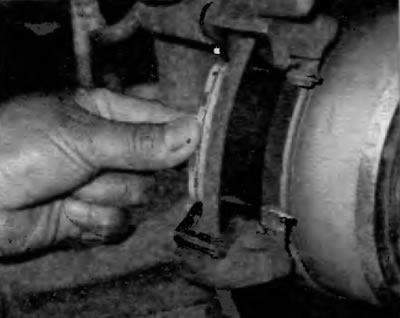
Pic. 3.6, p. Install the caliper and torque the caliper bolts to the specified torque listed in the Specifications at the beginning of this chapter
7. If you are replacing the rear brake pads, follow the accompanying photos, starting with fig. 3.7a. Do not break the prescribed sequence and read the captions under each figure.
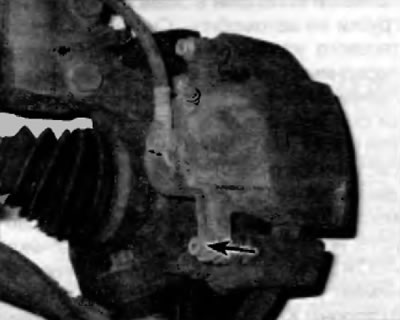
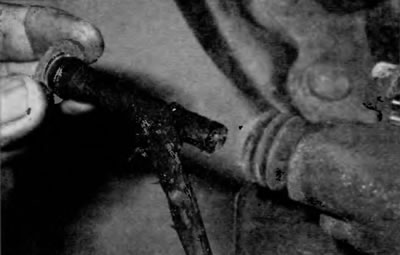
Pic. 3.7, a. Wash the brake with a brake cleaner (pic. H.6a), then remove the caliper mounting bolt (bottom arrow); the top arrow points to the nipple bolt type «banjo» brake hose, which should not be unscrewed if the caliper is not removed from the car
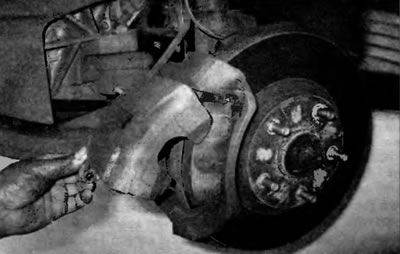
Pic. 3.7b. Rotate the caliper up and hold it in this position. Fix it against the coil spring suspension strut with the weakness of a piece of wire, preventing it from hanging on the brake hose
Pic. 3.7, c. Remove the inner...
Pic. 3.7, d.... and outer brake pads

Pic. 3.7, e. Remove the upper and lower support plates of the pads. Make sure they are secure and not worn. Replace if necessary.
Pic. 3.7, e. Remove the shim (And) wear indicator with each brake pad, noting frequent and non-false installation (Some pads may only have one shim). The manufacturer recommends replacing the shims and the wear indicator when replacing the pads
Pic. 3.7, f. Replace the wear indicator on each brake pad
Pic. 3.7, s. Apply a light coat of disc brake grease to the back of the brake pad that mates with the shim

Pic. 3.7, and. Install the shim (And) on each block according to the position noted during removal. If necessary, if there is any doubt about the location of the shim, also refer to the pads installed on the other side of the car
Pic. 3.7, j. Install the pad support plates on the caliper bracket, and then install the inner brake pad
Pic. 3.7, l. Install the outer brake pad
Pic. 3.7, m. Remove the upper and lower guide pins and clean them. Apply high temperature grease to the fingers and reinstall them. Be careful not to damage the finger covers. Replace any worn or damaged covers. On some models, the pin opens by simply removing the caliper from the bracket. Be careful not to damage the finger boot when removing the caliper
Pic. 3.7, n. Install the guide pins and caliper and rotate the caliper down over the new pads. screw in the bolt (s) caliper fasteners and tighten them to the prescribed torque specified in Specifications at the beginning of this chapter
Pic. 3.8, f. If you're having trouble fitting the caliper over the new pads, use a clamp to push it into the cylinder and then try again - the caliper should now snap into place. Install the caliper and tighten the bolt (s) caliper with the prescribed force specified in Specifications at the beginning of this chapter
8. When installing the caliper, tighten the bolts to the prescribed torque specified in Specifications at the beginning of this chapter. Upon completion of work, depress the brake pedal several times to the stop to bring the brake pads into contact with the disc. Check the brake fluid level and add fluid if necessary. Before entering the vehicle into normal operation, carefully check the operation of the brakes.