



Warning! Gasoline is highly flammable. Therefore, extra precautions should be taken when working on any part of the fuel system. See warning in paragraph 2.
1. Check all electrical system connectors, especially ground connections. Loose connectors and poor ground connections can cause many problems in the engine management system.
2. Make sure the battery is fully charged because the powertrain control module (PCM) and sensors cannot operate properly without sufficient supply voltage.
3. Refer to Chapter 1 and check the air filter element. Contamination or partial blockage of the filter will worsen dynamic performance and increase fuel consumption.
4. Check the operation of the fuel pump (see paragraph 3). If the fuel pump fuse is blown, replace it and check to see if it blows again. If it does, look for a short in the wiring harness to the fuel pump.
5. Inspect the vacuum hoses connected to the intake manifold for damage, deterioration, or leaks.
6. Remove the intake air duct from the throttle body and inspect it for dirt, carbon, or other deposits in the throttle body, especially around the throttle plate. If dirt is present, refer to Chapter 6 and diagnose the Positive Crankcase Ventilation (PCV) and Exhaust Gas Recirculation (EGR) systems to determine the cause of the increased deposits.
7. With the engine running, place a car stethoscope on each injector in turn and listen for the clicking sound that accompanies the injector's operation (Fig. 12.7). If you don't have a stethoscope, you can place the tip of a long screwdriver on the injector and listen through its handle.
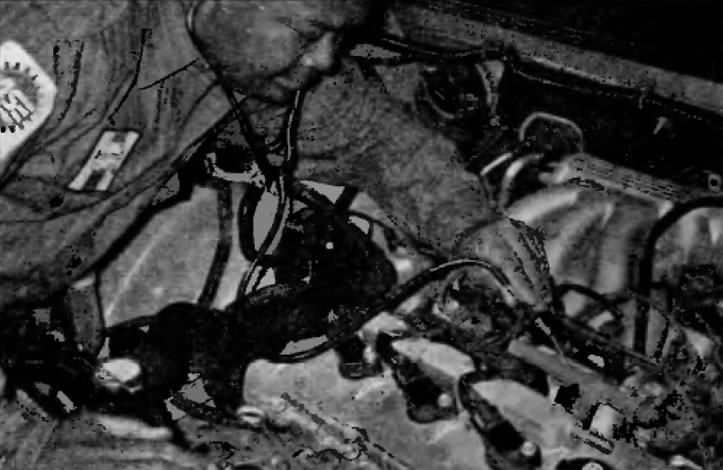
Fig. 12.7. Using a stethoscope, listen to each fuel injector and make sure it makes a clicking sound when the engine is running
8. If the injector does not seem to be working (does not click), purchase a special indicator light for testing injectors and connect it to the electrical connector in the injector wiring harness (Fig. 12.8). Start the engine and see if the light flashes. If it flashes, the injector is receiving the correct voltage. If it does not flash, further diagnostics are required. You should contact the technical service department of the dealership or other qualified personnel.
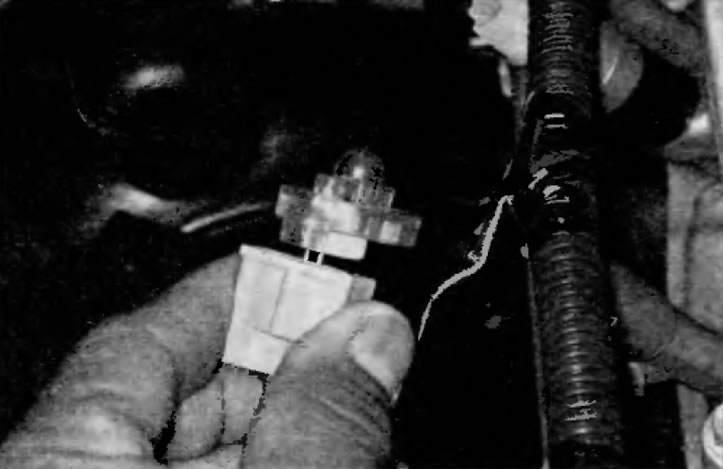
Fig. 12.8. Connect the indicator lamp to the electrical connector of each fuel injector and make sure that it flashes with the engine running
9. With the engine off and the injector electrical connectors disconnected, measure the resistance of each injector with an ohmmeter (Fig. 12.9). For information on the correct resistance, refer to Specifications at the beginning of this chapter.
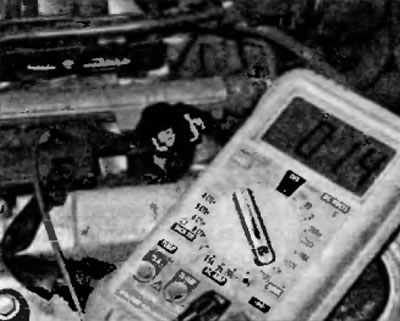
Fig. 12.9. Set the mode control on the digital multimeter to the appropriate resistance range, touch the probes of the device to the two contacts on each injector and measure the resistance, which should be in the range specified in Specifications at the beginning of this chapter
10. To check other systems, please refer to chapter 6.