



Hold the stator winding terminal with needle-nose pliers while soldering the terminals.
Warning: Do not allow the diodes to become hot.
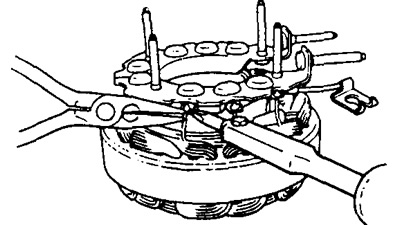
2. Install the generator cover onto the rectifier unit.
a) Place two insulating grommets on the positive (+) studs of the rectifier unit.
b) Place two cuffs on the negative (-) studs of the rectifier unit.
c) Place the generator cover on the rectifier block side onto the rectifier block.
d) Check that the wires do not touch the generator cover.
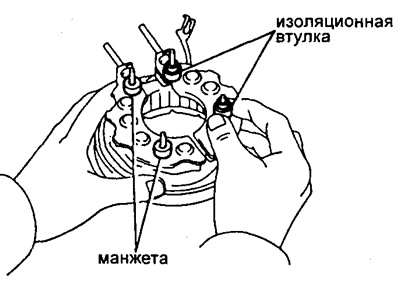
d) Place the two terminal insulators on the positive studs of the rectifier unit.
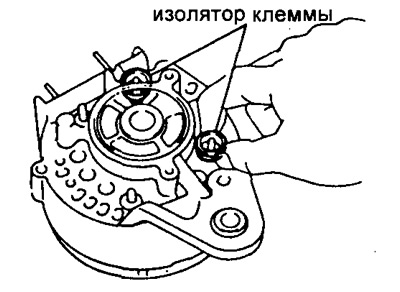
e) Install four nuts.
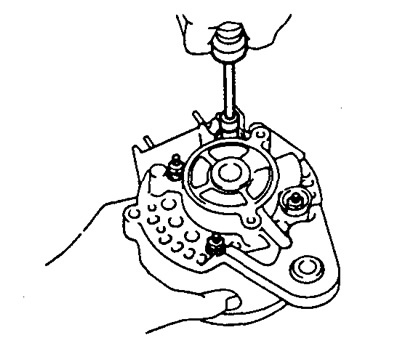
3. Install the rotor on the generator cover from the drive side.
a) Install the snap ring into the groove of the rotor shaft.
b) Slide the spacer ring onto the rotor shaft.
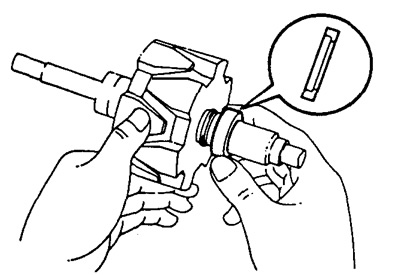
c) Using a press, press the rotor in place.
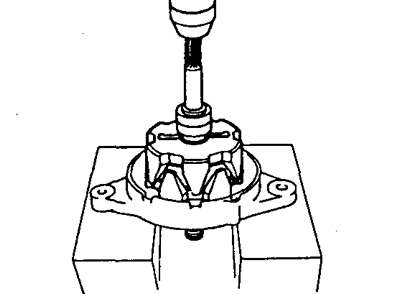
4. Install the fan and pulley.
a) Secure the rotor in a vice.
b) Slide the spacer sleeve onto the rotor shaft.
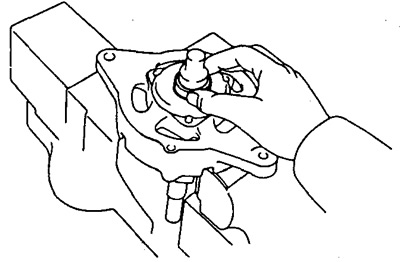
c) Slide the fan, pulley and spring washer onto the rotor shaft.
The original is this website (Toyotaman.ru)
d) Install the nut.
- Tightening torque - 88 Nm
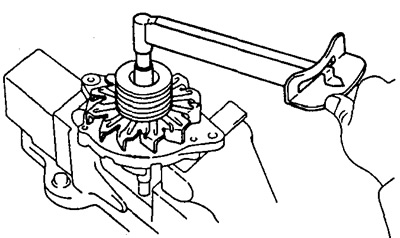
5. Install the generator cover from the rectifier block side with three through screws.
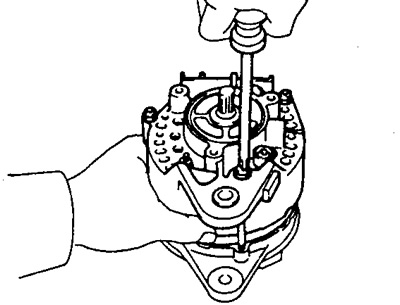
6. Check the smooth rotation of the rotor.
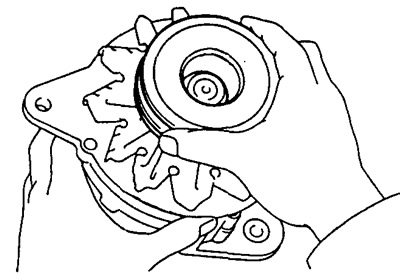
7. Install the brush holder.
a) Install the brush holder with nut.
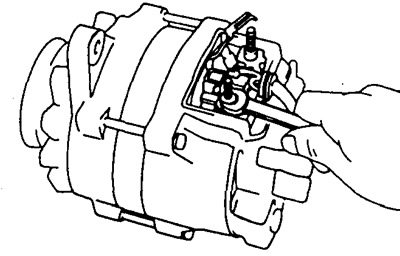
b) Connect the supply wire to terminal "B".
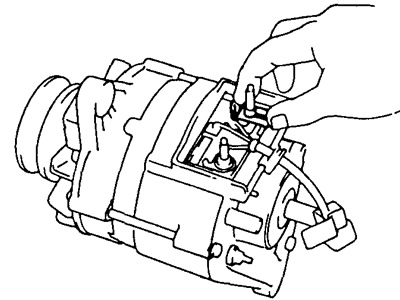
8. Install the brush holder cover.
a) Place an insulating washer on terminal "B".
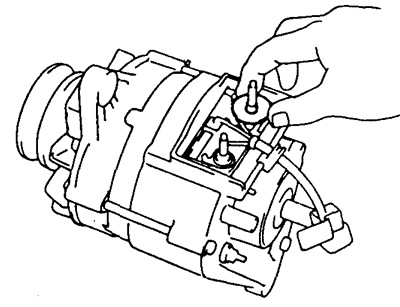
b) Install the brush holder cover on the generator cover from the rectifier unit side.
c) Place the terminal washer and rubber washer on the "B" terminal.
d) Install the two nuts together with the generator connector.
9. Install the vacuum pump.
a) Place a new O-ring on the generator cover on the rectifier side.
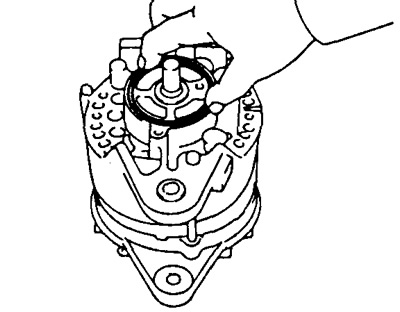
b) Install the vacuum pump with three bolts.
- Tightening torque - 7.8 Nm