



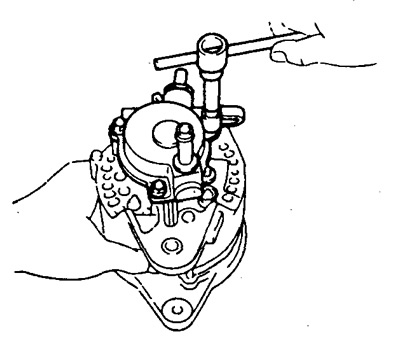
2. Remove the brush holder cover by unscrewing the two nuts, terminal insulator, rubber washer, wire lock, brush holder and insulating washer.
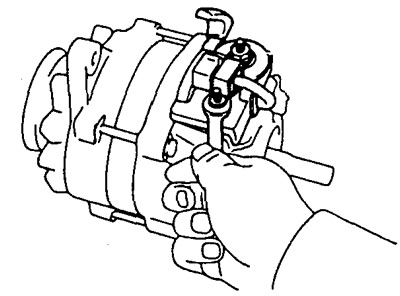
3. Remove the brush holder.
a) Disconnect the supply wire from terminal "B".
b) Remove the nut and brush holder.
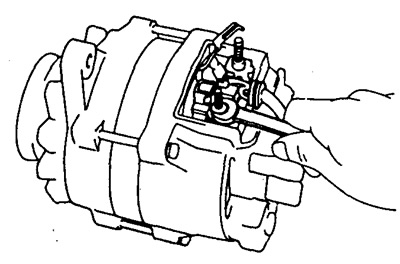
4. Loosen the three through screws and remove the generator cover from the rectifier block side.
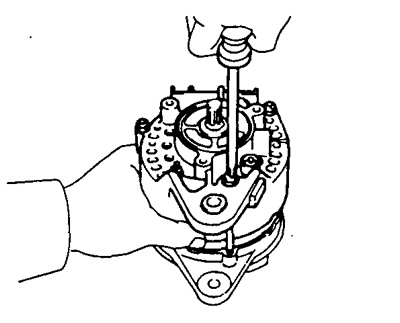
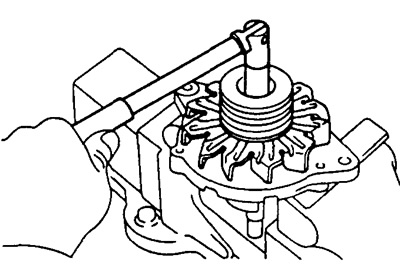
5. Remove the pulley and fan.
a) Secure the rotor in a vice.
b) Remove the pulley nut, spring washer, pulley, fan and spacer sleeve.
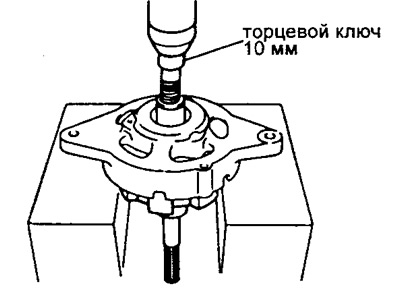
6. Remove the rotor.
a) Using a 10mm socket wrench and a press, press out the rotor.
b) Remove the spacer ring and snap ring from the rotor shaft.
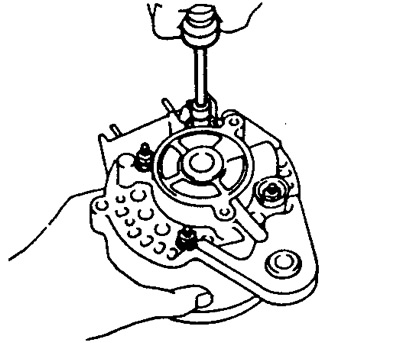
7. Remove the generator cover from the rectifier block side.
a) Unscrew the four nuts and two terminal insulators.
b) Remove the generator cover from the rectifier block side.
c) Remove the two terminal bushings and cuffs from the rectifier block studs.
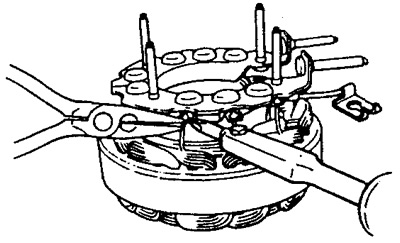
8. Remove the rectifier unit. Holding the stator winding terminal with needle-nose pliers, unsolder the terminals.
Warning: Do not allow the diodes to become hot.
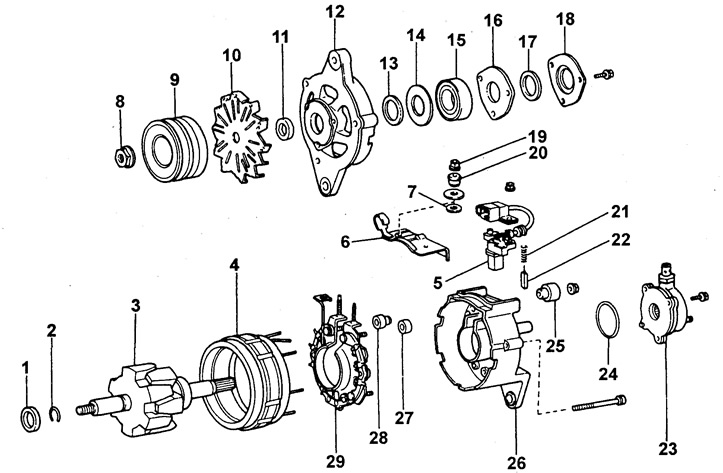
1 - spacer ring,
2 - spring retaining ring,
3 - rotor,
4 - stator,
5 - brush holder,
6 - brush holder cover,
7 - insulating washer,
8 - pulley nut,
9 - pulley,
10 - fan,
11 - spacer ring,
12 - generator cover on the drive side,
13, 17 - felt,
14, 18 - felt casing,
15 - bearing,
16 - fixing plate,
19 - terminal insulator,
20 - rubber washer,
21 - spring,
22 - brush,
23 - vacuum pump,
24 - sealing ring,
25 - terminal insulator,
26 - generator cover from the rectifier block side,
27 - cuff,
28 - insulating sleeve,
29 - rectifier block.
The original text is posted on: ToyotaMAN.ru