
Attention! Before removing the pistons and connecting rods, remove the cylinder head, oil pan and oil pump.
Dismantling
1. On 2.7L engines, remove the balancer shaft (see subsection 3.3.14).
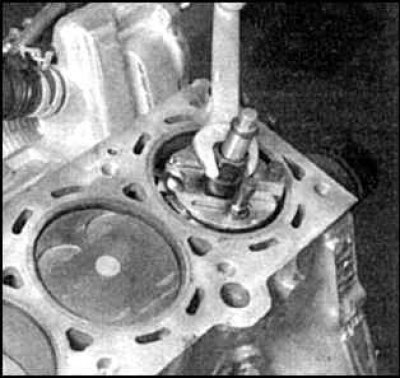
2. Using a reamer, remove the bead formed as a result of the development in the upper part of the cylinder.
3. Turn over the engine.
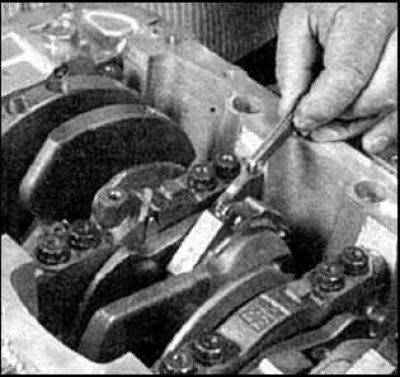
4. Check the end play of the connecting rods by inserting a feeler gauge between the crankshaft and the connecting rod. The axial play will be equal to the total thickness of the probes at which the play disappears.
5. If the axial play of the connecting rod exceeds the standard value, then the connecting rod (s) should be replaced. If new connecting rods are installed (or crankshaft), then the axial play may be less than normal (in this case it is necessary to grind the connecting rods, if necessary, consult a car service workshop). Repeat the procedure for the rest of the connecting rods.
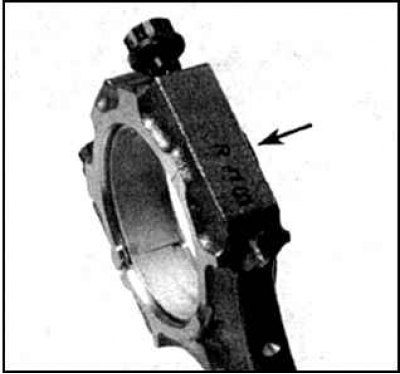
6. In the absence of marks on the connecting rods and connecting rod caps (marking is indicated by an arrow) Mark them with the number of the respective cylinder.
7. Loosen the cap nuts by unscrewing them 1/2 turn at a time until the nuts can be unscrewed by hand. Remove the cover from the connecting rod of the first cylinder together with the liner, do not remove the liner from the cover.
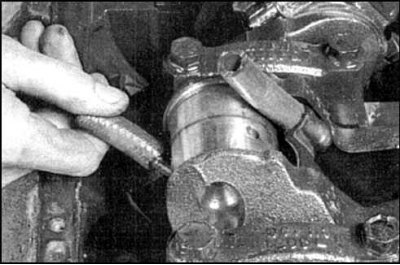
8. Push the piston with the connecting rod and liner through the top of the cylinder, after putting the hose pieces on the bolts. If resistance is felt to piston movement, check for cleanliness of shoulder removal.
8. Turning the crankshaft, repeat the procedure for all other cylinders.
9. Assemble connecting rods with caps, hand-tighten cap nuts.