
 |  |
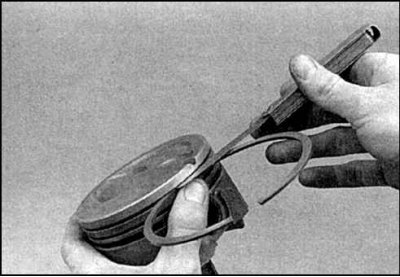
2. Remove carbon deposits from the piston ring grooves using the tool (photo on the left) or old piston ring (photo on the right).
3. Wash the pistons and connecting rods with solvent, carefully clean the oil drain holes in the piston grooves and the hole in the connecting rod.
4. If there are no signs of significant wear and if cylinder boring is not required, then the pistons should not be changed. Normal wear shows up in the form of traces of uniform vertical wear on the rubbing surface of the piston and in the form of a slight weakening of the fit of the upper compression ring. However, piston ring replacement is mandatory.
5. Carefully check for cracks on the piston skirt, on the piston pin bosses and on the piston ring seats.
6. If chips and scuffs are observed on the piston, then this indicates frequent overheating of the engine. In this case, a thorough check of the lubrication and cooling systems is required. The burning of the piston bottom indicates the operation of the engine with an incorrect setting of the ignition timing. The cause of burning of the piston crown at the edges is usually abnormal combustion (detonation). If these defects are found, then their cause must be found and eliminated.
7. Piston corrosion in the form of small pits (pitting) indicates penetration into the combustion chamber (as well as in the crankcase) coolant.
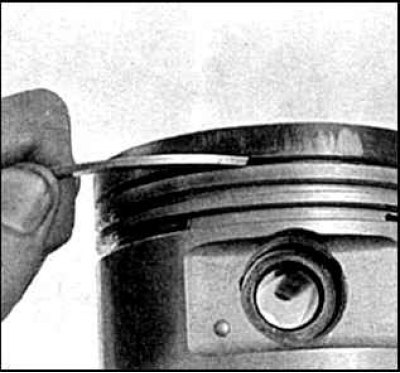
8. Measure the gap between the groove and the new ring. If the clearance exceeds the specified limit, the piston should be replaced.
9. Check the clearance between the piston and the cylinder by measuring the cylinder diameter (see subsection 3.3.10) and the piston diameter of that cylinder.
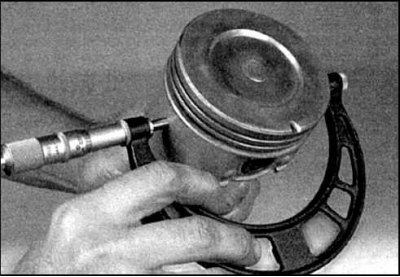
10. The piston diameter is measured perpendicular to the axis of the rake just below the pin. If the gap exceeds the established limit, then the cylinder block must be bored, and the pistons and rings should be replaced with repair ones.
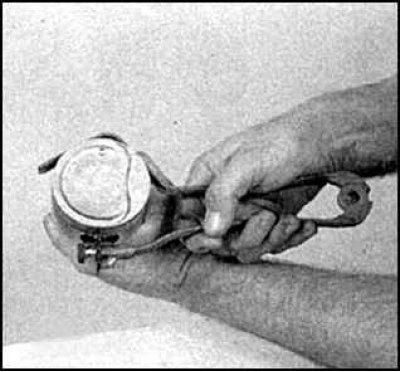
10. Check the clearance between the piston pin and the connecting rod head by rocking the piston and connecting rod in opposite directions. If the play is noticeable, then repair of this connection is necessary.
11. Checking the connecting rod head and their deformation, as well as the corresponding repair, are carried out in a car service.
12. Check the connecting rods for cracks or other damage. Remove the connecting rod bearing caps, remove the bearings, wipe the seating surfaces on the cap and on the connecting rod, check for cracks, scratches and burrs. After checking, assemble the connecting rod, installing the bearings in place, tighten the nuts by hand.
Attention! If the engine is disassembled due to jamming, then the connecting rods must be replaced.