
Warning! The car models covered in this manual are equipped with an additional security system (SRS). Before doing any work near the airbag unit, steering column or instrument panel, turn off the SRS to avoid injury if it is accidentally deployed (see Onboard electrical equipment). SRS circuit wiring is easily identified by the yellow color of the insulation.
1. Jack up the car and put it on stands. Remove the corresponding front wheel.
2. Remove the front position light assemblies (see Onboard electrical equipment). Disconnect the electrical wiring interfering with the dismantling of the wings.
3. Remove the trim strips under the headlights (refer to illustration).
4. Remove the appropriate wheel arch splash guards from the fenders. The screens are fixed between the frame and the fender by means of screws and a set of clamps, the arrangement of which may vary depending on the car model.
5. Turn out bolts of fastening of the top edge of the panel of a wing.
6. Open the door and unscrew the upper rear corner bolt of the wing panel, located on the rear side of the rack in the front door opening.
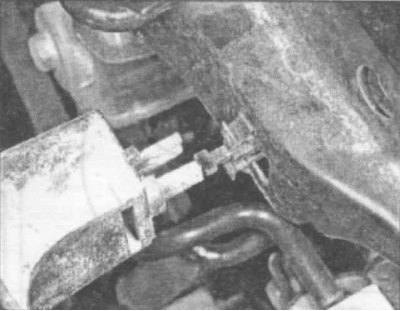
7. Turn out a bolt of fastening of the bottom back corner of the panel of a wing, the bolt is located directly under an arch of a wheel.
8. Using the help of an assistant, remove the wing panel, try not to damage the paintwork of the surrounding body panels.
9. If the wing is to be replaced, remove the wheel arch trim molding from it. The molding can be fastened with screws, clamps or rivets.
10. Installation is carried out in the reverse order. Track the reliability of tightening the threaded fasteners and snapping the clamps.