
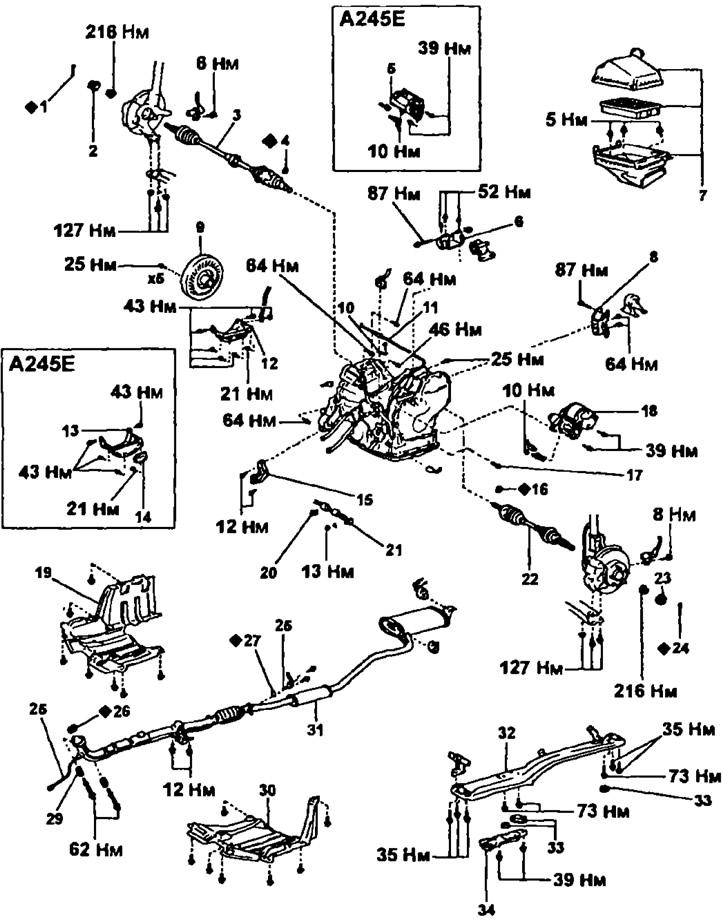
2WD models since 1996 1 - cotter pin, 2 - locknut cap, 3 ~ left drive shaft, 4 - retaining ring, 5 - starter motor, 6 - left engine mount bracket, 7 - air intake and air filter, 8 - rear support bracket engine mounts, 9 - torque converter, 10 - ground cable, 11 - throttle valve control cable, 12 - bracket (amplifier), 13 - bracket (amplifier), 14 - cover, 15 - control rod bracket, 16 - sealing ring, 17 - plug, 18 - starter, 19 - engine protection cover (left-hand side), 20 - clamp, 21 - automatic transmission control rod, 22 - right drive shaft, 23 - locknut cap, 24 - cotter pin, 25 - oxygen sensor connector, 26 - gasket, 27 - gasket, 28 - exhaust gas temperature sensor, 29 - spring, 30 - engine protection cover (Right side), 31 - exhaust pipe, 32 - beam of the central support of the engine mount, 33 - plug, 34 - protection of the beam.
Removing
Note: Install in the reverse order of removal.
1. Disconnect the throttle control cable.
2. Turn away bolts of fastening to an air inlet and remove it together with the air filter. Tightening torque when installing 50 Nm.
3. Remove the ground cable from the automatic transmission case.
4. Turn away two top bolts of fastening of a check point to the engine. Tightening torque when installing 64 Nm.
5. (Only A245E) Loosen the top starter bolt. Tightening torque hpu installation 39 Nm.
6. Raise the car.
7. Remove the motor protection covers.
8. Remove drive shafts.
9. Jack up the automatic transmission.
10. Remove the exhaust pipe.
- A) Loosen the two bolts and remove the spring. Tightening torque when installing 62 Nm.
- b) Disconnect the oxygen sensor connector.
- V) Remove the two bolts and remove the exhaust pipe support. Tightening torque when installing 12 Nm.
- G) Remove the two bolts and remove the exhaust gas temperature sensor and gasket.
Note: Use a new gasket when installing.
- d) Remove the gasket from the exhaust pipe.
Note: Use a new gasket when installing.
11. Hang the motor on the hoist.
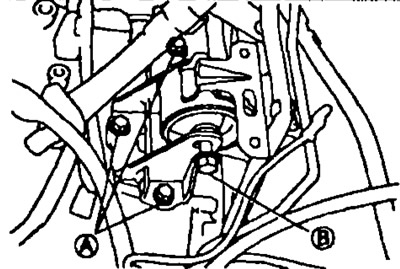
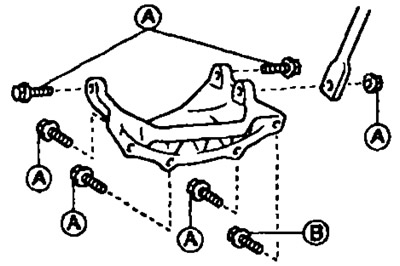
12. Turn away four bolts and remove an arm of fastening of the left support of the engine. Tightening torque for installation:
- Bolts A 52 Nm
- Bolt B 67 Nm
13. Remove a beam of the central support of fastening of the engine.
- A) Unscrew the two bolts and remove the beam protection. Tightening torque for installation (bolts A) 39 Nm.
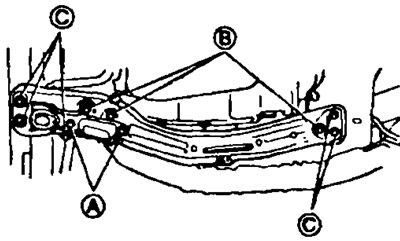
- b) Remove three plugs.
- V) Remove 8 bolts Tightening torque for installation:
- Bolts B 72 N
- Bolts C 35 N
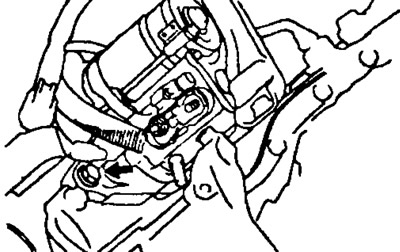
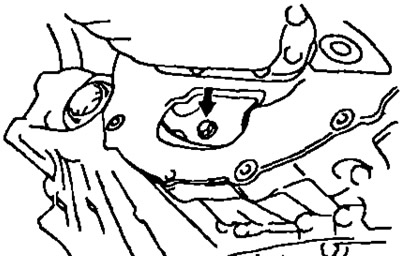
14. Remove the starter.
- A) Loosen the nut and disconnect the connector. Tightening torque when installing 10 Nm.
- b) Remove two bolts - A241E (one bolt - A245E) and remove the starter. Tightening torque when installing 39 Nm.
15. Disconnect the engine start inhibit switch connector and remove the automatic transmission control rod.
- A) Disconnect the start inhibit switch connector.
- b) Remove the stopper and remove the engine control rod. Tightening torque when installing 12 Nm.
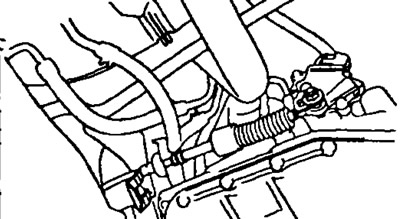
16. Remove the engine control rod bracket. Tightening torque when installing 12 Nm.
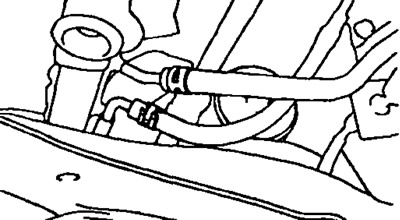
17. Loosen the clamps and remove the two fluid cooler tubes.
18. Remove bracket (amplifier).
- A) Remove 6 bolts and nut - A241E (5 bolts - A245E). Tightening torque for installation:
- Bolt A 43 Nm
- Bolt B 21 Nm
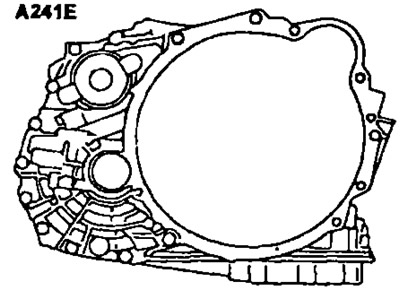
A241E | 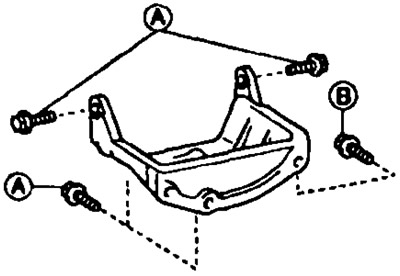
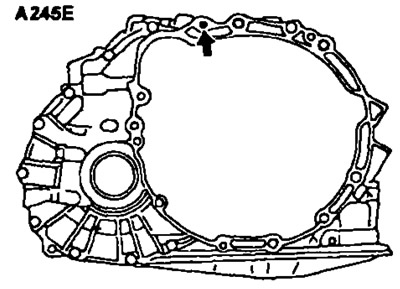
A245E |
19. Remove an arm of a back support of fastening of the engine.
- A) Loosen the mount bolt. Tightening torque when installing 87 Nm.
- b) Remove the two bracket mounting bolts and remove the bracket. Tightening torque when installing 64 Nm.
20. Remove automatic transmission.
- A) (A245E) Remove the cover. Rotating the torque converter, unscrew the six bolts. Tightening torque when installing 25 Nm.
Note: Install the gray bolt first and then the other five bolts.
- 6) Unscrew the two bolts in and remove the automatic transmission. Tightening torque for installation:
- Bolt A: 64 Nm
- Bolt B:
- (A241E) 25 Nm
- (A245E) 46 Nm
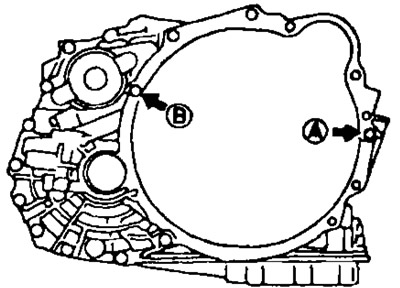
A241E | 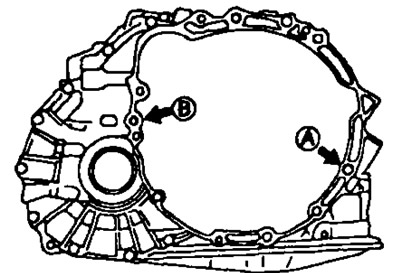
A245E |