
Examination
ECM installation details
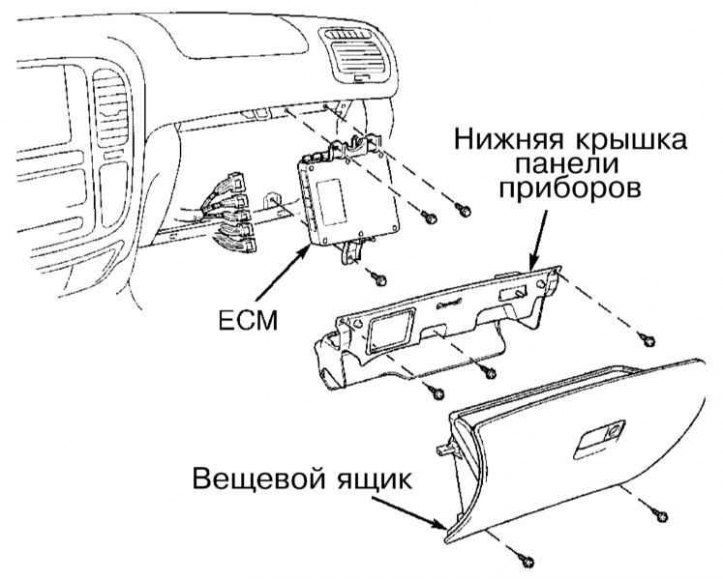
1. On all models, the ECM is mounted on the right under the instrument panel, behind the glove box (refer to illustration above), – to gain access, remove the glove box (see chapter Body).
2. While the engine is running, use your fingertips to sharply tap the wall of the processor - if the ECM is faulty, tapping can lead to a violation of the stability of the engine speed, while the display of the scanner connected to the OBD system will show the current information about the characteristics of the engine.
3. Before starting to replace the module, check the serviceability of the condition and the reliability of the fastening of the contact connections of the electrical wiring of its circuit. Each connector is individually color-coded to eliminate the possibility of miswiring when installing the ECM. If there are no obvious signs of malfunctioning of the ECM, the car should be driven to a workshop for a more detailed diagnosis of the module.
Replacement
Warning! The car models covered in this manual are equipped with an additional security system (SRS). Before doing any work near the airbag unit, steering column or instrument panel, turn off the SRS to avoid injury if it is accidentally deployed (see Onboard electrical equipment). SRS circuit wiring is easily identified by the yellow color of the insulation.
Note. To avoid damage to the ECM by electrostatic discharge, be careful not to touch the module's terminals. If possible, perform self-grounding.
The ECM is mounted under the instrument panel behind the glove box (refer to illustration above).
1. Disconnect the negative cable from the battery.
Attention! If the stereo system installed in the car is equipped with a security code, before disconnecting the battery, make sure that you have the correct combination to activate the equipment!
Disable SRS (see above warning), then remove the glove box and heater air duct (with appropriate equipment) (see chapter Body).
2. Disconnect the wiring from the ECM, each connector is individually colored to eliminate the possibility of incorrect wiring when installing the ECM.
Note. If necessary, perform self-grounding to discharge static electricity.
3. Remove the mounting bolts and carefully remove the ECM.
4. Installation is carried out in the reverse order.